« Update - April 2020 | Front Page | Octopus and Diver Printing - part 3 »
Octopus and Diver Printing - part 2
Posted by Dave Bull on April 21, 2020 [Permalink]
(This is a ‘Safe for Work’ series of blog posts about the production process, not the image itself …)
Continued from Octopus and Diver Printing (1)
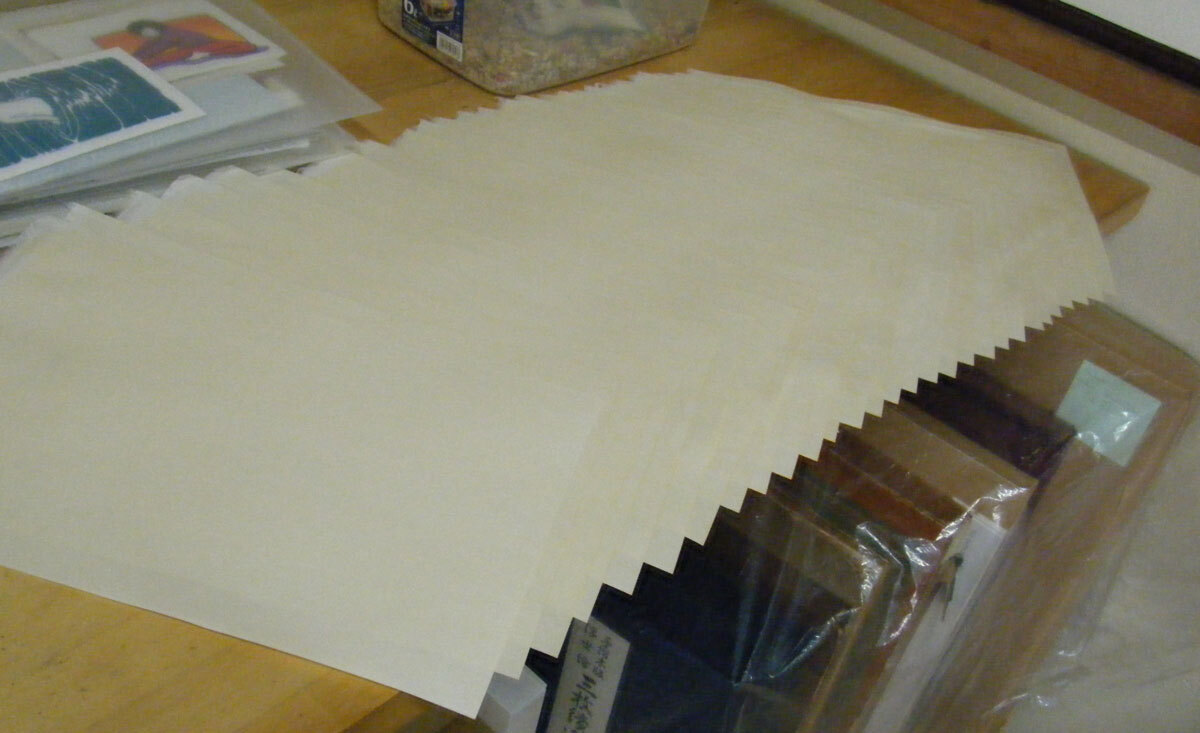
The paper for this initial batch of prints is now nicely toned, but I'm not ready to begin printing just yet; there are a couple more important preparatory steps to be done.
First of these is pressing the paper. This is not something we do for all our paper for all our jobs. But these days the surface of the paper that we receive sometimes has a quite rough texture, and if the print we are making has very delicate lines, these will be very difficult to print.
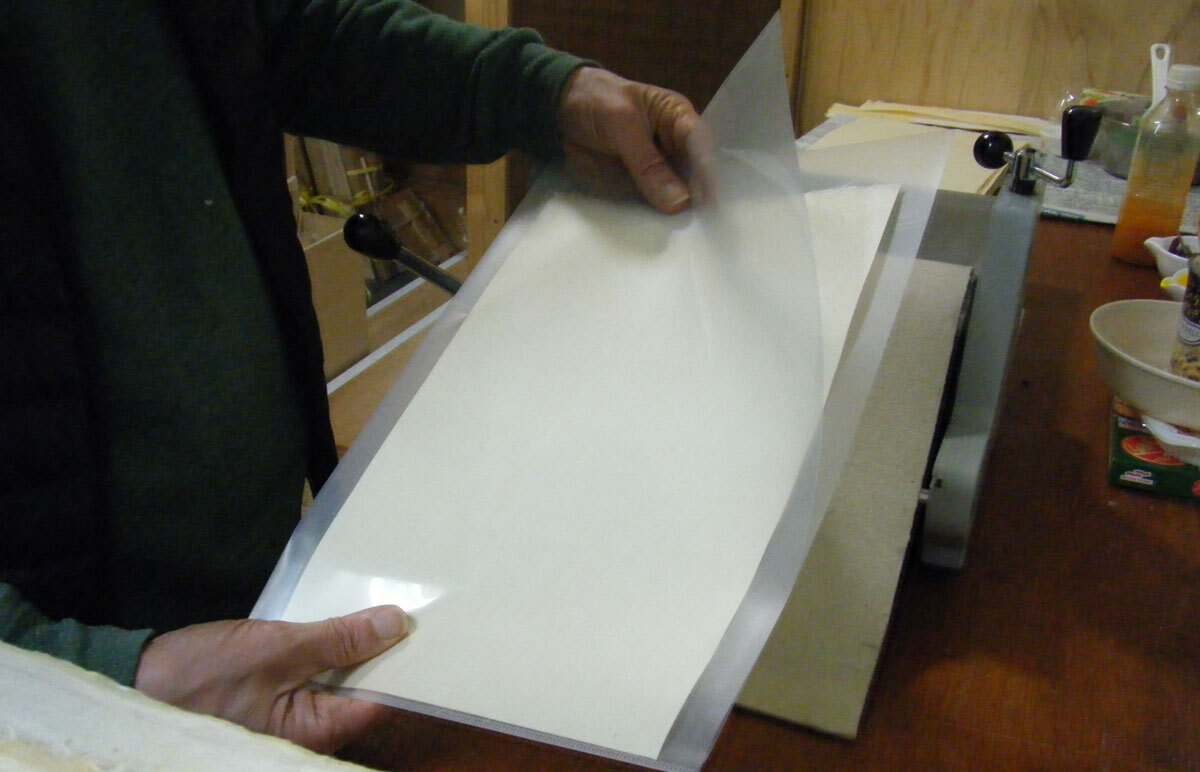
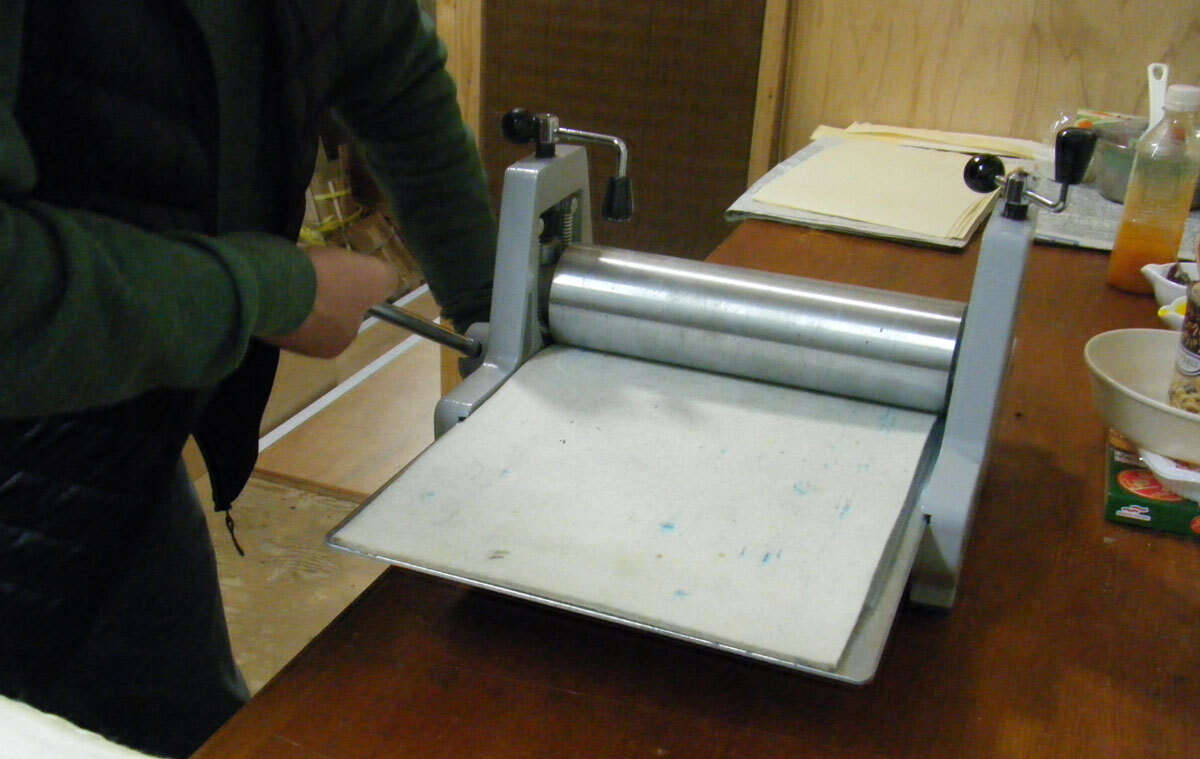
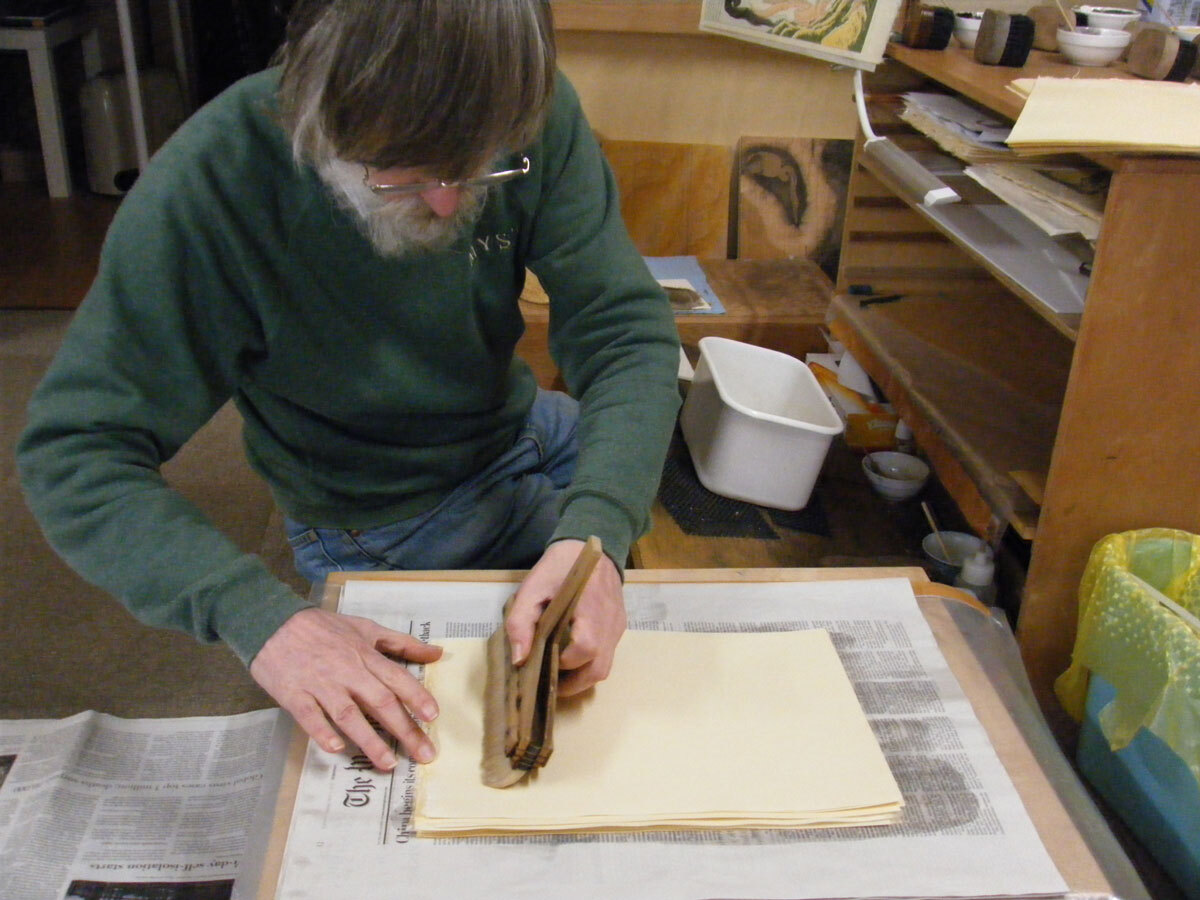
So we have developed the habit of 'calendaring' much of our paper before printing begins, and for this we use a small etching press. Each sheet is first slipped into a clear mylar folder, to keep it clean on the press bed:
It's difficult to describe in words how much pressure is appropriate. We're not trying to 'crush' the paper, just get the top surface smoothed out.
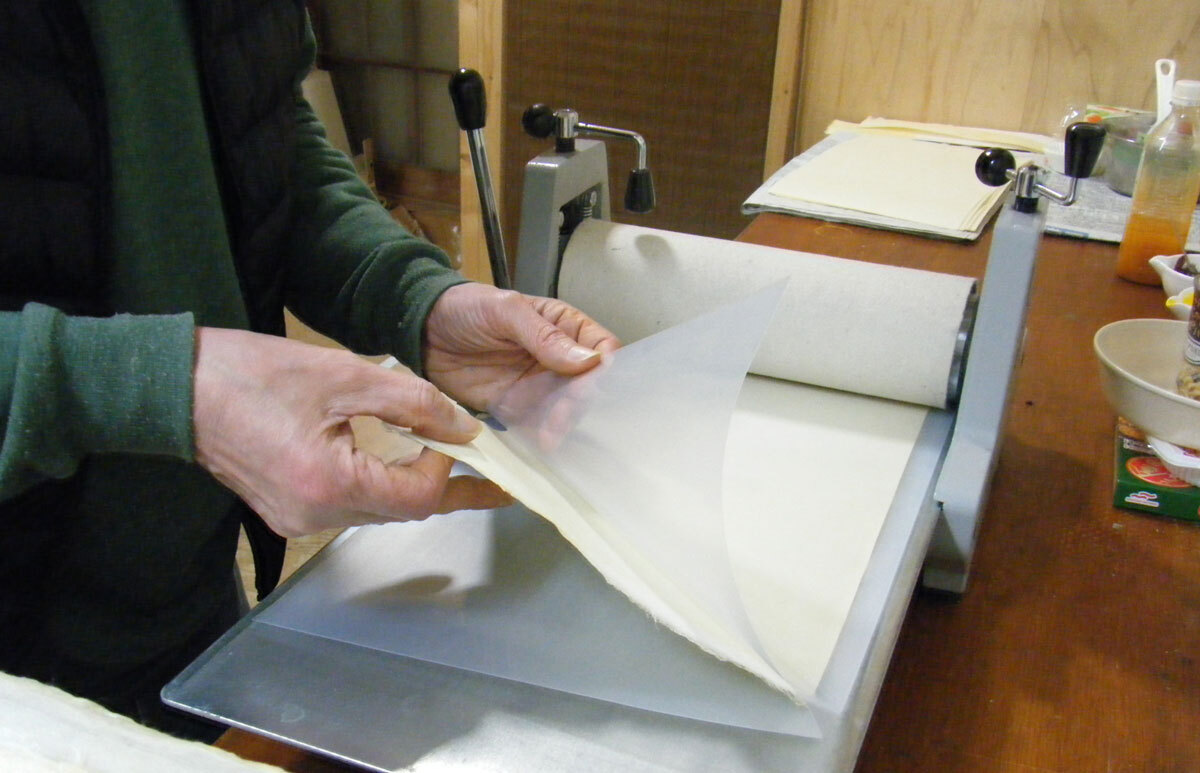
It comes out of the mylar folder now completely smoothed (on both sides, of course), and the delicate printing work will now require much less baren pressure, resulting in more delicate lines.
Once this was all done for the entire batch of paper, I moved on to the next preparatory step - 'manicuring' the paper. That perhaps doesn't make much sense in English; it's just a translation of マニキュアをする (' do manicuring '), the phrase our printers here use for this process.
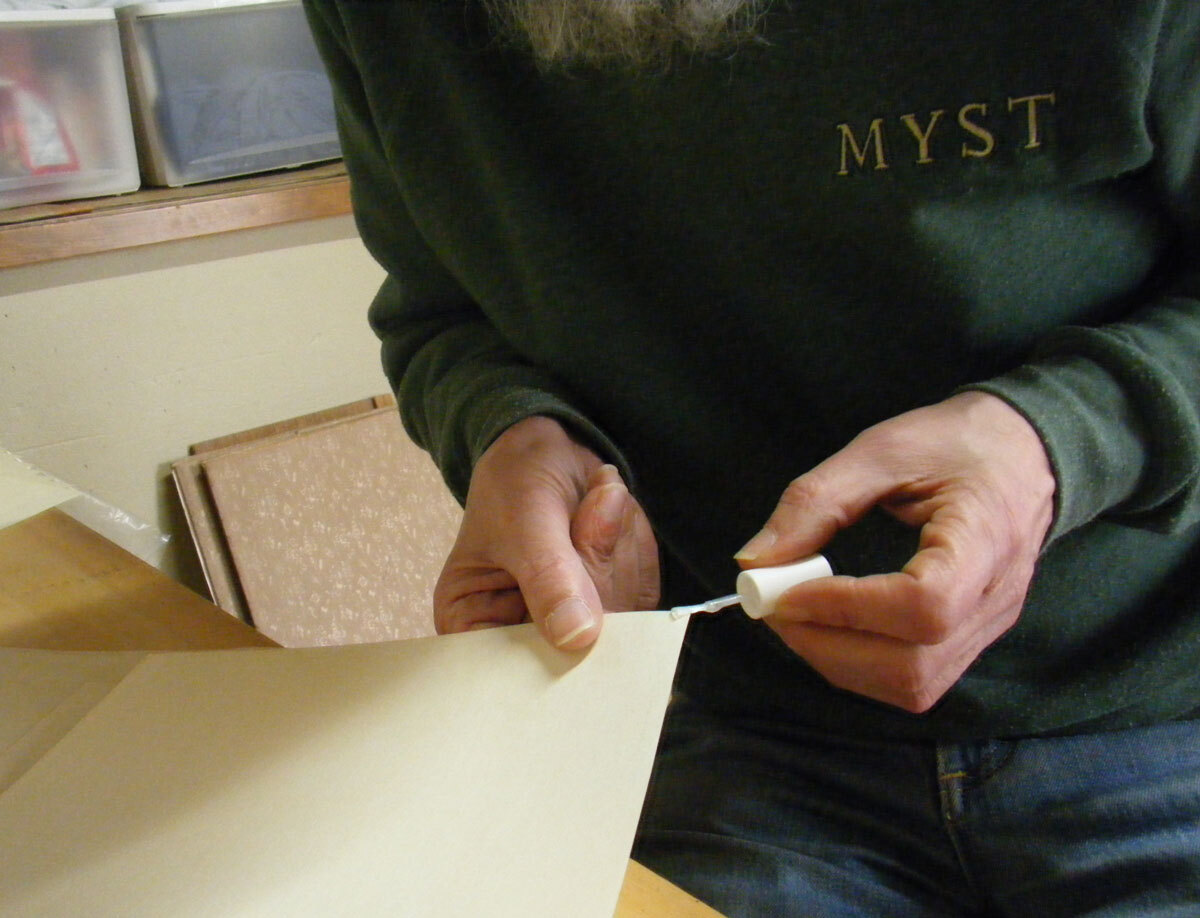
When making a multi-coloured print, with many impressions, many of which require extremely delicate registration, it is vitally important that we carefully protect the corner of the sheet - the corner that slides into the registration marks. Over time, and repeated impressions, the corner can become slightly 'worn' or damaged, and the registration becomes difficult.
So we use a clear nail polish ('top coat'), and brush it on the paper in the registration corner. This gives it enough body to survive the subsequent printing stages and remain clear and sharp right to the end.
This is not something we 'invented'; I read somewhere someplace that in the old days a printer might have done the same thing for expensive and delicate work. They of course didn't have 'top coat', and it seems they used a small dab of urushi lacquer.
You have to be really careful not to let the corner of the sheet touch any other area of the paper; if even a tiny dot of the nail polish gets on some other part of the paper, it will affect the printing.
And now - after all these preparation stages - it is finally time to moisten the stack of paper ready for printing to begin:
I'm doing this in the early afternoon, and will come back to the stack again in the late afternoon to shuffle through it, and make sure the amount of moisture is exactly what I need. Tomorrow morning - printing begins!
And to close off today ... a view of the door of the paper freezer in our workshop. Those of you who saw the blog post last week know what this is about ... The final yellow dot is gone. Everybody else is now working from home, and I have the entire workshop to myself ...

This thread continues in Octopus and Diver Printing (3) | Information on getting the print is here
Add Your Input