« A Touch of Levity ... | Front Page | Update - April 2020 »
Octopus and Diver Printing - part 1
Posted by Dave Bull on April 19, 2020 [Permalink]
It was the summer of 2016 that this project got underway - the plan to make a Mokuhankan reproduction of Hokusai's most iconic shunga work, the famous 'Octopus and Diver' image.
But here I am, beginning a series of blog posts that will outline the process of printing the image, and yet understanding that many people - people who want to learn about woodblock printmaking - are not so comfortable with viewing it. What to do?
Here's the basic 'ground rule' I will follow for the series of blog posts that will follow over the next couple of weeks, as the print comes to life: the intent of these blog posts is to discuss technical points of how the print is made, and to illustrate them with photos; it is not to illustrate the image itself. So that's the rule - these posts will be 'safe for work', as the saying goes ...
OK, let's get to it!
The initial step with all of our printing here is to prepare the washi (Japanese paper) for the work. We receive it in a 'raw' state, and it is not suitable for printing in that condition - before we can use it, we must 'size' it ... coat it with a glue mixture.
That's what I am doing in this image - brushing a mixture of hot nikawa (gelatine) and alum across both sides of each sheet:
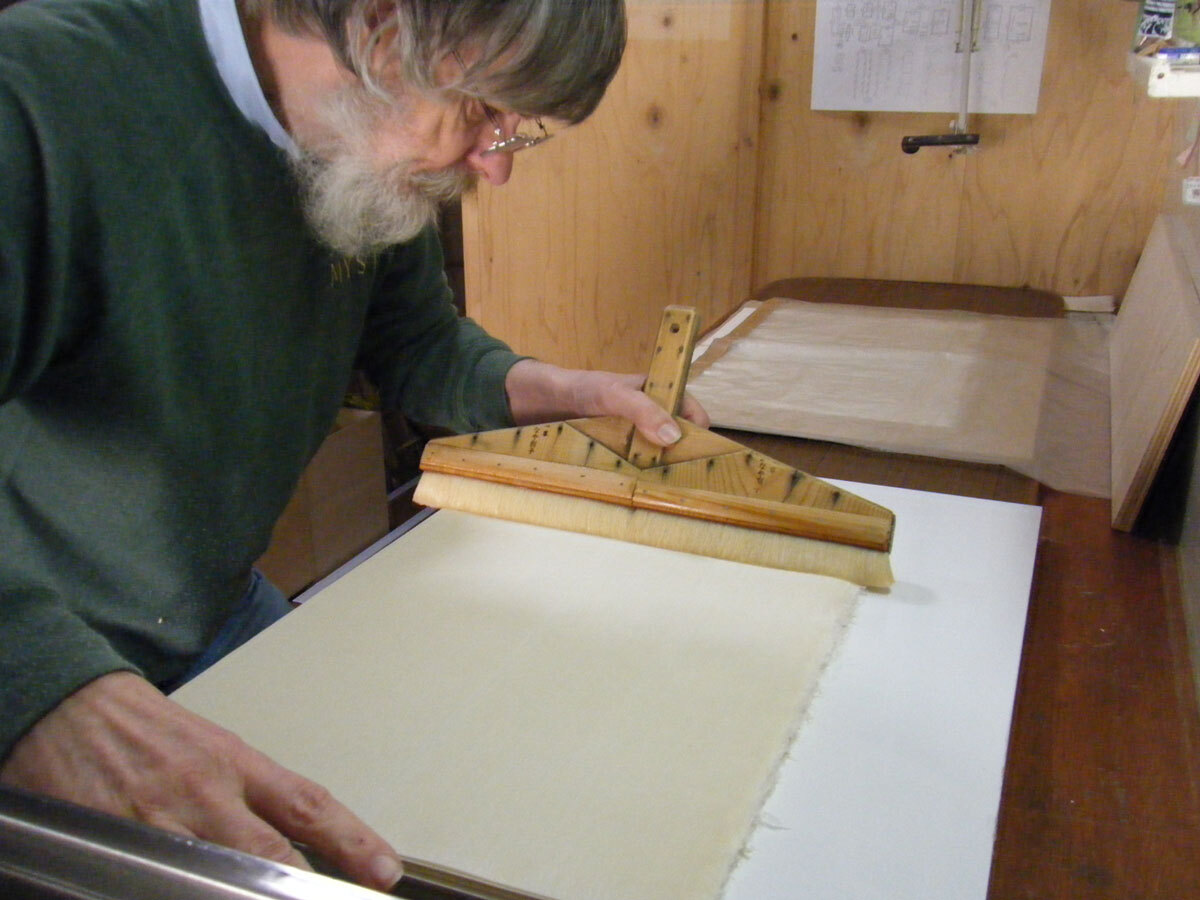
The gelatine serves to add body and strength to the paper, which would otherwise be too structurally too weak to survive the vigorous process of being rubbed against the woodblocks. The alum stops the colourants from spreading out among the paper fibres; with this 'barrier' in place, the colours stay within the lines ...
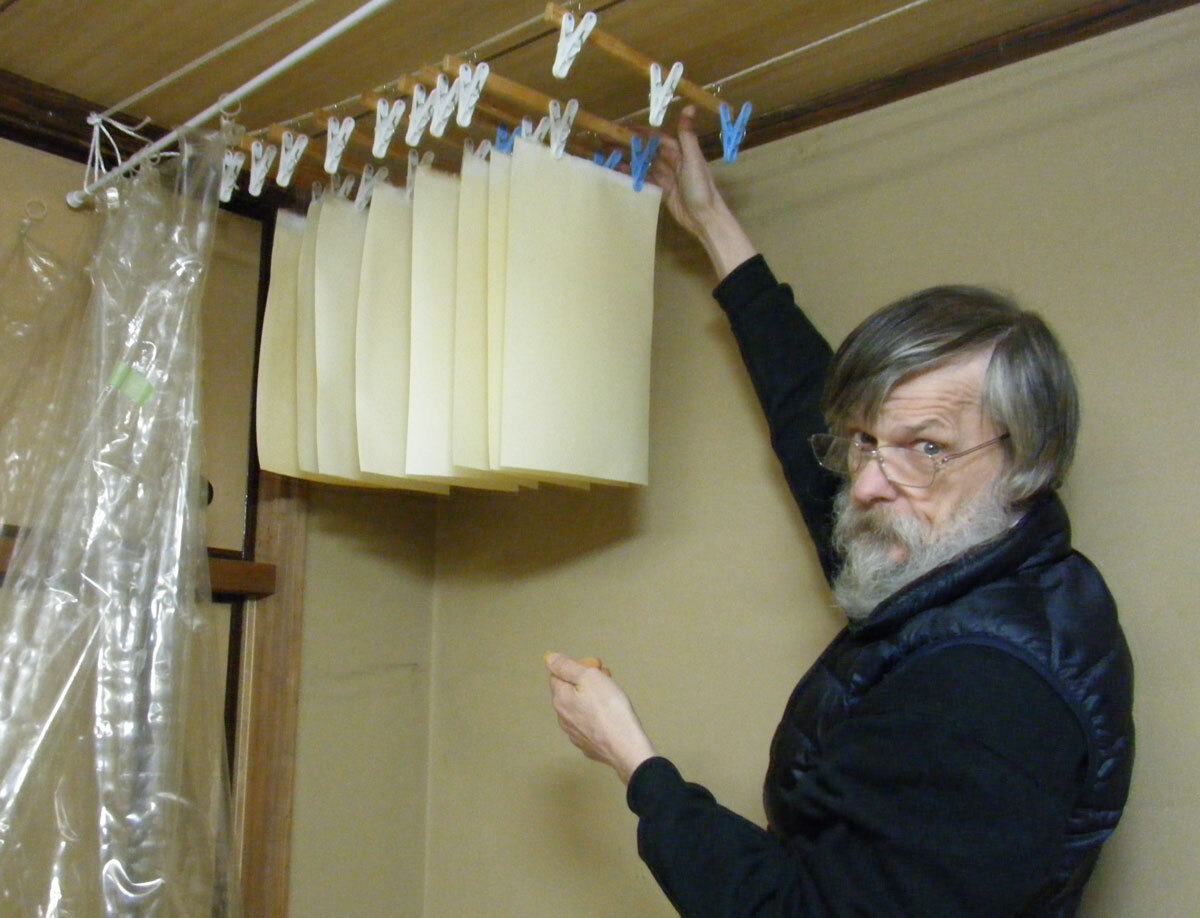
Once the stack of paper for a batch of prints is thoroughly saturated with the liquid (they don't stick together!), they are hung in pairs to dry, on cords we have stretched across one room of our workshop:
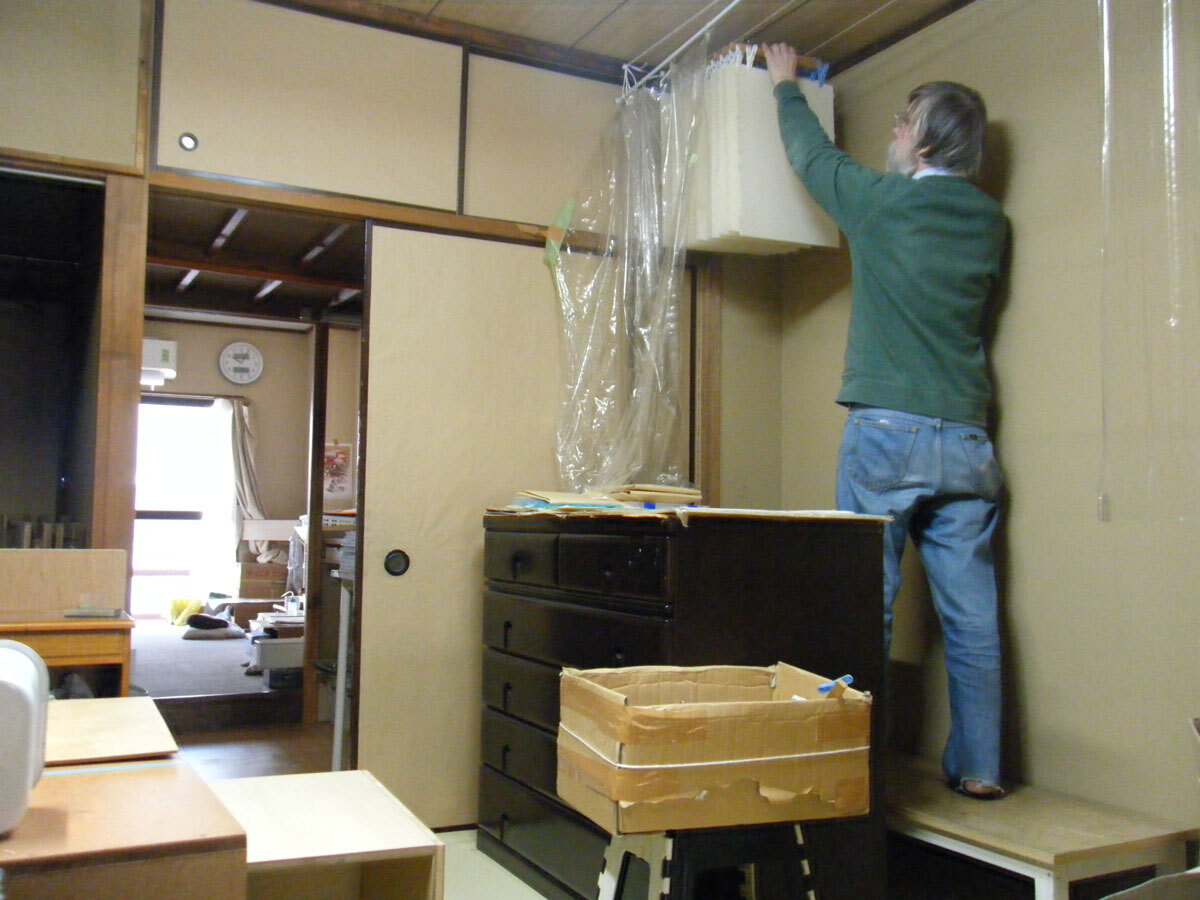
The idea is that the sheets should dry quite slowly - in order not to wrinkle and buckle - so once I have finished hanging all the sheets, the doors to the room will be shut tightly to decrease air flow. (In summer, when the air is much more damp, the doors can be left slightly ajar ...).
The sheets of paper you are seeing here have been trimmed from a larger sheet that we receive from Iwano-san the maker. Each of these will make two of the Hokusai prints.
Once dry, the sheets would normally go straight to the printer's bench, ready to be moistened for printing, but in the case of this Octopus image, we are going to add an extra step at this point - toning the paper.
When I ran an initial test group of these prints some time ago, I was disappointed in the overall 'mood' of the completed print. It was very crisply carved ... very smoothly printed ... but was just too 'clean' in overall feeling. The original of this design wasn't a very special production, done on expensive paper. It was just one page of a book, and a very cheaply produced book at that. The carving was rough (and broken in many places), the colours were mis-registered, and there was no attempt at all to try and get the left and right halves - carved and printed on separate woodblocks - lined up properly. These are all 'defects', and yet when I had corrected all these things in my reproduction, I found that the overall feeling was just too clean and neat.
Now I wasn't about to go back and damage the lines of my carving, nor will I willingly make prints with poor registration, but I did need to do something to make the print somewhat less 'perfectly clean', so I did a test run using paper that I had 'toned' with pigment, to make it appear less clean and neat. The result was much more suited to this image, so that is what we will do with this coming edition ... we'll add a bit of toning to the paper before we start the actual printing.
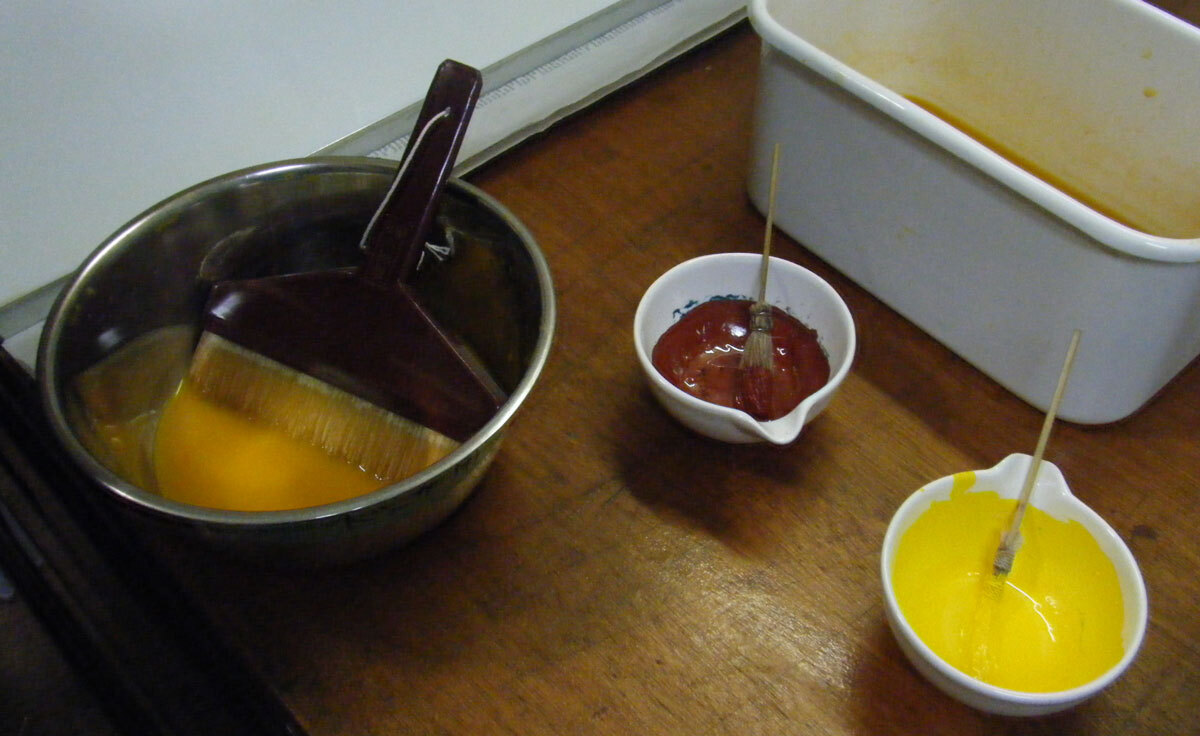
The process isn't so difficult. In the 'old days' such toning was sometimes done with persimmon juice, but as that liquid is quite acidic in nature, I want to use a method that is less destructive to the paper, so I simply use a light mixture of the same type of pigments that we will be using in the printing itself - in this case, a blend of red and yellow will produce a sandy tone:
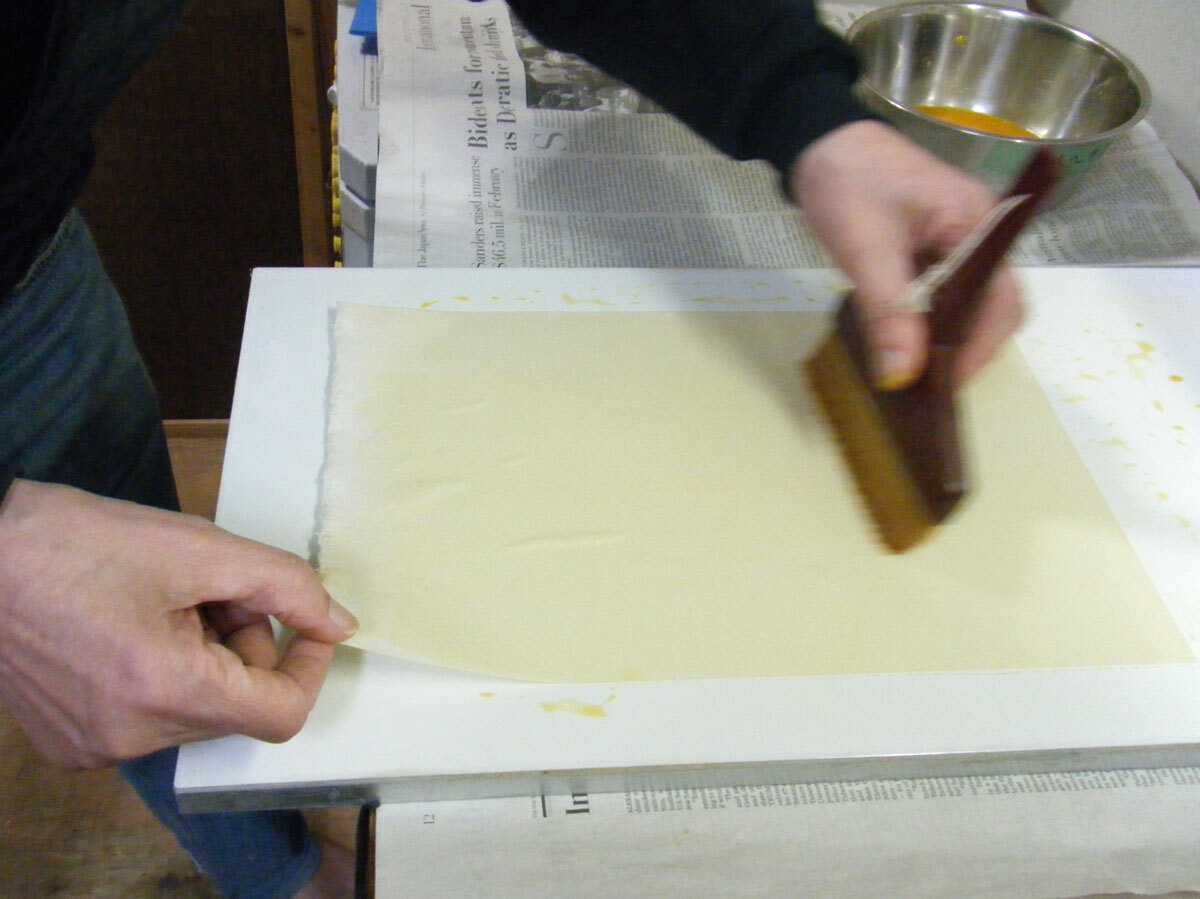
Unlike the sizing process, where the brush shouldn't be allowed to touch the same area of the paper more than once, this brushing is much more relaxed. I use the brush to pass over both sides of the paper, touching here and there until the overall effect seems basically smooth.
(Also, you can see that the larger pieces have now been cut in half, to the dimension we will use for printing ... with a bit of extra length at one end where they can be hung up ...)
Each sheet is then hung over in the same place where the sheets hang after being sized. This time, they are hung one by one, as if they were allowed to touch, visible marks in the toned colour would result ...
That's it for the first part of the preparation. Once dry, the batch of sheets will then need still a couple of preparatory steps before it can head to the printer's bench, ready to be moistened for the printing work to begin ...
This thread continues in Octopus and Diver Printing (2) | Information on getting the print is here
Add Your Input