« Shipping update ... | Front Page | Seditious Beauty »
Octopus and Diver Printing - part 4
Posted by Dave Bull on May 21, 2020 [Permalink]
(This is a ‘Safe for Work’ series of blog posts about the production process, not the image itself …)
Continued from Octopus and Diver Printing (3) | Starting point of the thread is here
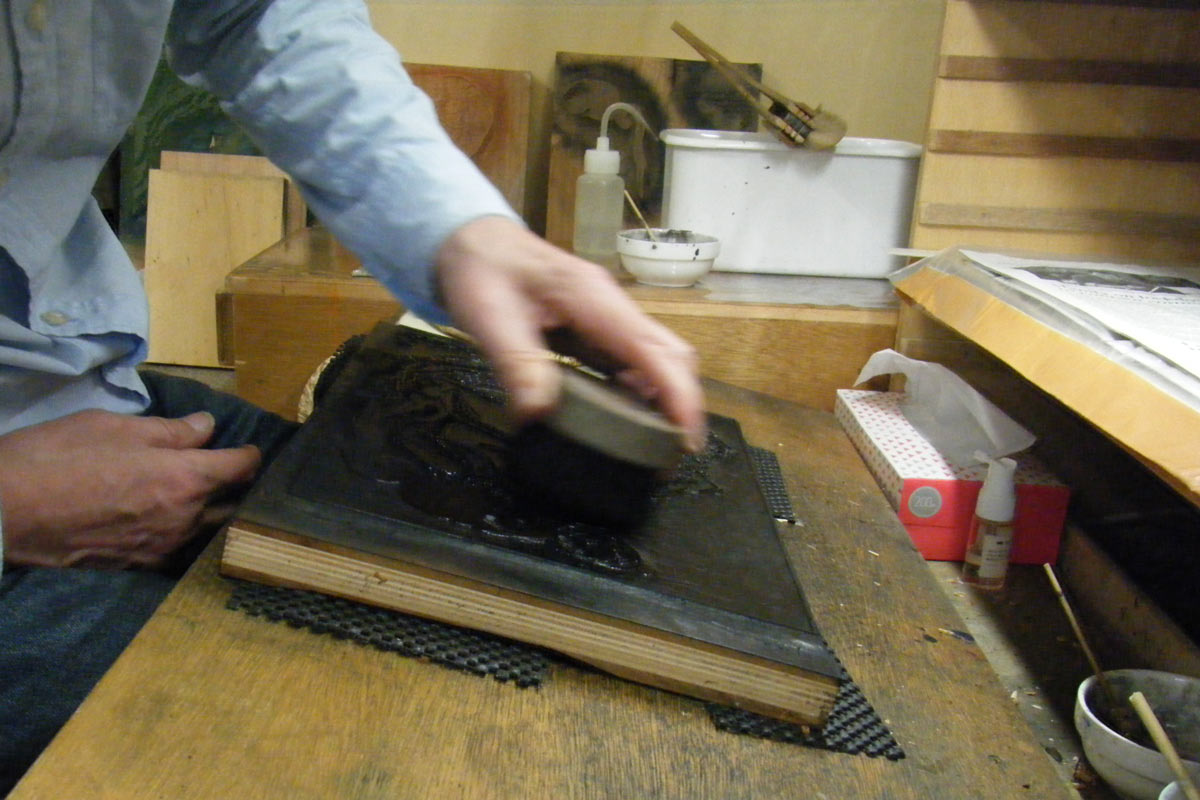
A typical printing impression in the traditional Japanese method begins with the application of a dab of pigment to the block:
... followed by a dab of paste:
... and then brushing them out together over the surface of the wood.
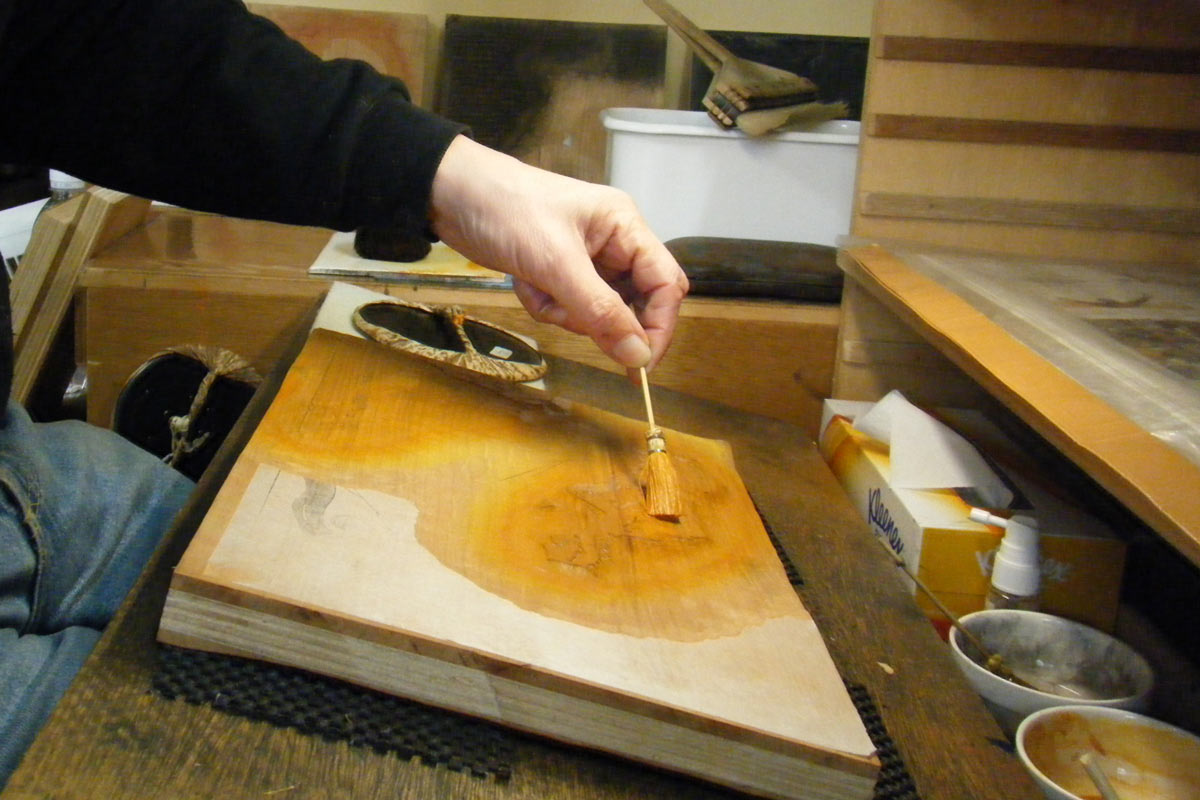
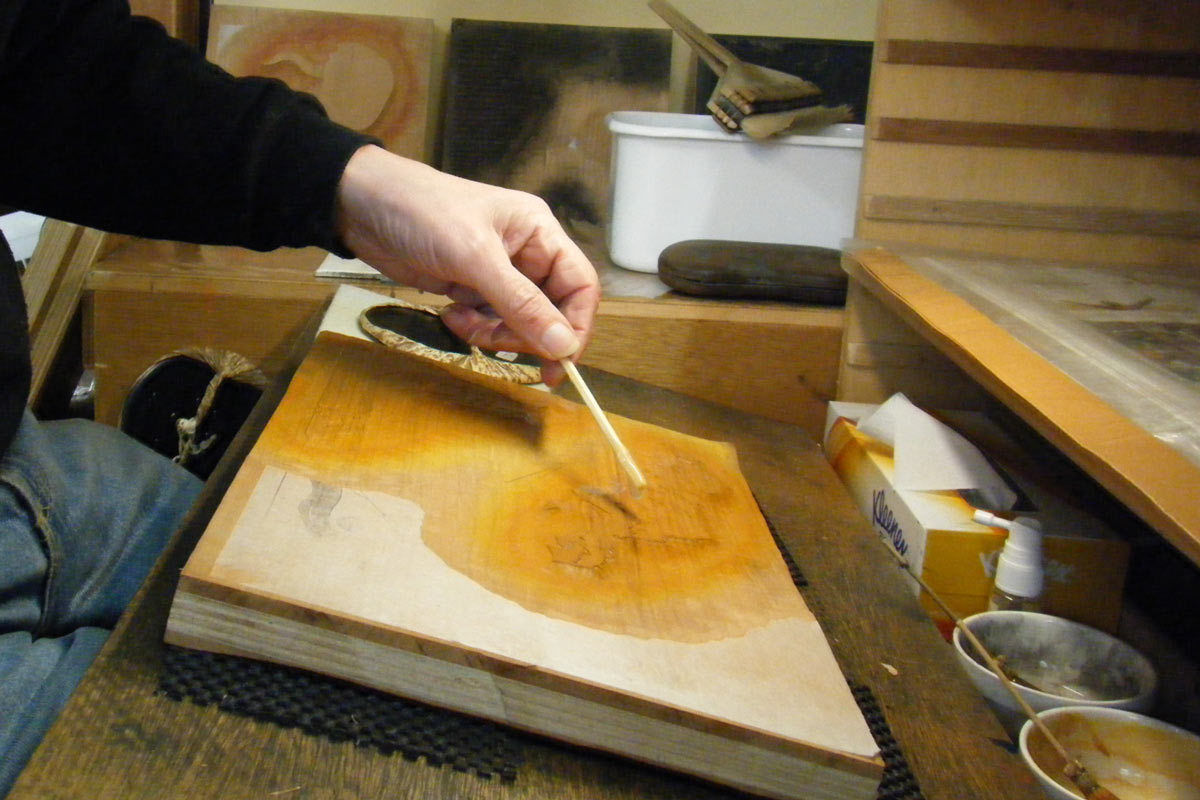
But that's not always how it works. For the key block for this print - as with many of our key block impressions - we do it a different way ...
I'm starting by spreading some pigment onto a white tile, instead of directly onto the wood surface:
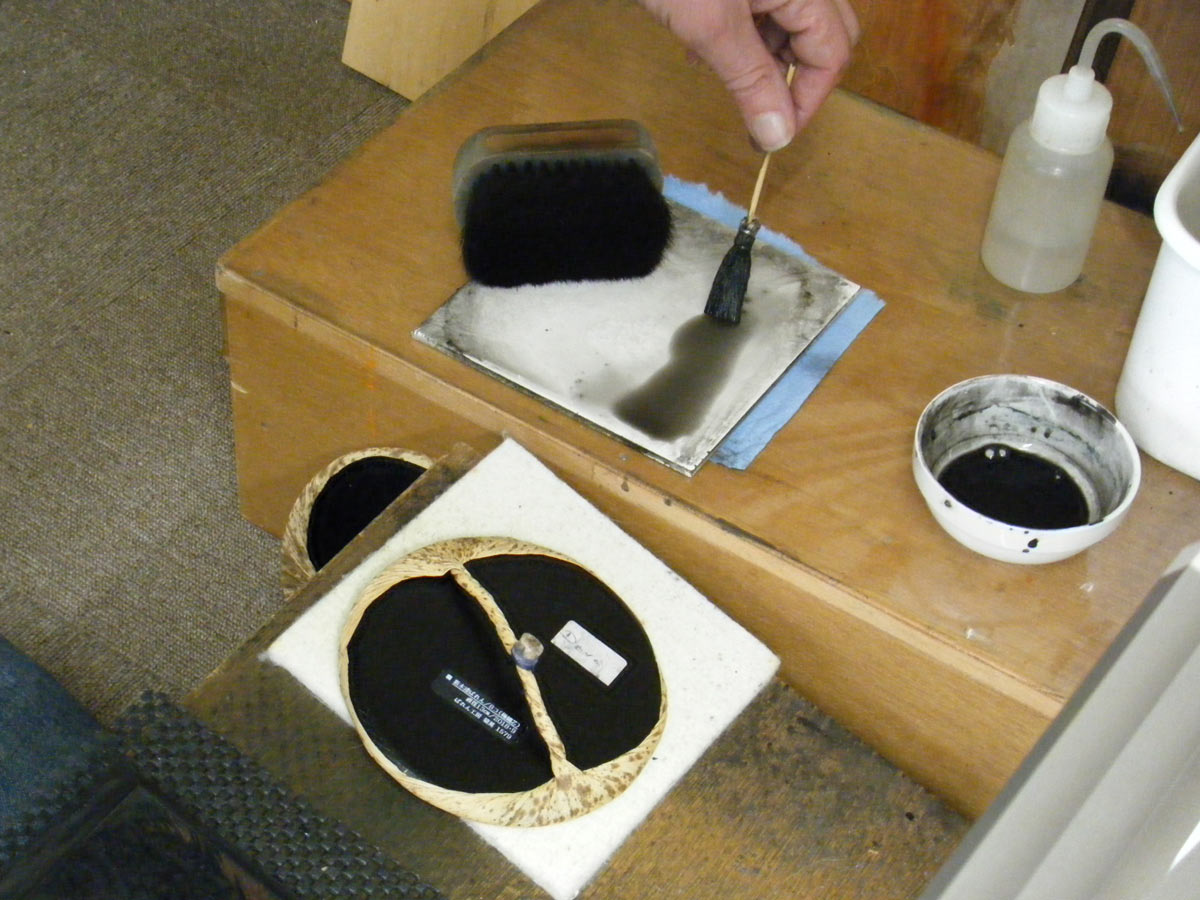
And I then pick it up from there with the brush:
There are a few reasons for doing it this way:
- the white surface clearly lets me see the density of my pigment mix, something difficult to ascertain on the wood
- I can easily control just how much of the mix to 'dab' up with the brush. I carefully study each completed impression as it comes off the block, and can add more or less pigment on the next sheet, based on what I see ...
- this avoids having pigment build up on any particular part of the wood surface, something that can cause 'balance' problems in the impression. (That can also be avoided by varying the location of the place you dab the pigment when you are placing it directly on the block ...)
- by taking a few swirls over the tile before moving to the wood, the pigment gets well mixed in the brush, allowing me to do less rubbing on the wood itself, thus helping - in a small way - to reduce wear and tear on the carved lines ...
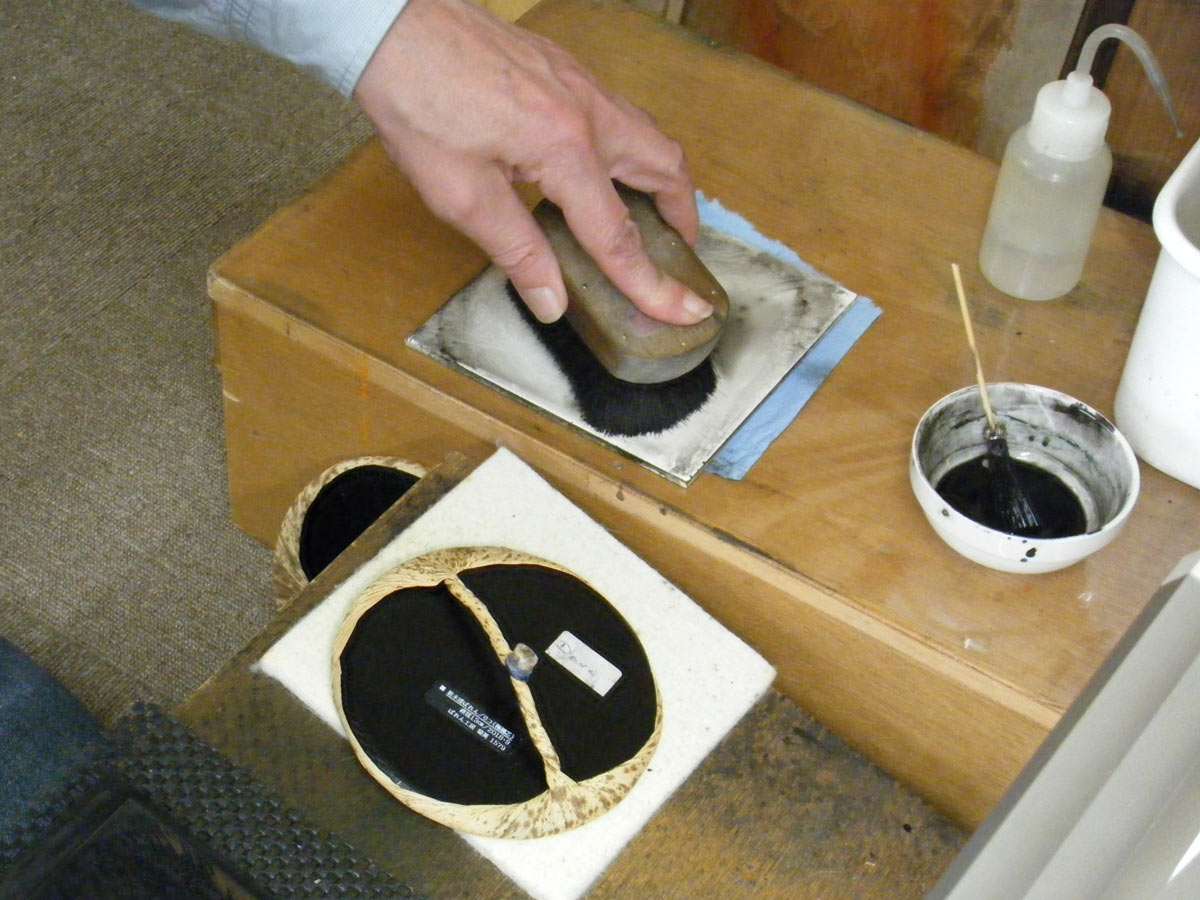
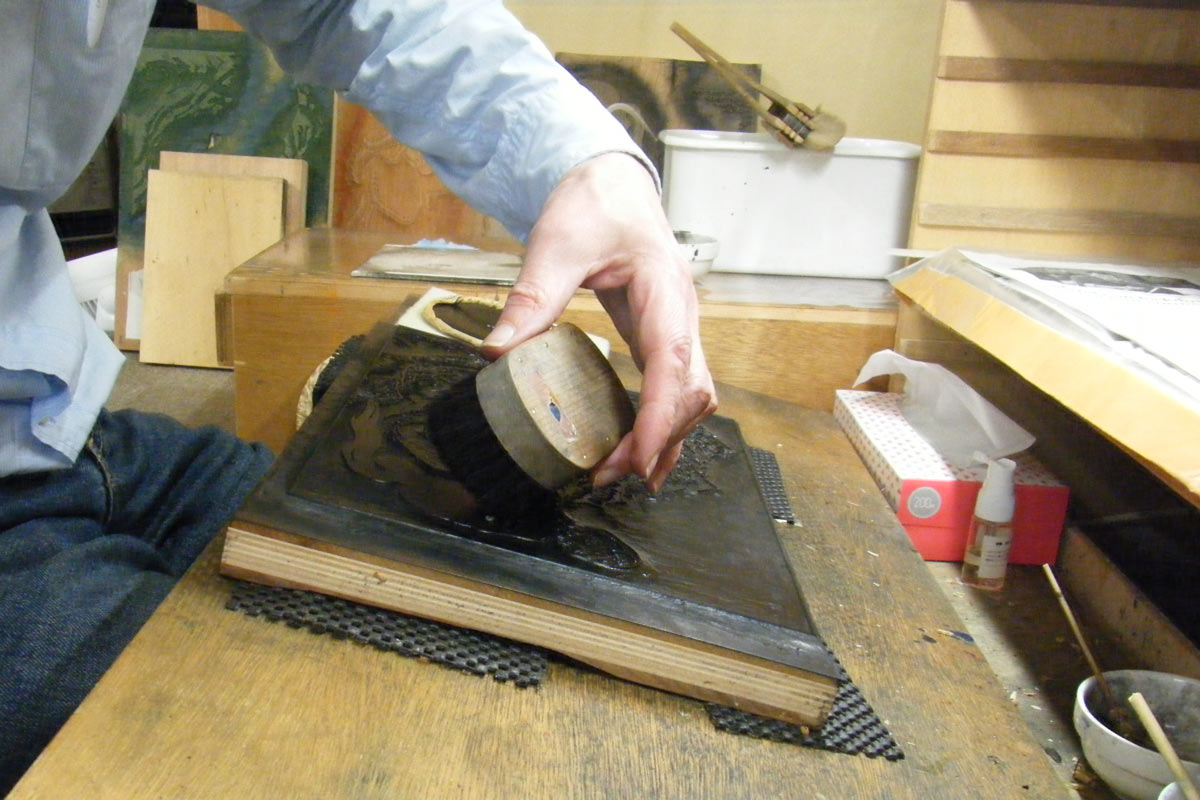
The brushing then proceeds as usual:
Always remembering to finish off with light 'sweeping' in the most delicate areas (hairlines, etc. etc.). This helps 'pull' pigment away from between fine lines. If you can hear the sound of the brush on the wood at this point, you are rubbing too heavily!
And you have to move quickly - if you take too long at this stage, things will be drying out over the rest of the wood, and you'll end up with an uneven impression.
Your paper should of course be ready in exactly the proper position for instant retrieval; again, every second counts.
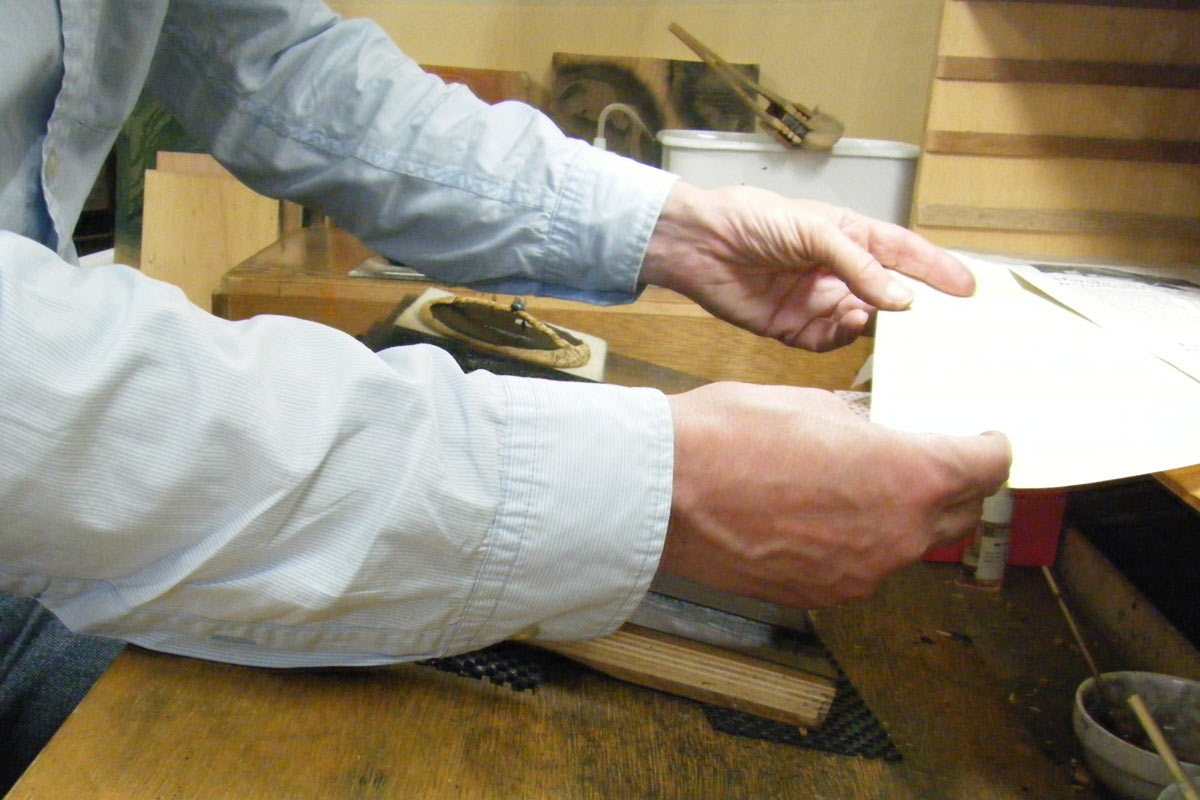
In place, and down she goes. The particular act you are seeing in this photo - getting the paper exactly in the corner, is the single most critical act in the entire process of making a traditional Japanese print.

If you get it even the slightest bit out of the corner here on the key block, nothing can save you during the rest of the process. If each of your key block impressions is different in this respect - and on a print like this we are talking about extreme sub-millimetre accuracy - all subsequent colours will be mis-registered, but you will have no way to know where the error is.
In our workshop - and in any serious Japanese printing workshop - a printer who is working on a key block is never to be disturbed. No chatting; no phone calls; no nothing. Leave them alone!
The impression is then taken in the usual way - start with a few very light touches to get the paper 'down', then make the initial strokes in such a direction as to make the sure the paper is not being pulled 'out' of the registration marks. This is why it is more difficult for lefties to do this job - and why in the professional field here, there are no left-handed printers.
Right-handed printers mostly 'pull' their baren strokes, which helps lodge the paper into the marks while also applying good pressure; lefties have to 'push' their strokes to achieve the same effect, which is much more difficult to control. (Of course a left-handed - independent - printmaker could cut the marks on the opposite side of the block, but such a block could not then be printed by others ...)
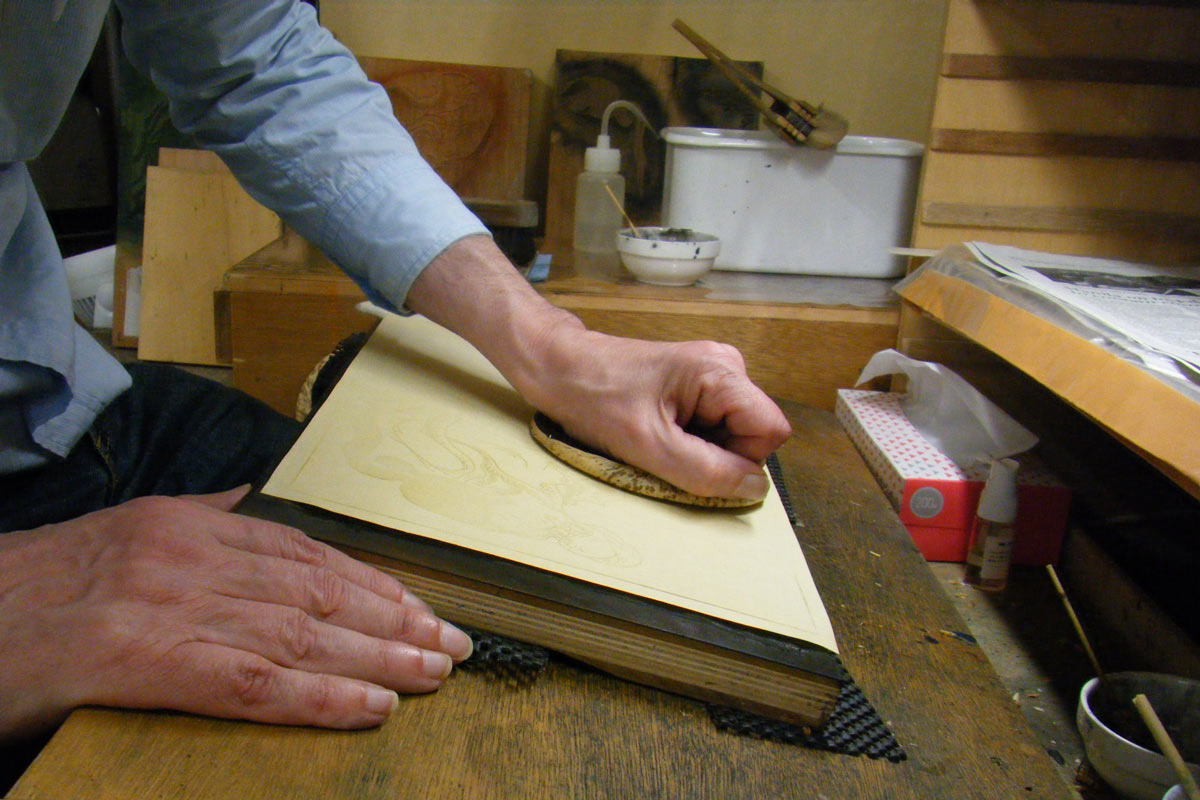
I'm taking a peek here at the result - before lifting the paper off (holding it in place firmly with the baren). This lets me do her face carefully ... keeping the impression very light, taking a peek to see if the hair is OK, and if not yet quite 'ready', letting the paper back down and making a few more light passes ...
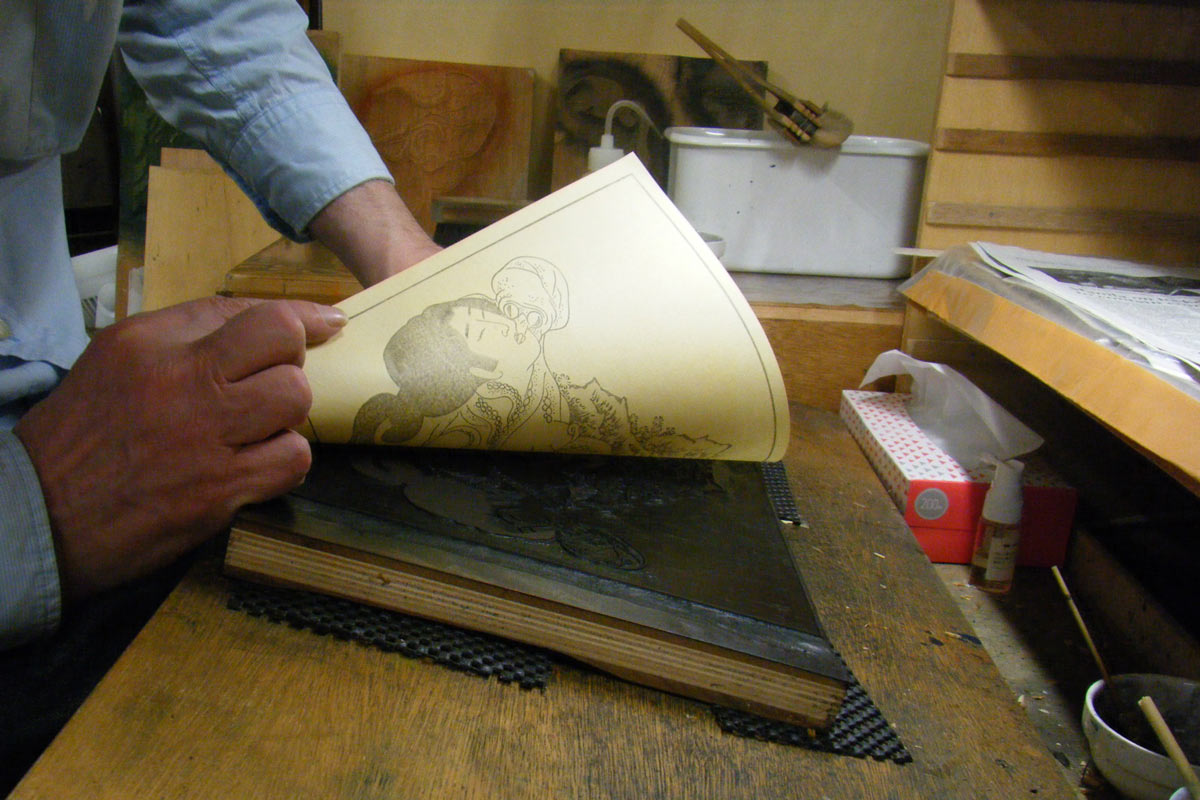
If it is OK, then off it comes ...
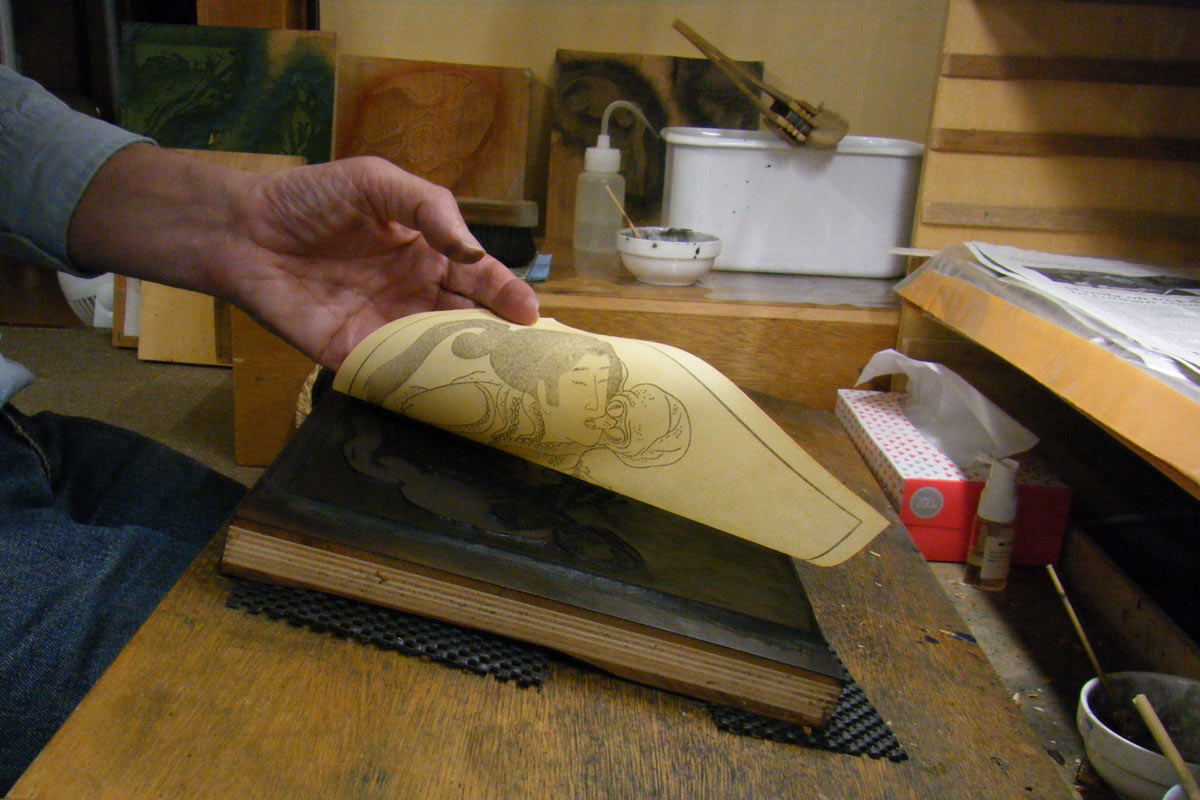
... and it then goes quickly into the out-stack (you saw the location of this in the previous post). It is sometimes common for the paper to dry out somewhat while doing the key block impressions - they tend to take a bit more time than many colour impressions, and they definitely do not add much moisture to the paper (unlike the background colour printing, for example).
So once I was finished the stack, I got my water brush out and went through the stack again, lightly re-touching the water level. The paper was then wrapped up, to wait until the next day before beginning any colour printing.
Added by: Gilbert Tang on June 1, 2020
Just received mine. It's magnificent. Thank you so much.

Add Your Input