« Carving progress ... | Front Page | Millions and millions ... »
Aoyama-san Making Blocks for Carving
Posted by Cameron Hilker on February 8, 2019 [Permalink]
Our carvers have been working their way quickly through wood blocks with so many projects going on, so we've run low on prepared blocks. Therefore, over the last few weeks, Aoyama-san has been preparing more woodblocks for us!
As many of you likely know, we have long struggled to find quality wood blocks for Dave and our other carvers to use. Because of this difficulty, a few years ago we started buying our own yamazakura (mountain cherry) wood to use in creating our own woodblocks.
Today I will walk you through the process of turning those planks of wood into usable wood blocks.
First Aoyama-san checked much of the wood we have stored in our workshop to find pieces that suited our upcoming needs. We keep wood stored in decks of thinly-sliced wood, bound tightly together. We leave some space between each slice so that air can flow freely around the wood and dry it more quickly, but we also tie several pieces together to help keep them flat and prevent warping during the drying process.
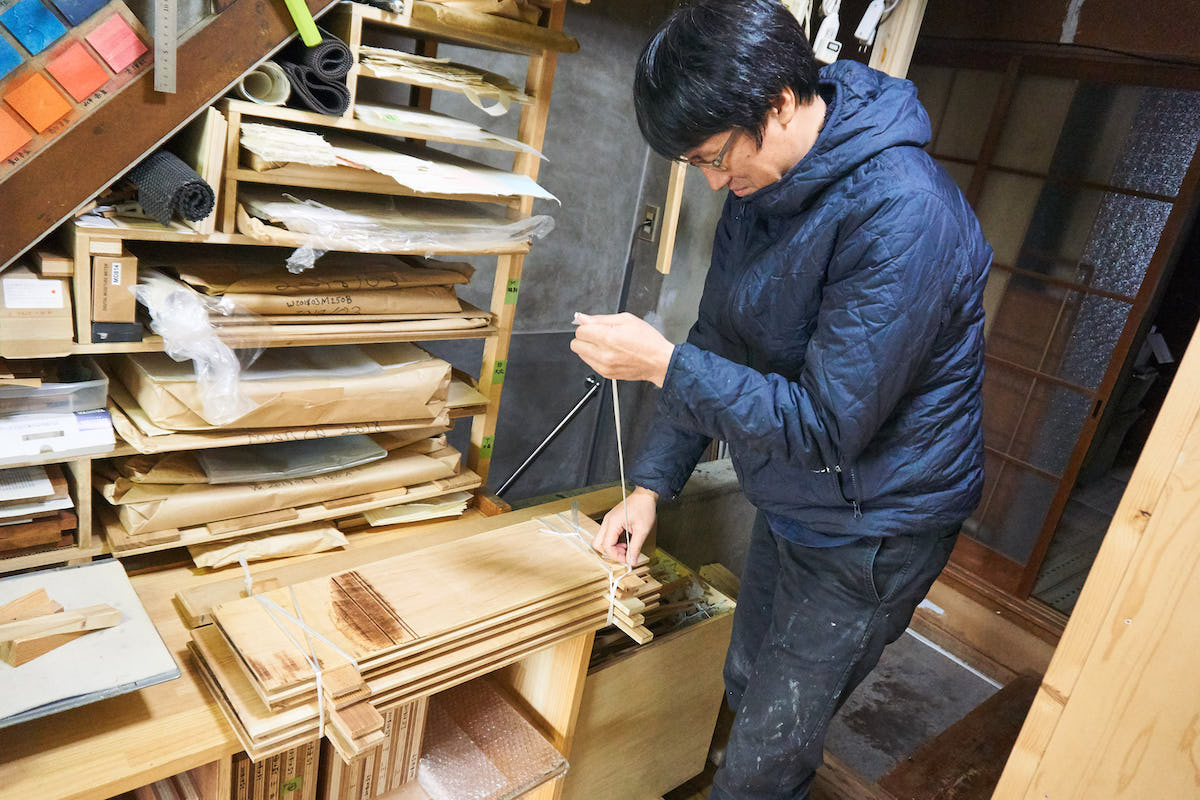
We have a moisture sensing device to could check if the wood is dry enough. We have plenty of wood drying in our workshop, so it's important to confirm the pieces he is using are not still moist. You can also get a good sense of how dry it is simply by holding it in your hand or thumping it with your knuckle.

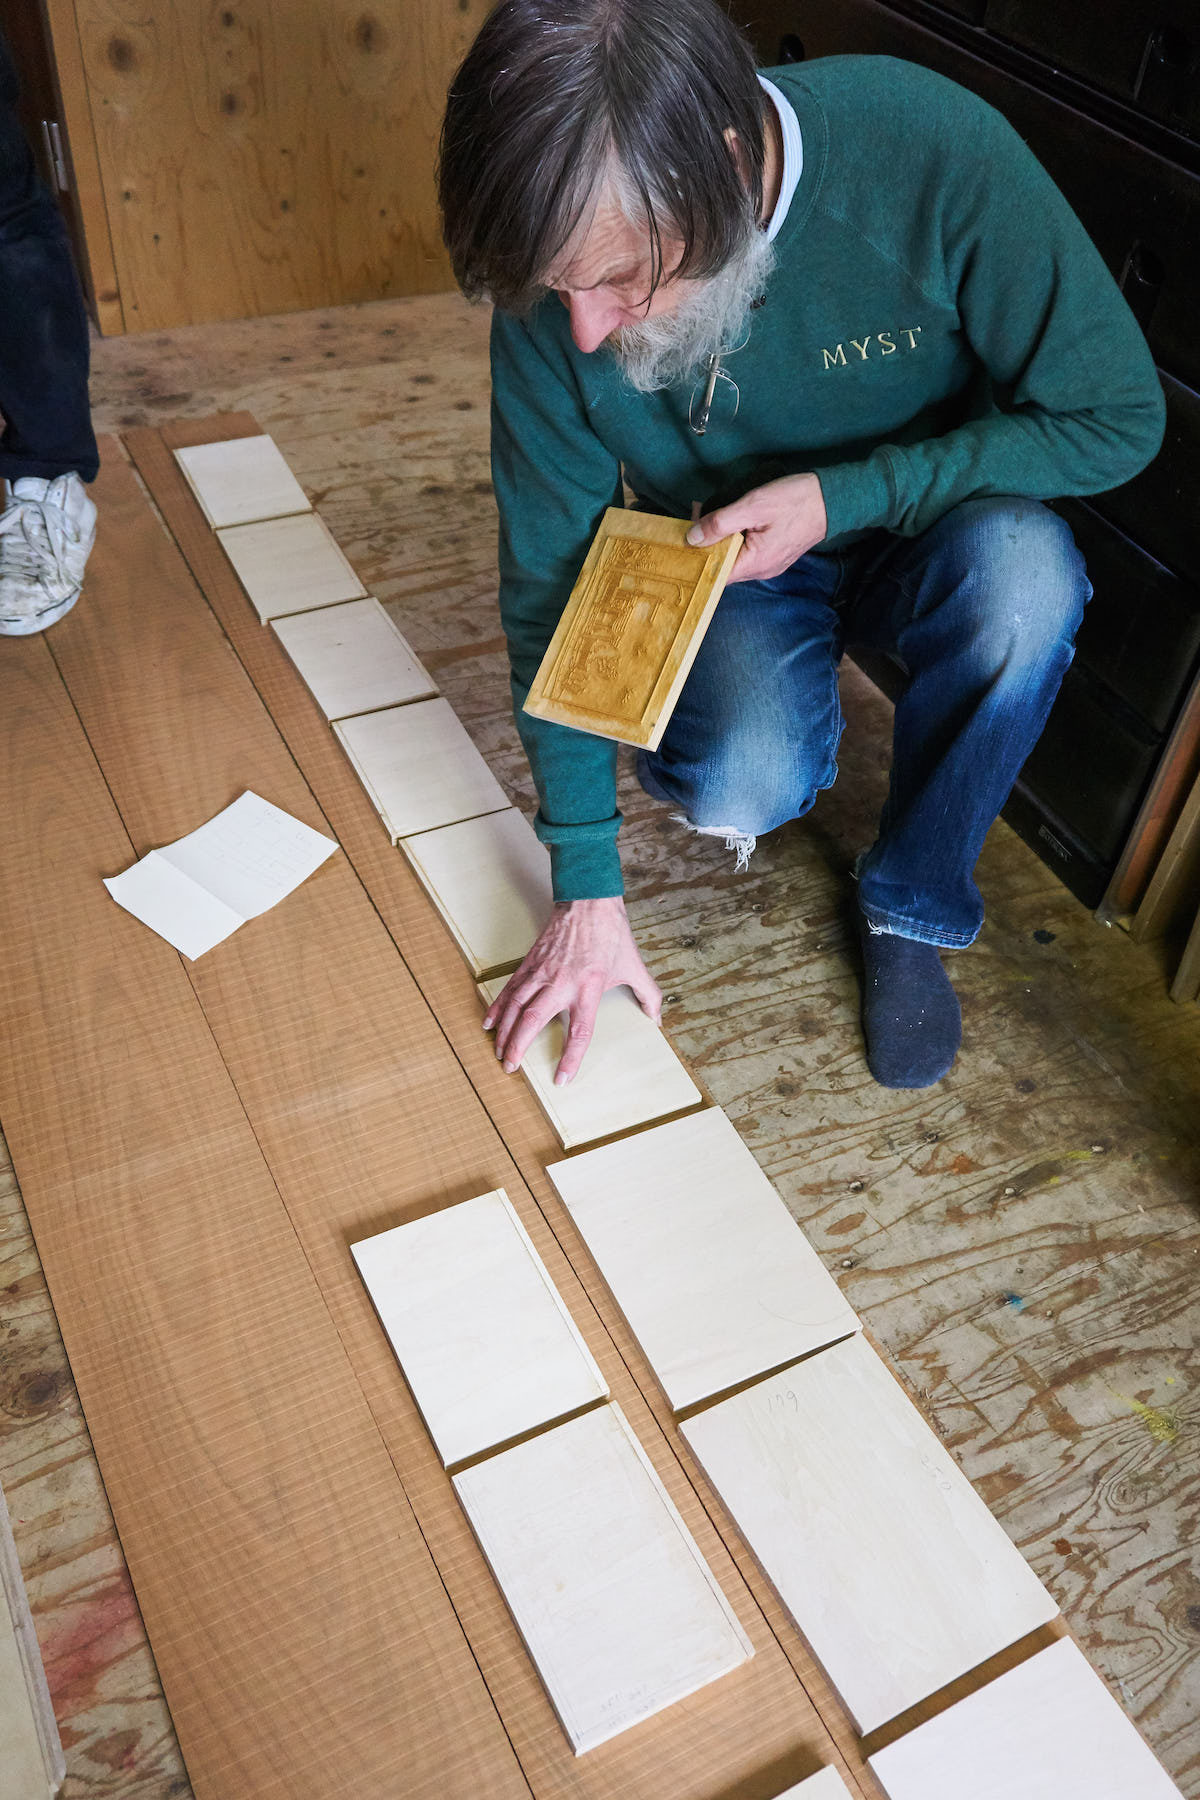
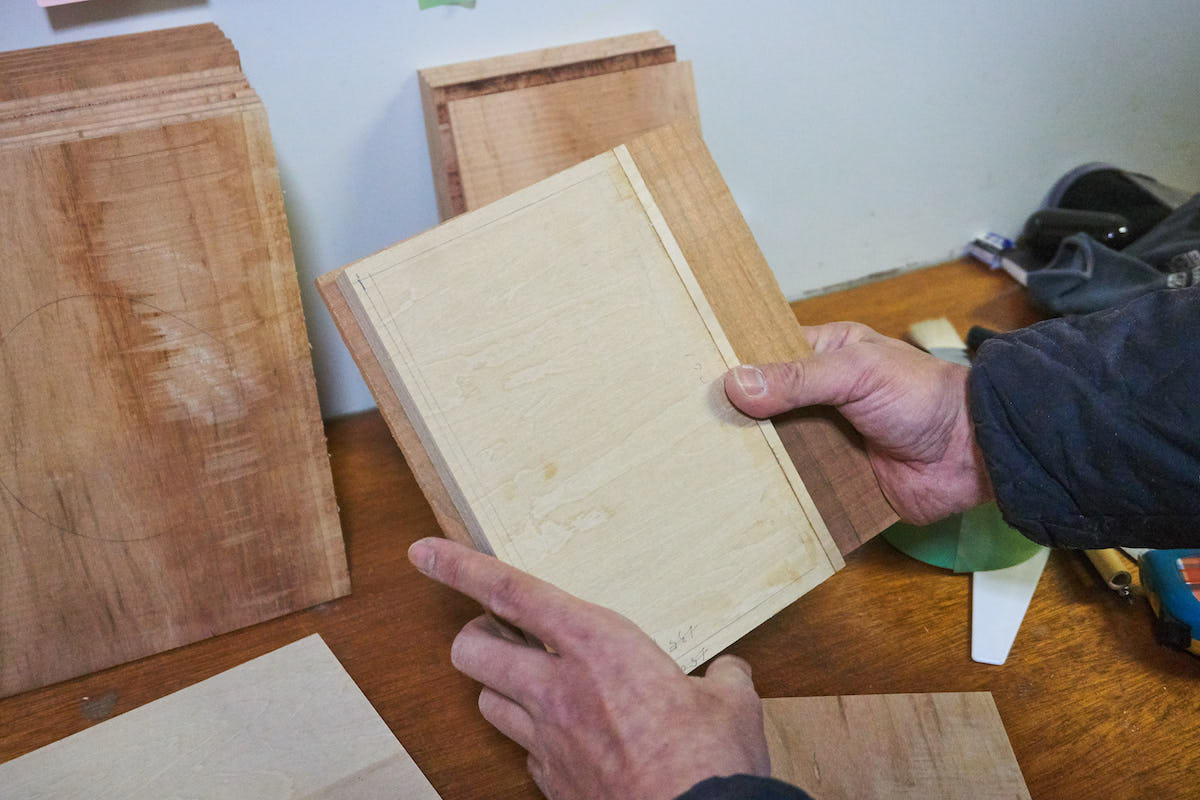
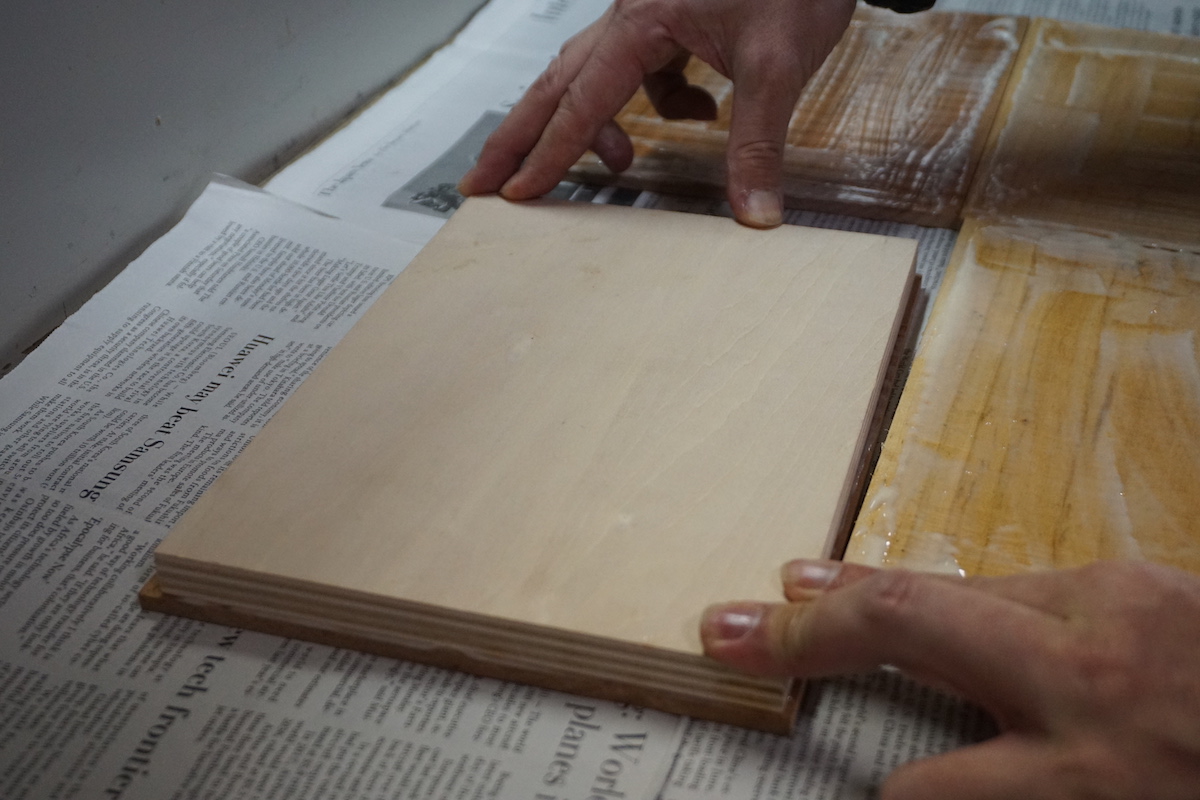
Aoyama-san chose some long slices of wood that appeared to be the correct width for our upcoming projects. He laid them out on the ground in our workshop and used plywood pieces (which were already cut to specifications) to check that they would fit the size we need for upcoming prints, and choose locations to avoid knots or other problem areas on the individual pieces of wood.

David visited the top-floor workspace to see what Aoyama-san was up to.
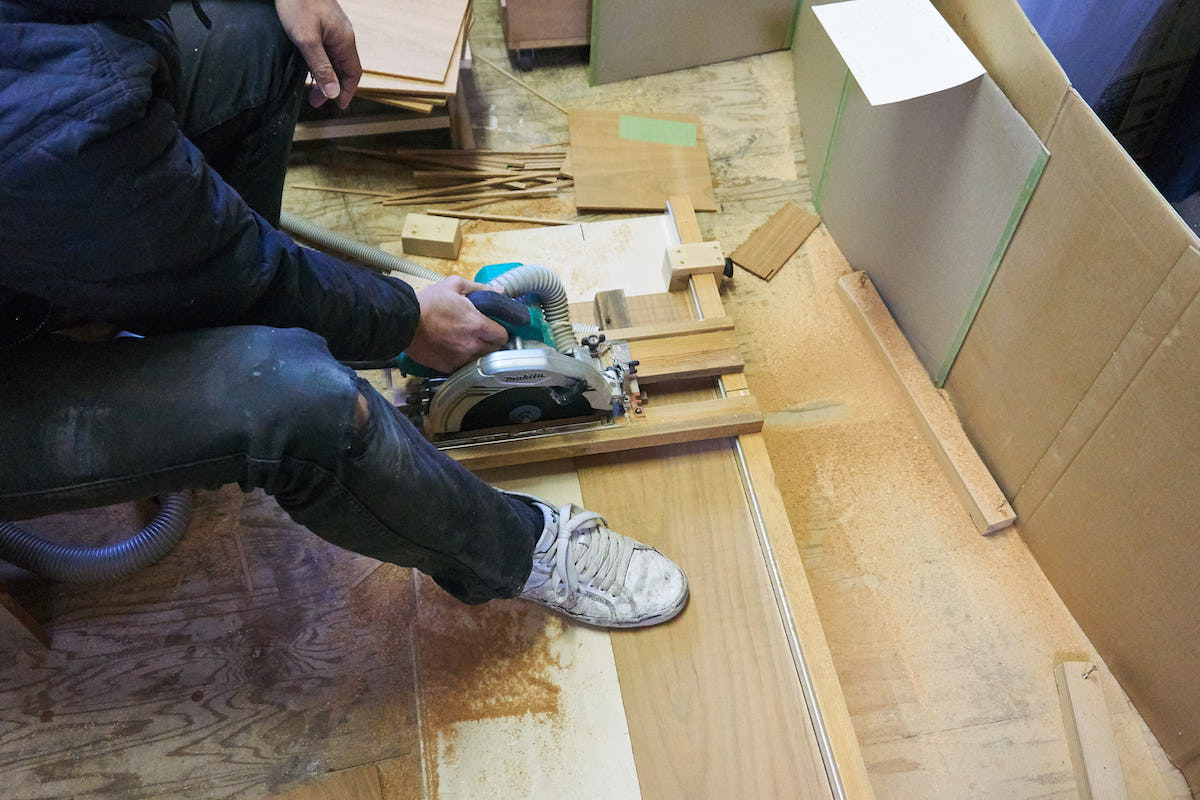
After finding the most efficient layout for the blocks to avoid as much wasted material as possible, Aoyama-san then sawed the long planks into sizes closer to what was needed, leaving a little extra wood on all sides, since you can always cut more off, but you can't put it back on!
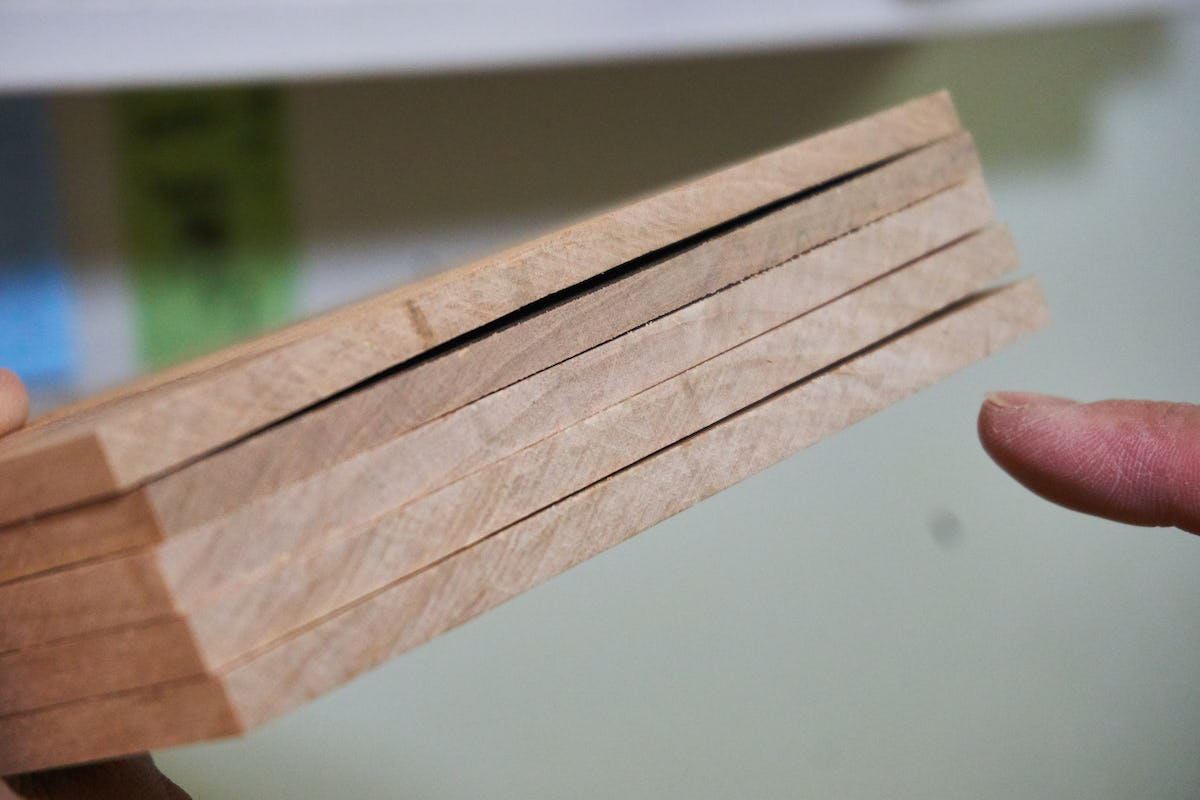
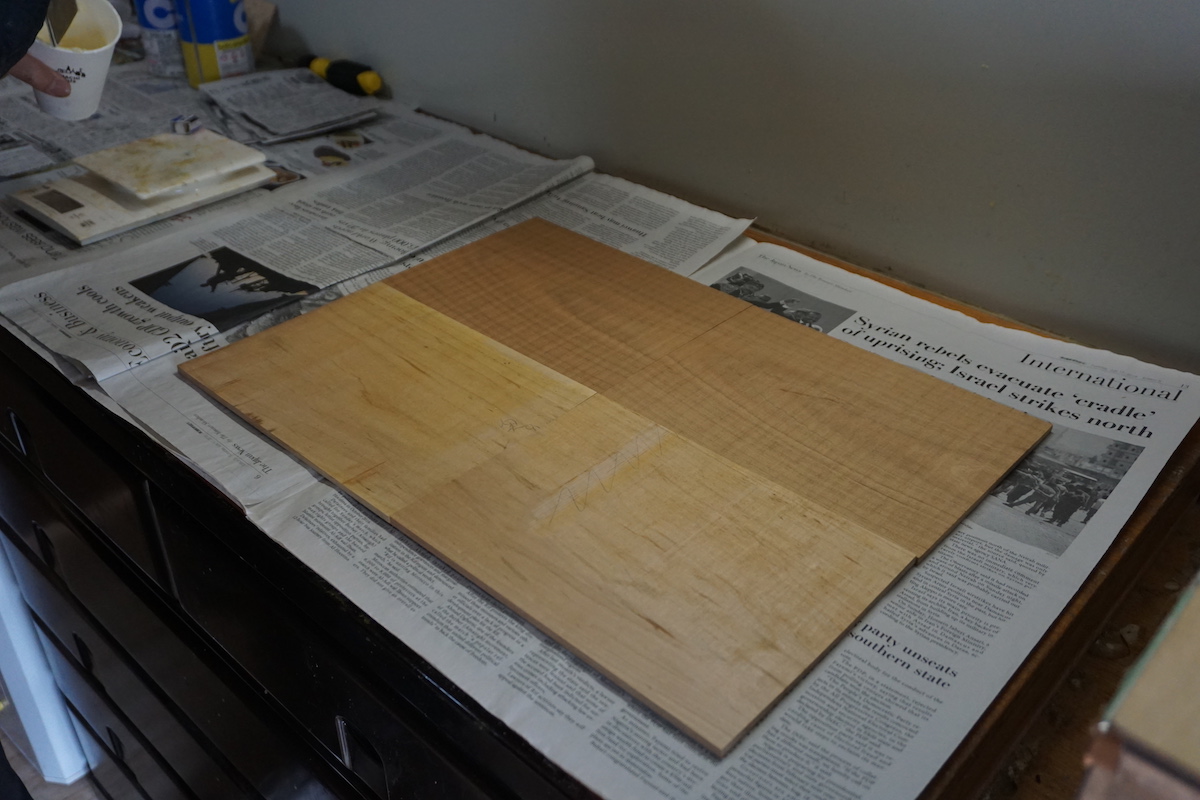
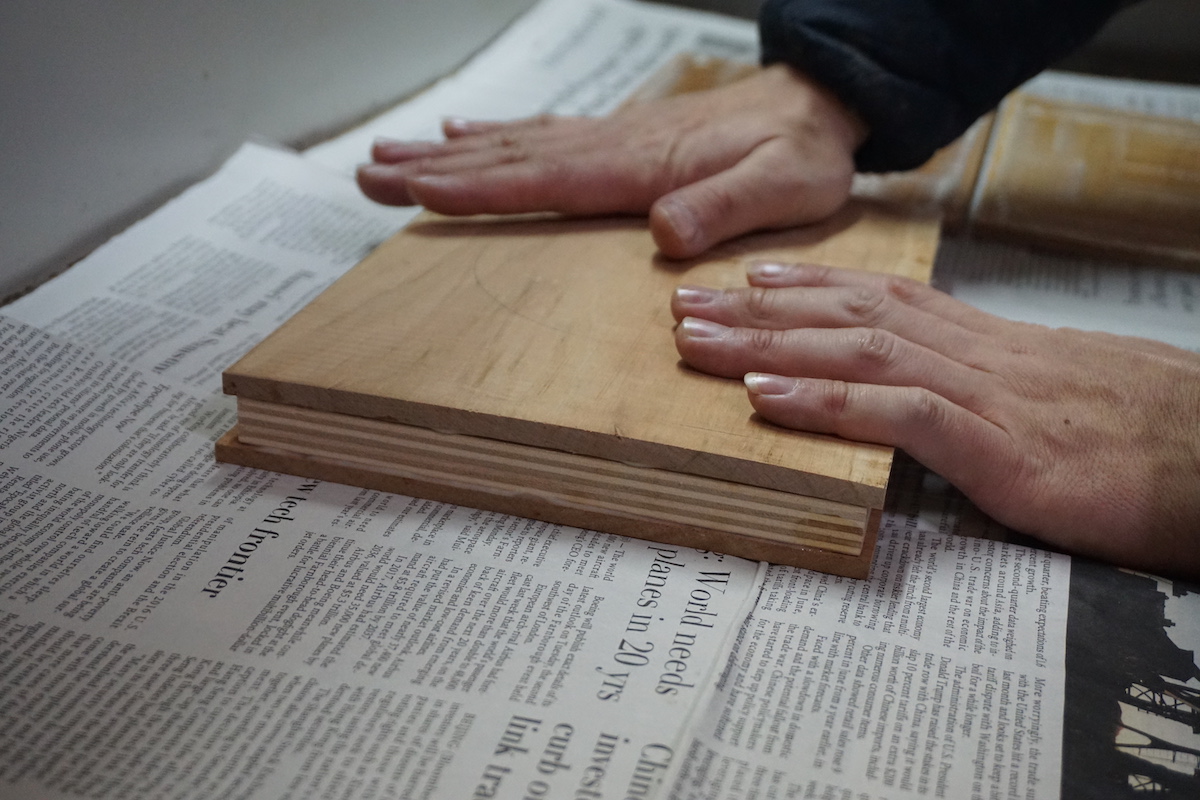
He then showed me the kind of cut we are looking for when choosing cherry wood. We want wood from the outer edges of the rings, instead of straight across the tree. In the picture below, you can see how the rings of the wood curve through these blocks instead of looking like many parallel lines, which is what would happen for a slice through the middle of the tree.
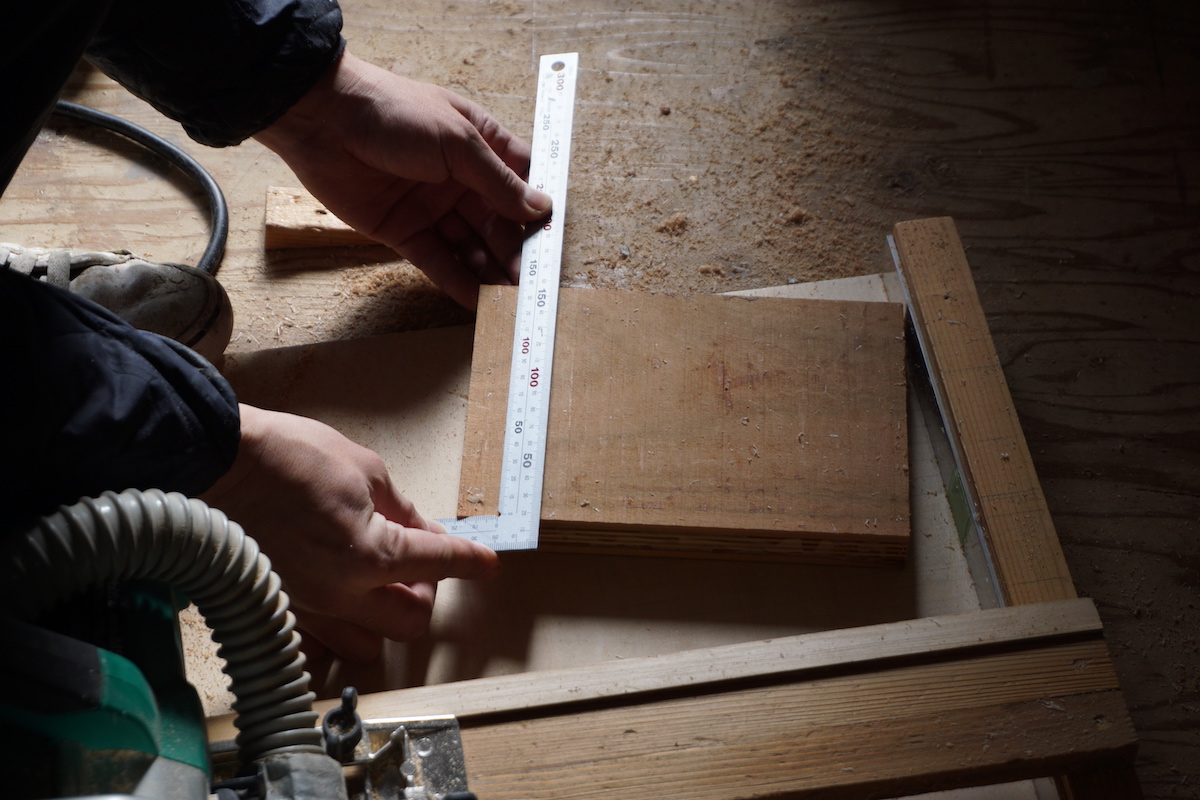
The next step is to check that every piece of wood was cut properly and the plywood parts will fit within the freshly-cut cherry blocks.
These looked good, so Aoyama-san then lined up 4 pieces of cherry wood...
...then applied glue in large globs...
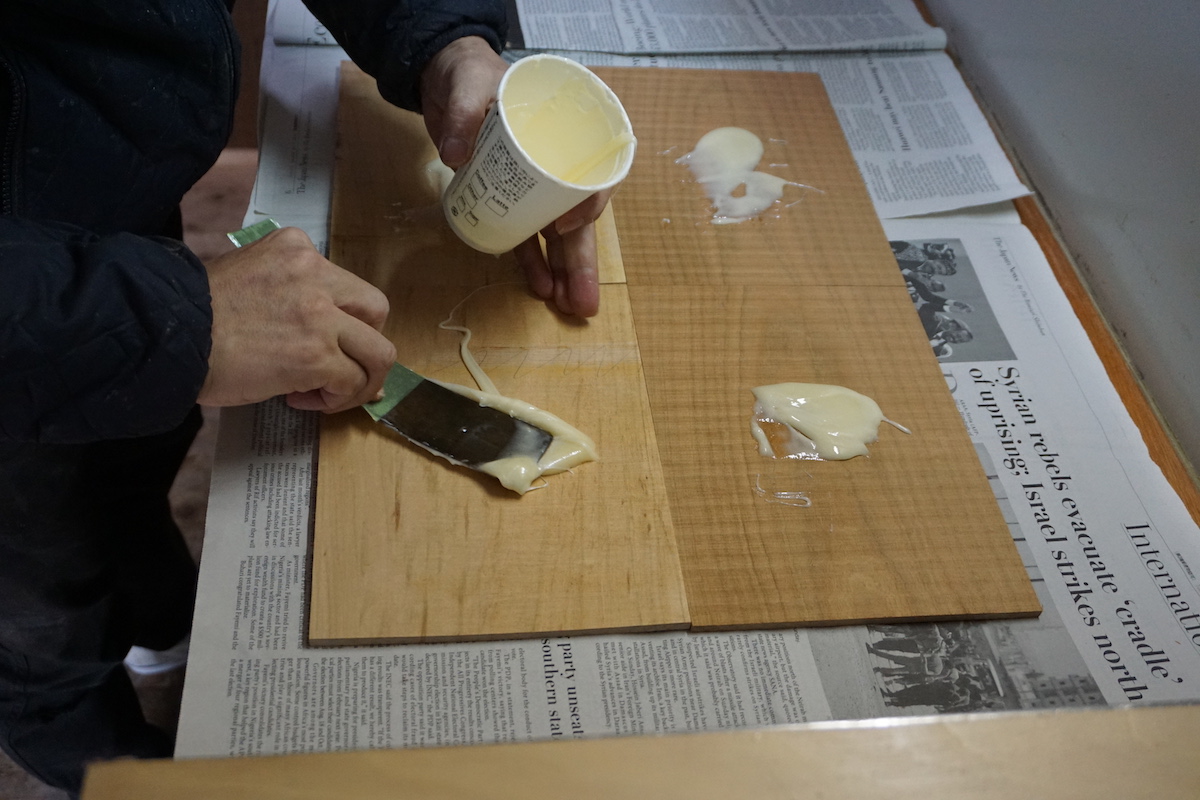
...and finally spread it thinly around the full surface of each piece of wood.
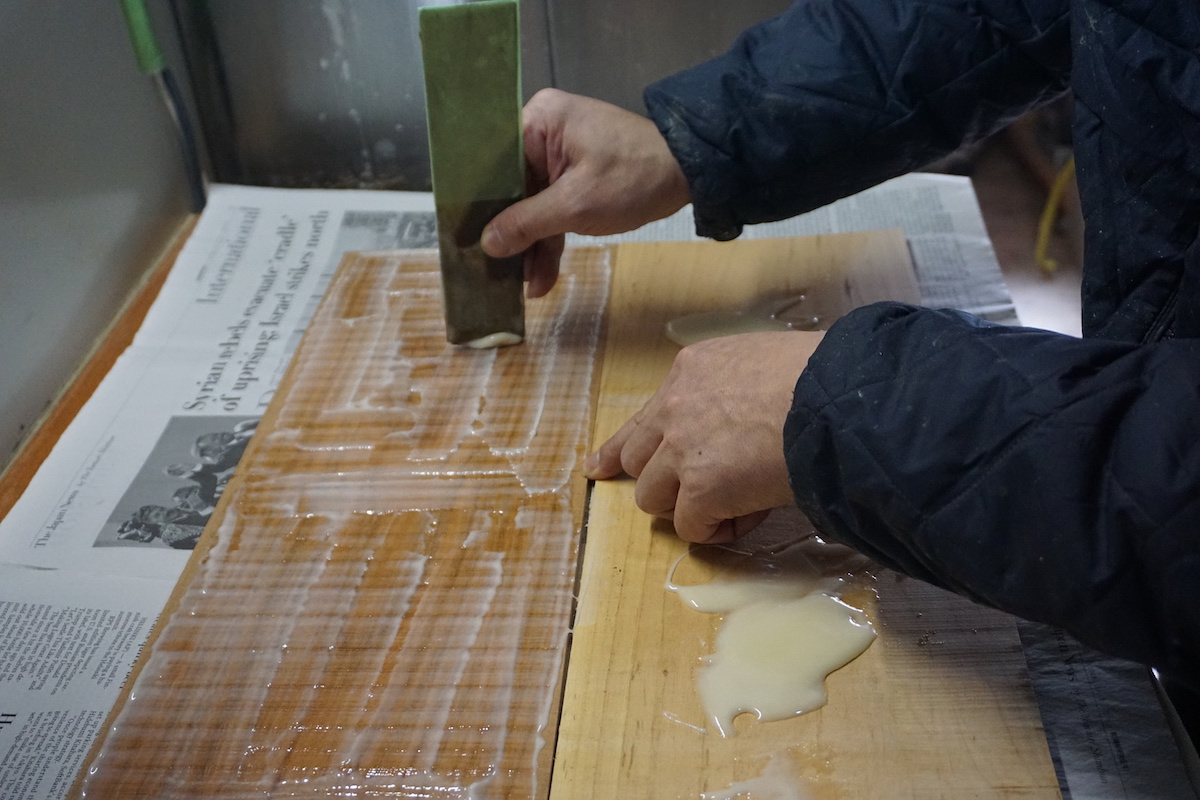
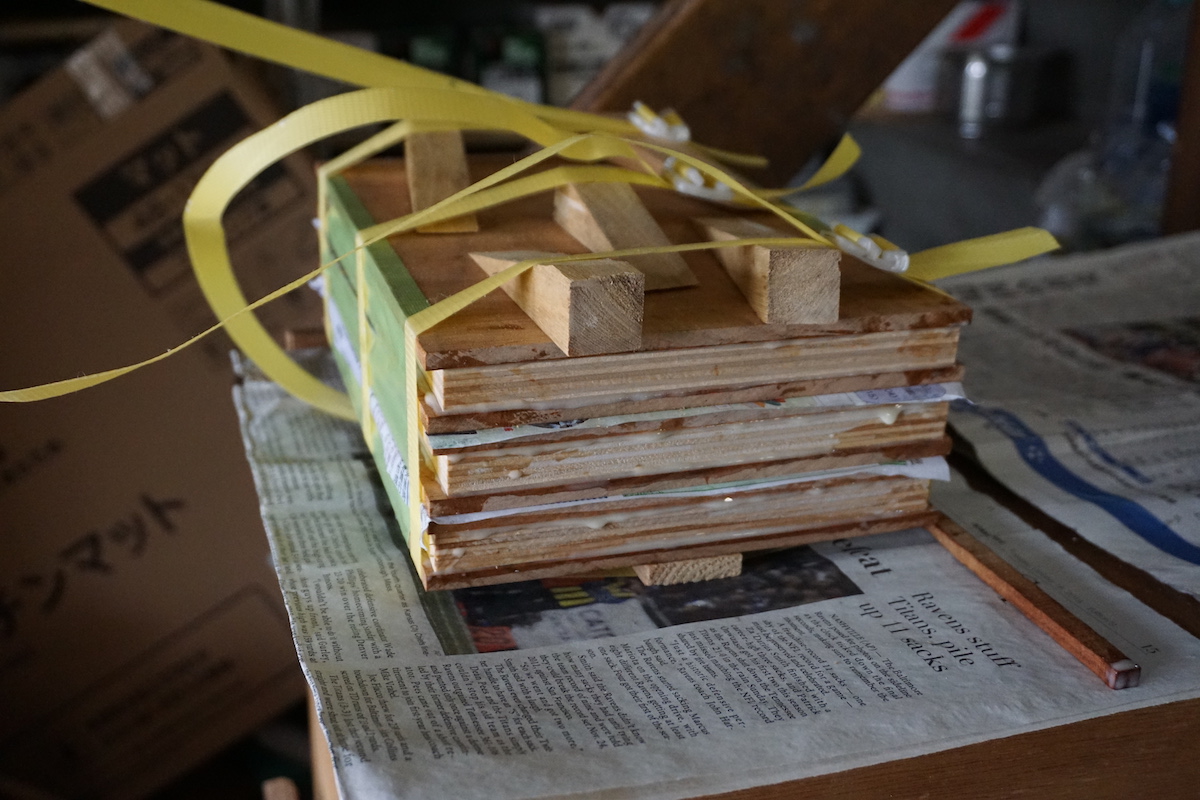
Then Aoyama-san made wood block sandwiches.
He then held them in place for a minute or so, and taped up the edges to prevent glue from leaking out the sides.

Once several blocks were taped up and ready to dry, he then bound them tightly, and used wedges to reinforce the cords holding the blocks together, to ensure the blocks would not come apart as the glue dried.
Once the glue finished drying, it was back to the saw to chop off the uneven edges.
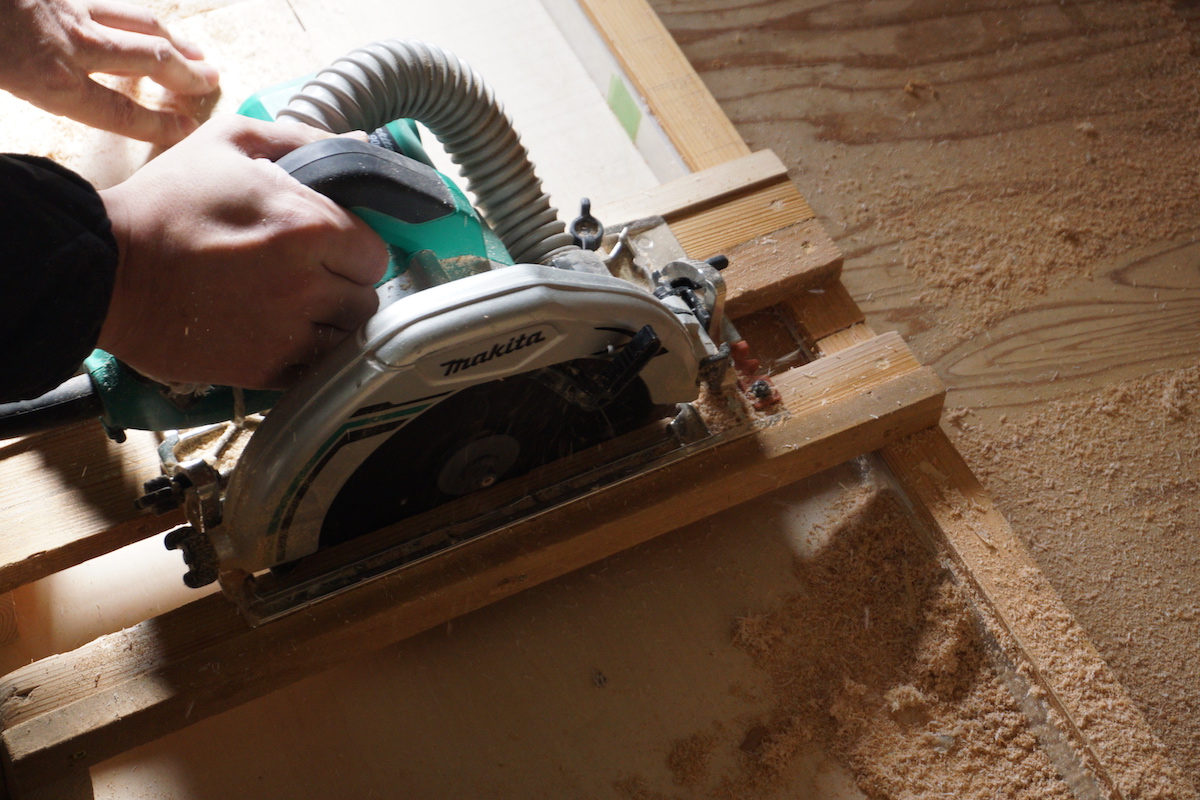
After removing the extra wood from the sides of the plank, he checked that the corners were all square and sent it off to the planer!
I don't have pictures of the planing since it is performed off-site by another company.
But once the planing is done, we then have a nice smooth new piece of wood, ready to get carved!
Added by: Marc Kahn on February 15, 2019, 4:39 pm
What is the thickness of the cherrywood slabs, and how much of that will be lost in the planing process?

Added by: Dave on February 15, 2019, 8:21 pm
We're shooting for about 5mm thickness at the point of re-sawing for drying the cherry pieces (that step is not shown in Cameron's post here). Some of the pieces you see in these photos are a tad thicker than that, because we are still struggling with our own bandsaw; once we get past a width of around 150mm for the pieces, it gets very difficult to control the cut, so we are leaving some of them a bit 'fat' for safety.
The fatter they are, and the wider (and rougher) the saw cut, the more wood gets wasted, so it's a tradeoff ...
Added by: john center on February 28, 2019, 2:33 pm
enjoyed watching your videos all the different steps carving is my fav.. esp. since carving is what interest lies i am more a formschnider style of block cutter one is mostly self taught but the process mostly will tell you if your doing it wrong,, japanese cherry looks a lot harder than the western version of cherry much closer to the maple i use for my blocks the main differe nce is i use 'v' and 'u' more than a knife might be due to the extra hardness of maple plus i came to wood cut prints via wood engraving i learned how to transfer images to blocks in a very similar way with out knowing how you do it. maybe if i can get gampi washi i might try your metiod.
Added by: john center on February 28, 2019, 2:36 pm
watching you carve japanese cherry blocks i noticed that it appears to be much harder than western cherry sort of half way between american cherry and american maple am i correct?
Add Your Input