« Message to Studio Ghibli | Front Page | Doi collaboration video - Part 9 »
A new Hasui print is almost ready ...
Posted by Dave Bull on January 7, 2017 [Permalink]
Here's a scan of a small Hasui print in my personal collection; it's about postcard size:
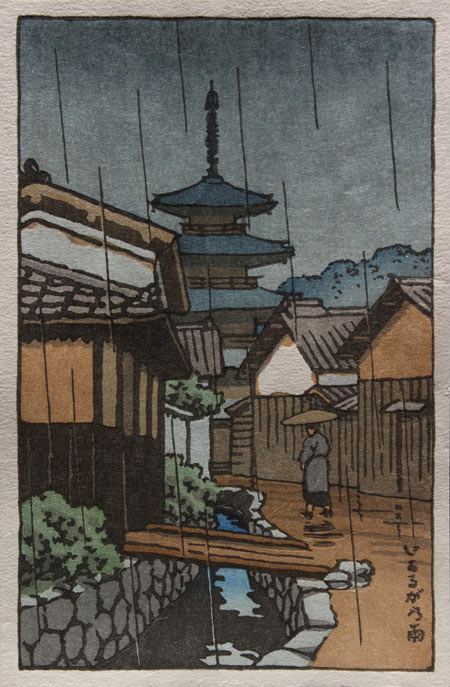
As far as I can tell, it seems to be a pre-war print, one from a group that the Watanabe Company made from his designs back then. It's quite a nice copy, and when I compare it to other impressions of the same design (over on ukiyo-e.org), I'm very pleased with it.
Hasui's work fell into the public domain (here in Japan) 50 years after his death (in 1957), so we are free to work with this, and have decided to prepare a new edition of this design.
I traced the key lines of our copy, then sent it to our young carver Kawasaki-san some months back. Once her key block was ready, I worked with our young printer Ayumi Ohashi to do a colour separation.
This was far from trivial, because without access to the original blocks, it is very difficult to tell how the colour overlays were constructed. But we thought we had it worked out well, and sent the colour blocks off to Kawasaki-san for carving.
They came back a short time ago, and Ayumi-san got busy with a proofing session. Once she was done she came to show me, and I could see she had a 'Good news - Bad news' face ...
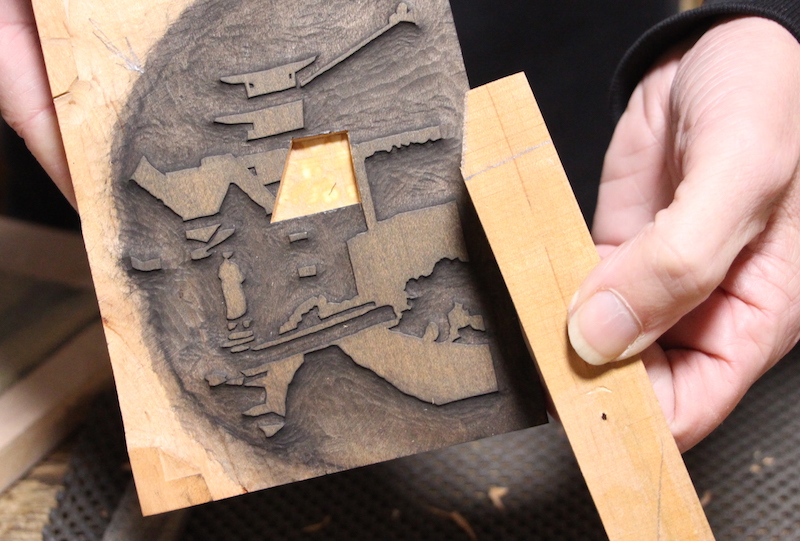
Here's one of her proof copies, and I guess you can see why!
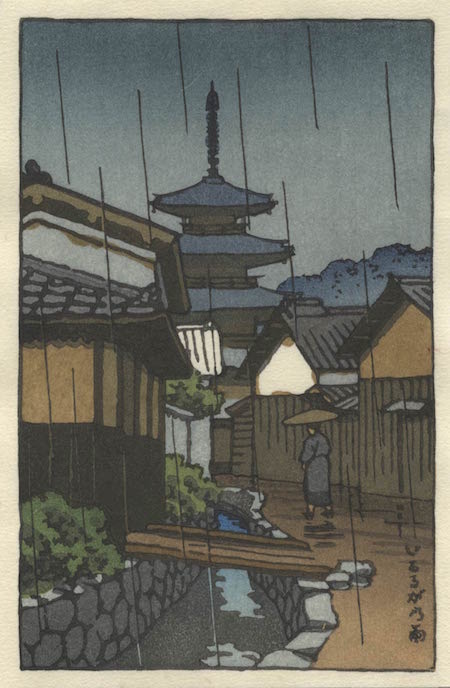
The good news is that for a first run-though on such a complex design, we have done very well ... this is almost 'there'. Perhaps the wall behind the lady needs to be lightened up a bit, and the green perhaps adjusted ... but overall, this is wonderful.
As for the bad news, well of course you can see it right away - somebody forgot to mark off one roof area on the appropriate colour block, and it got missed in the carving. (This was me, of course ...)
So what to do? Carve another block?
Nope ... just fix it ... time to get 'plugging'. Here's a photo set showing how I made the repair ...
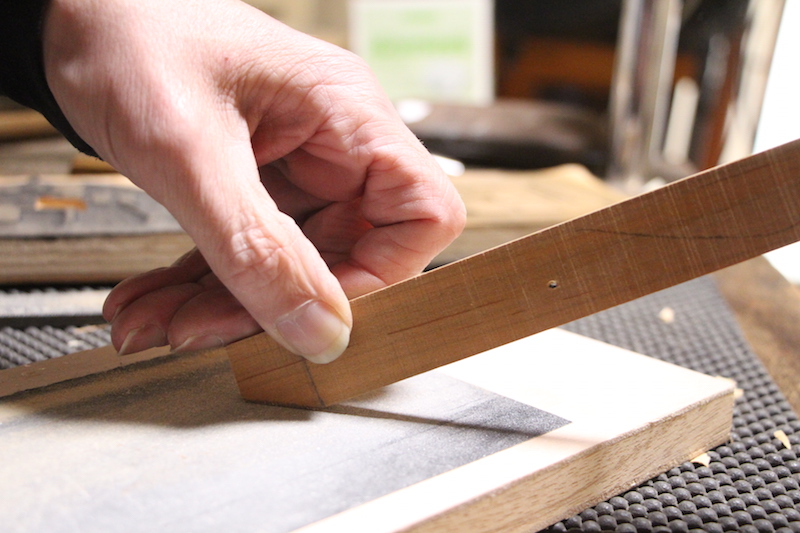
There is no way that it is worth fiddling around trying to cut a plug to fit the exact missing area. It's far easier and more efficient to cut 'wider'. You can usually make the cut lines fit a place that won't show, and the plug shape itself is very easy to fit if it has a triangular shape, so that it can be wedged in place.
The pencil lines show where I intend to cut ...
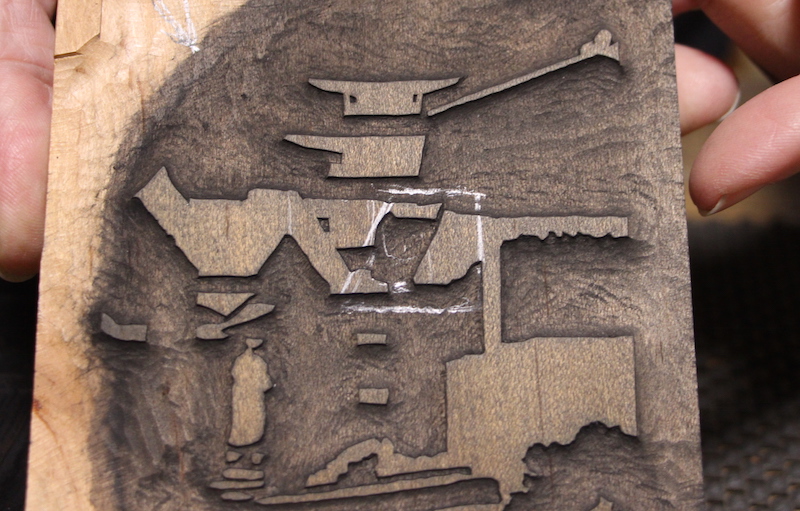
... and here's the resulting hole. A couple of things worth mentioning: because this is cherry laminate plywood, it's easy to make the hole flat at the bottom - just cut down (it's about 5mm deep) until I hit the layer below. And it's also very critical to avoid banging the edges of the remaining wood, as damage there would be visible in the finished print.
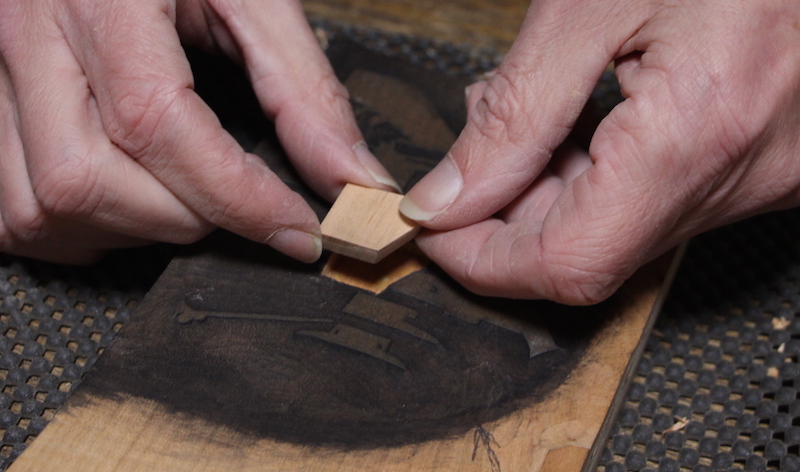
Because the hole is such a simple shape, it's easy to prepare a piece to fit ...
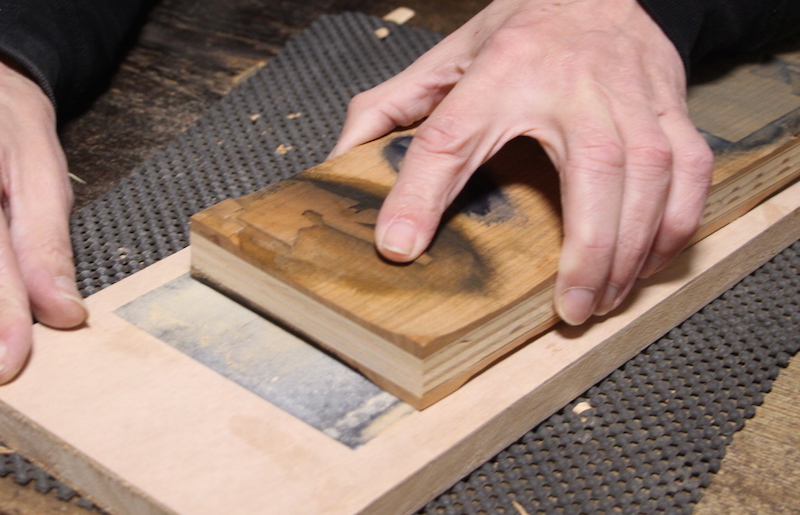
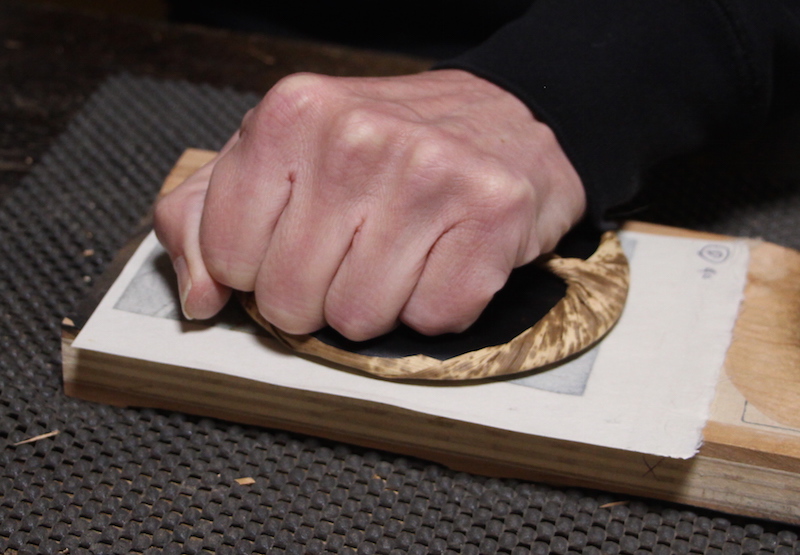
Sandpaper glued to a flat board is the easiest way to do the final shaping ...
I use the same sandpaper sheet to bring the thickness of the plug down to just a hair over the required measurement:
href="https://mokuhankan.com/conversations/images/process/0330/plugging_05.jpg">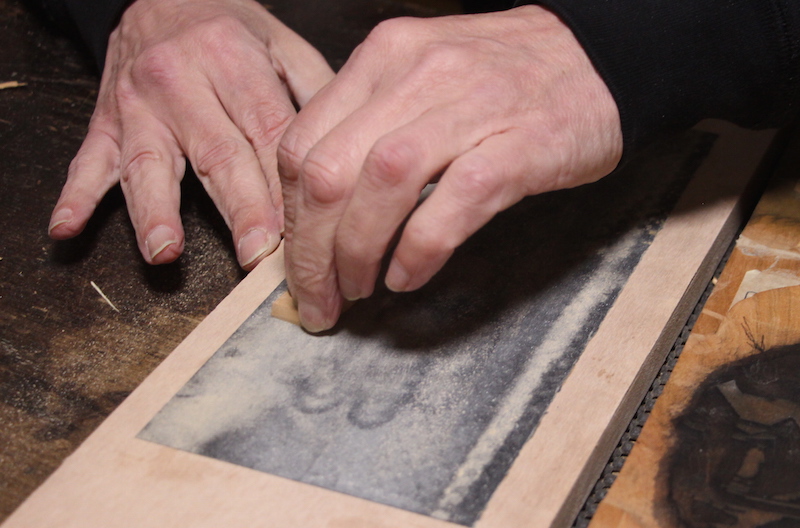
Testing ...
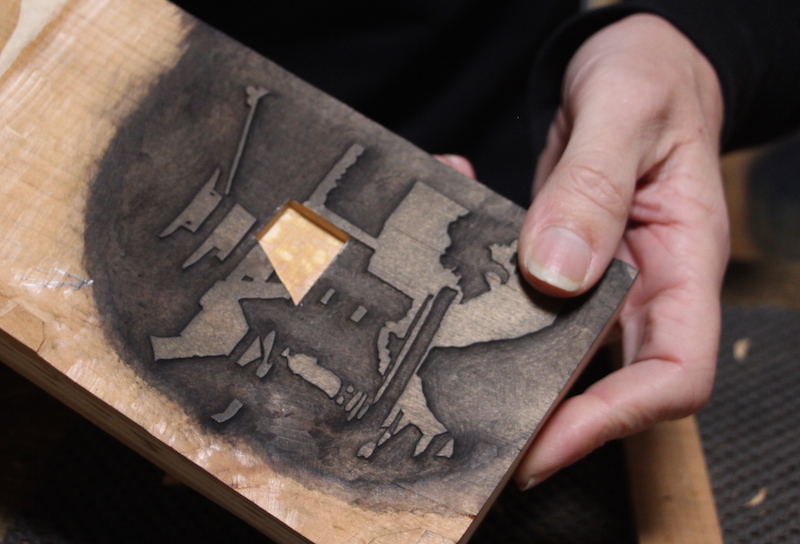
And a small dab of glue in the hole to ensure it won't pop out later ...
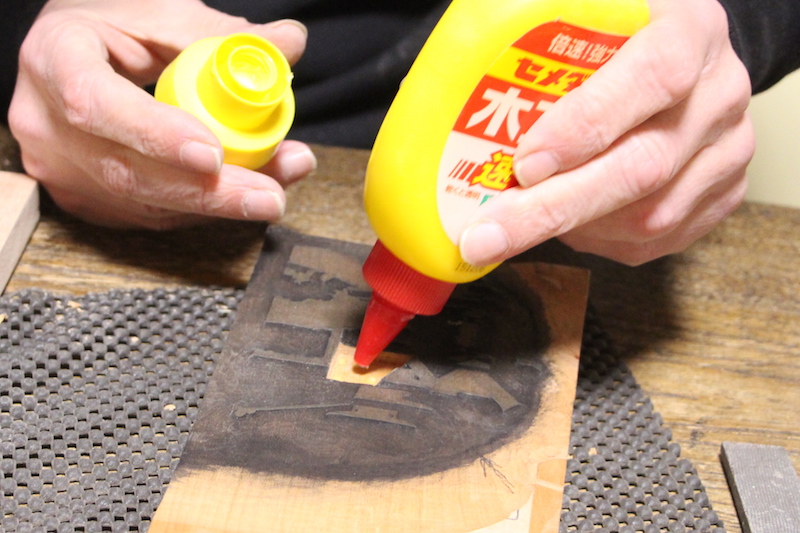
Pressing the plug into place ...

And face down onto the sanding board - carefully! - to bring it down almost level ...
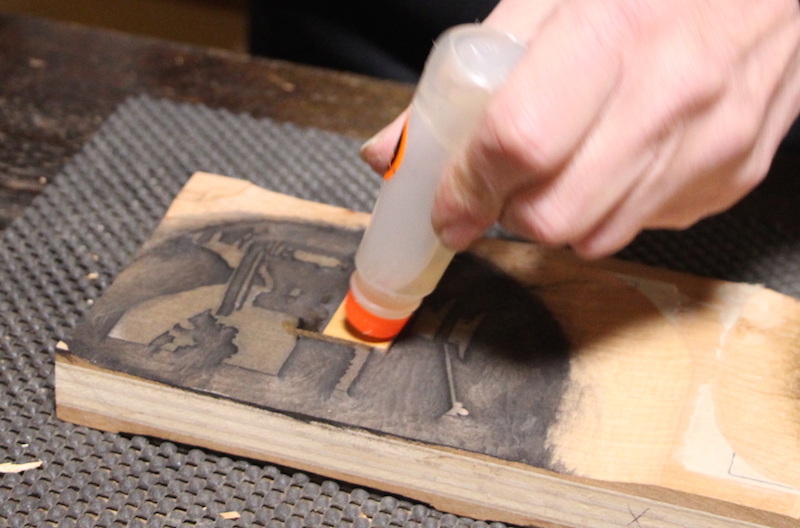
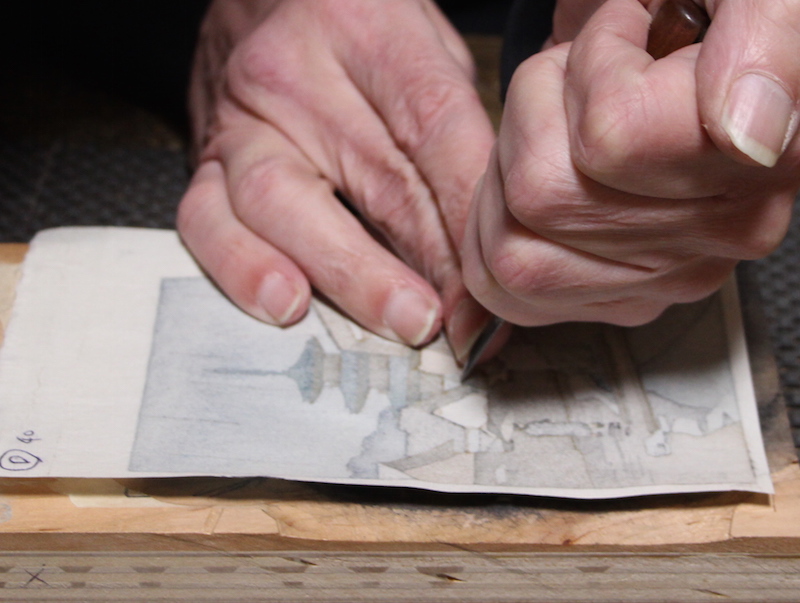
The next step is to re-cut the printing areas, and we need a guide for that, so we'll be sacrificing one of the proof prints. A dab of glue ...
And the print goes on face down. It's important that the sheet be moistened to the same level as when printing, to ensure accurate dimensions.
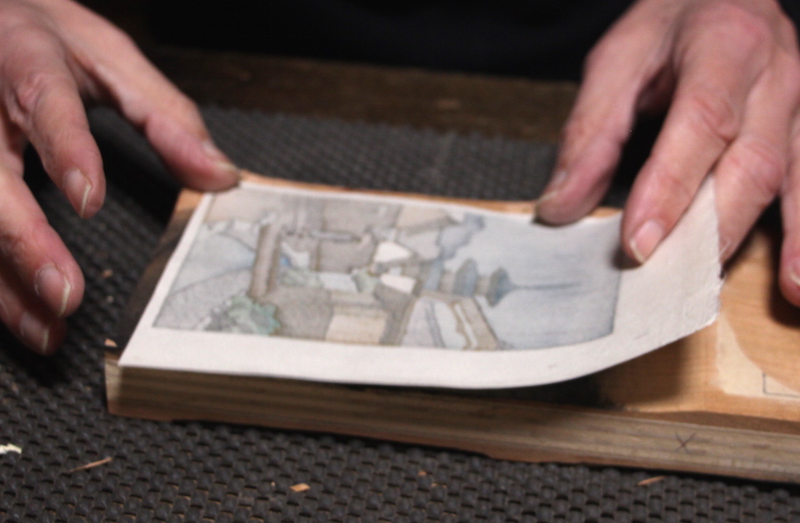
Careful not to distort it ...
Then when dry ... carved ...
... and cleared.
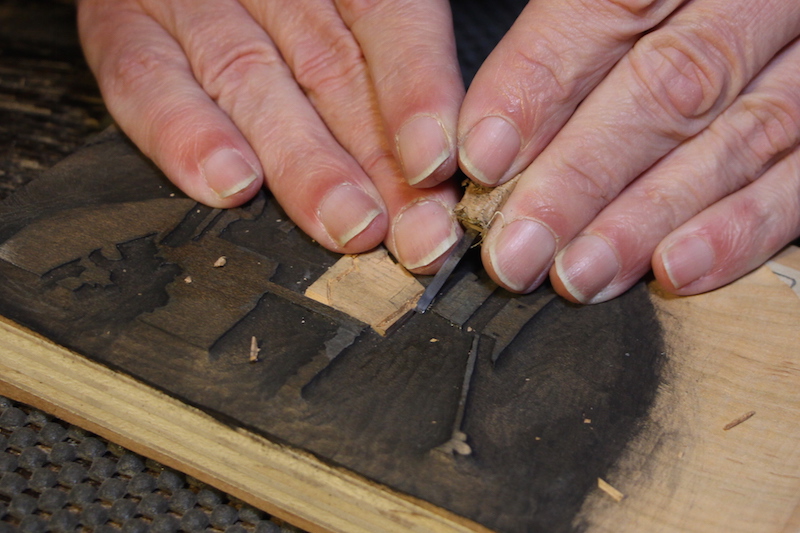
And here's the finished job, ready for Ayumi-san's next proofing session. The wood is probably very slightly protruding, so she'll need to use a 'nagura' stone to bring it down exactly flush.

Easy! And I'm pretty confident that Ayumi-san will be able to make good prints with this, so let's put it into the webshop!
Add Your Input