« Senshafuda Project - first proofing! | Front Page | Senshafuda Project - We have liftoff! (and ready for orders) »
Senshafuda Project - final package design
Posted by Dave Bull on April 22, 2011 [Permalink]
Continued from the previous post in the thread | Starting point of the entire thread is here
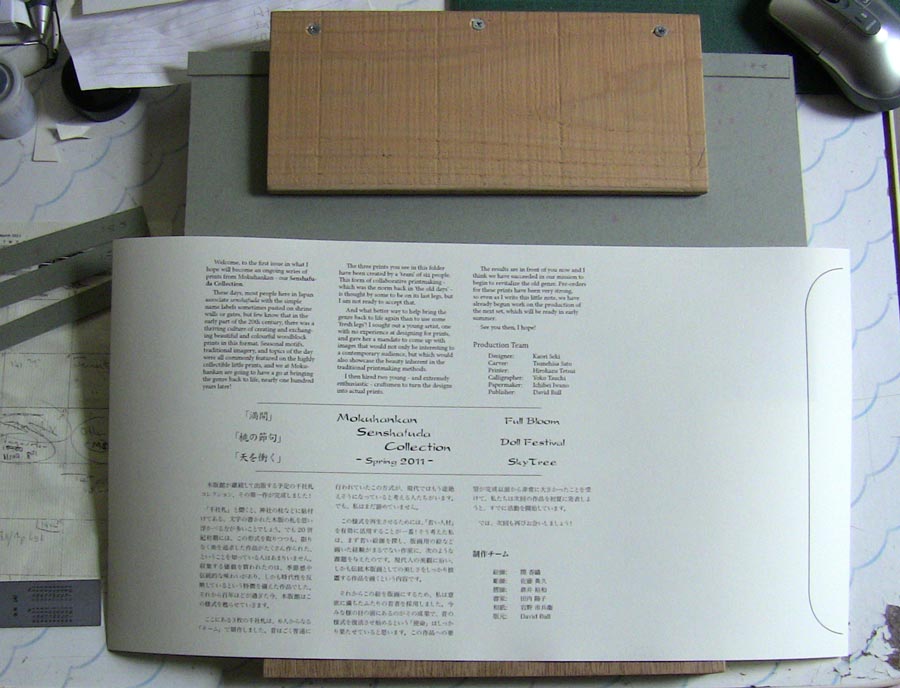
Now that we're on the cusp of getting some actual prints made, I can no longer put off the job of getting the package design nailed down. I spent the morning with my desk covered with various permutations of the 'roll-up' design, made the decisions on layout and dimensions, and then designed a little jig to help with making them. At the small quantities involved with this project, there is no way that I can afford to have the paper die-cut, so it's going to be a do-it-yourself affair ...
Each sheet is printed (two sides) on my big Epson A3 laser, and is then ready for work. (images clickable)
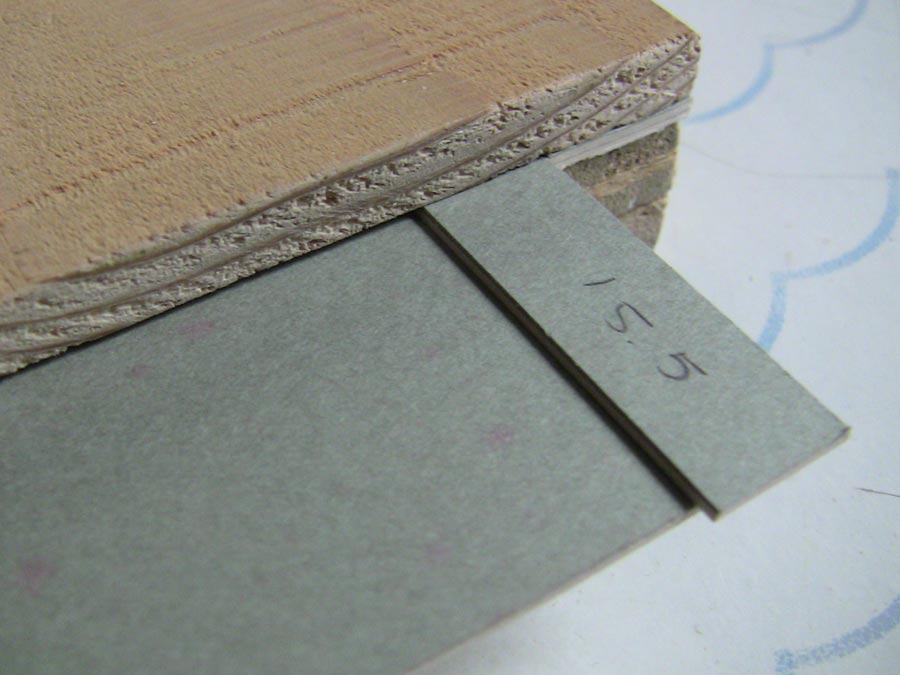
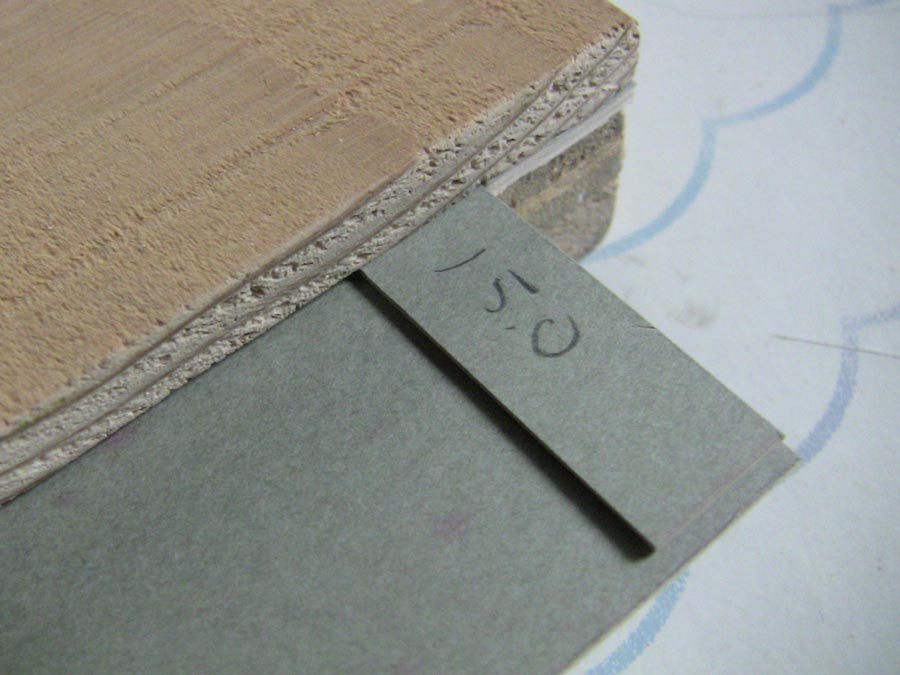
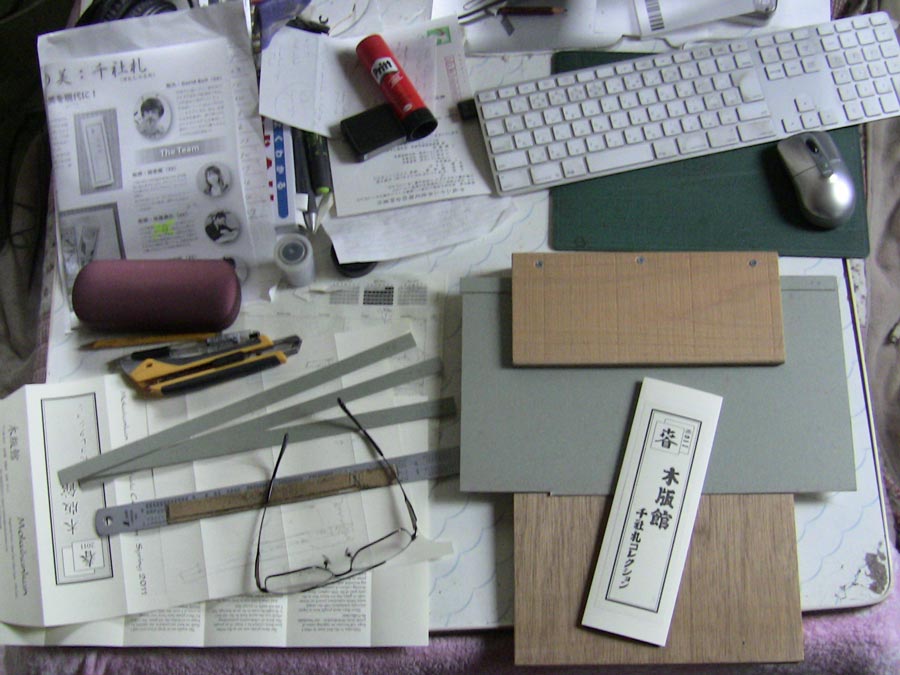
The jig is simple - just a form in which the paper can be held while I score the folding lines. The problem comes that as the roll gets 'fatter', the jig has to account for the change in dimension. We'll handle that by using inserts of different widths. I'll start with a 15.5mm insert.
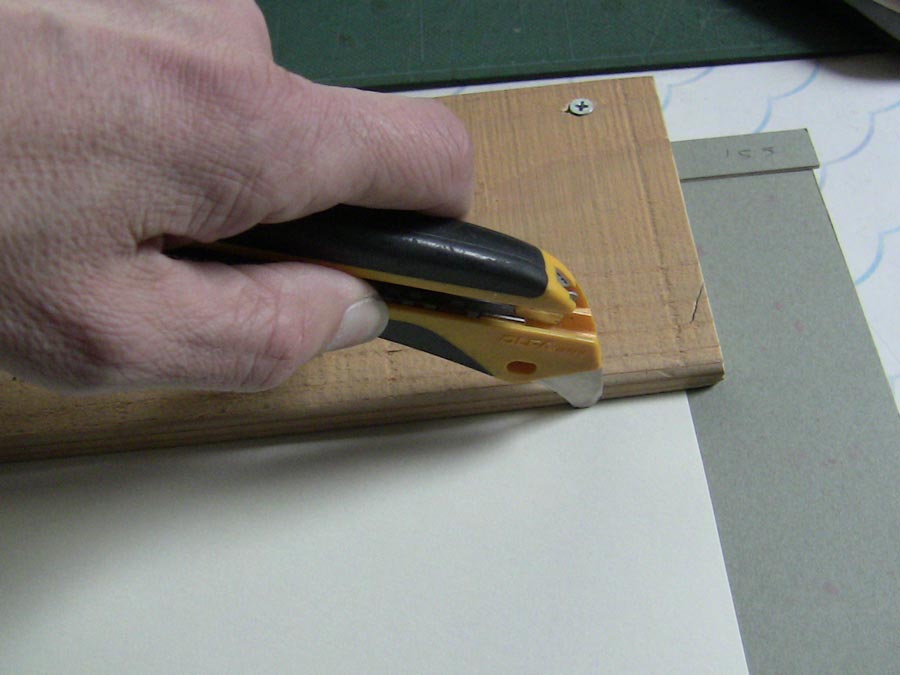
The paper is pushed into the jig snugly up against the insert, and then scored:
I pull it out, and fold it on the scored line.
The insert piece is then switched for one a smidgeon smaller (15.0mm):
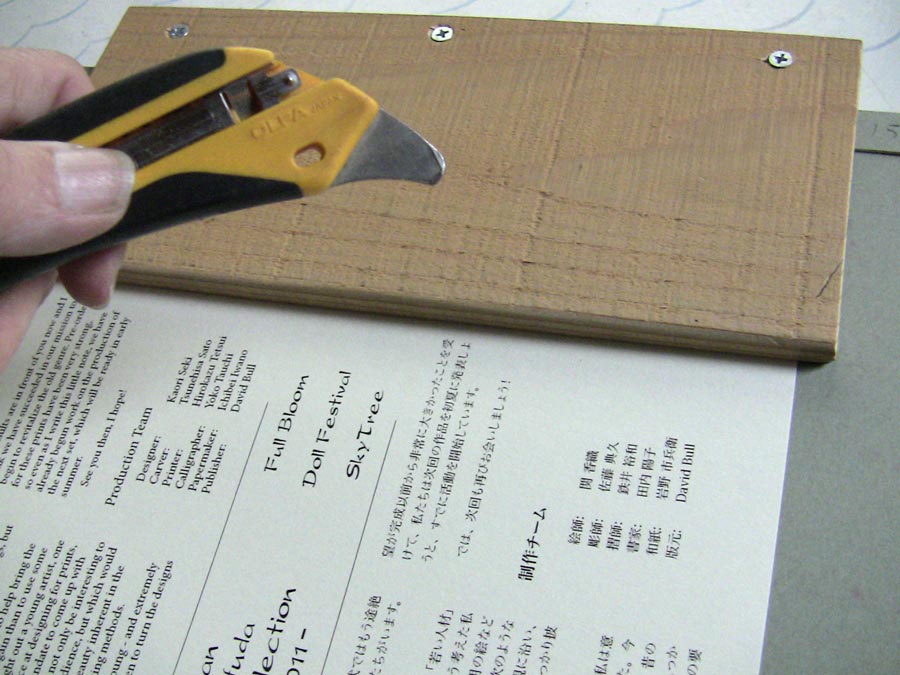
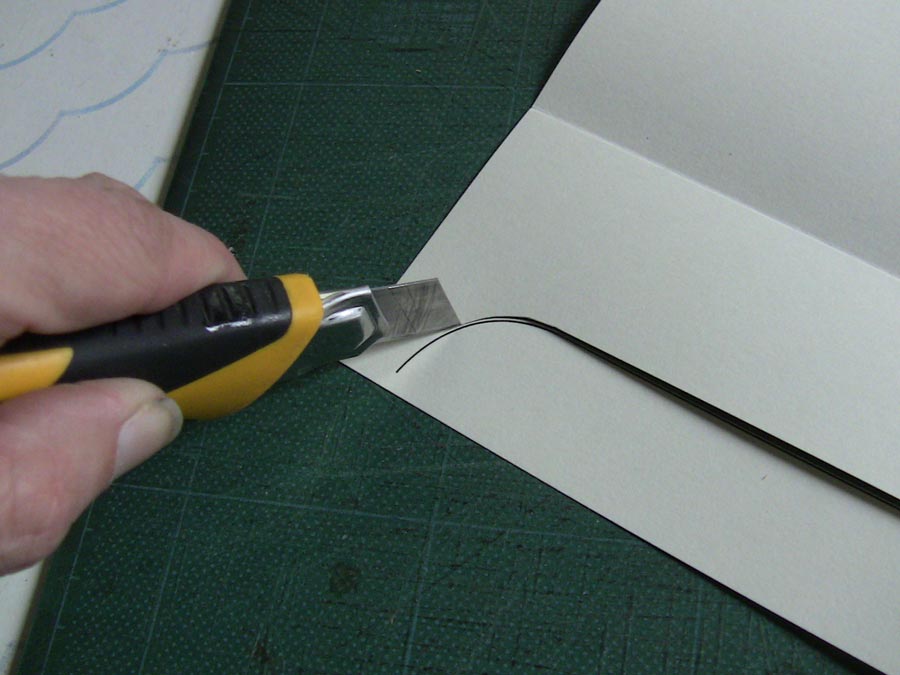
I'm doing the scoring with the back end of a cutter knife - it has a nice steel attachment that is made to order for this:
I use a plastic film can to firm up each fold:

The wooden top piece of the jig has enough 'play' to allow the gradually fatter roll to fit snugly:
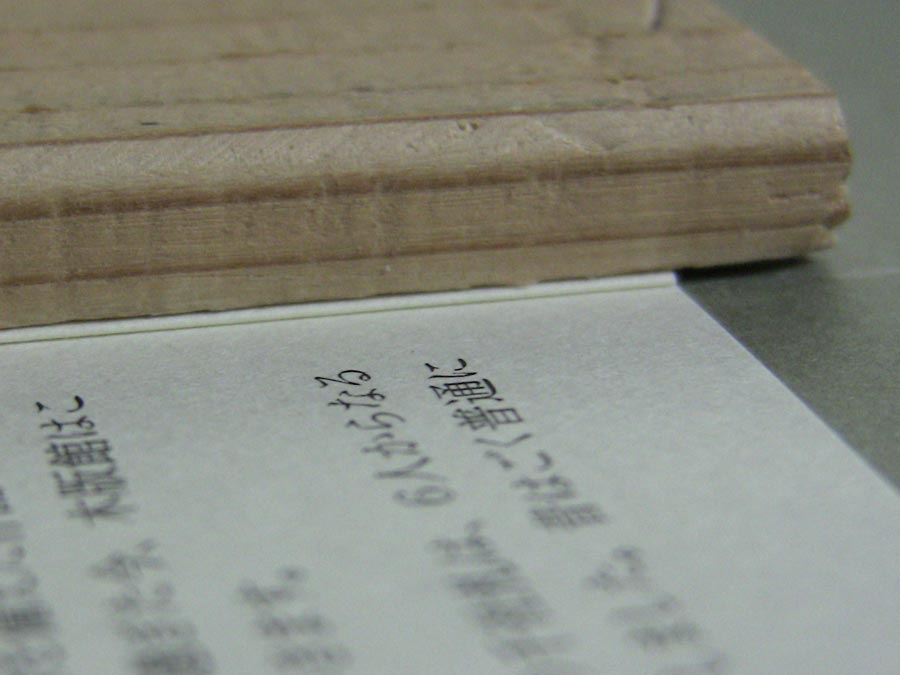
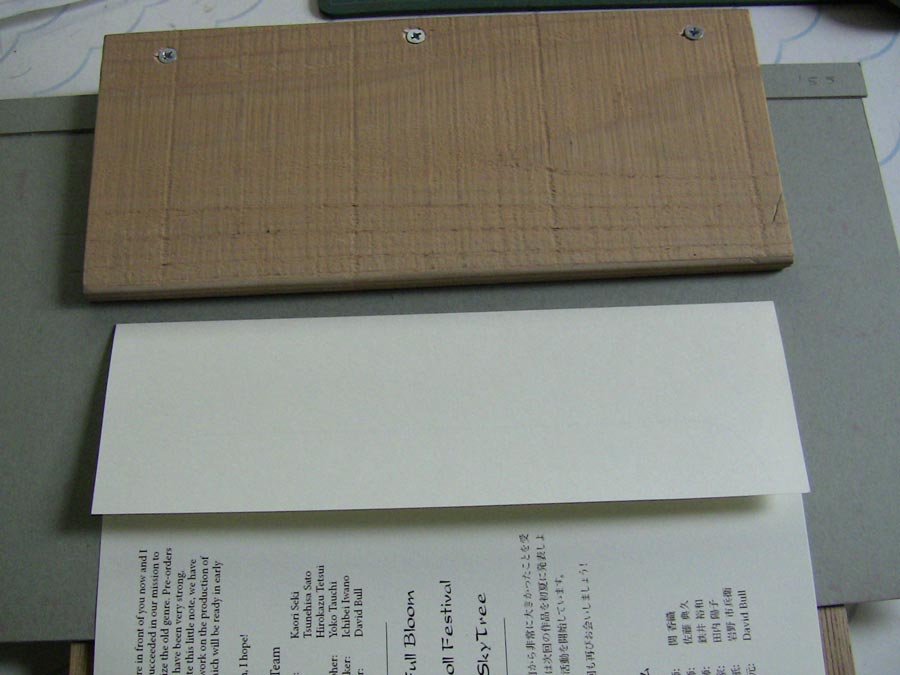
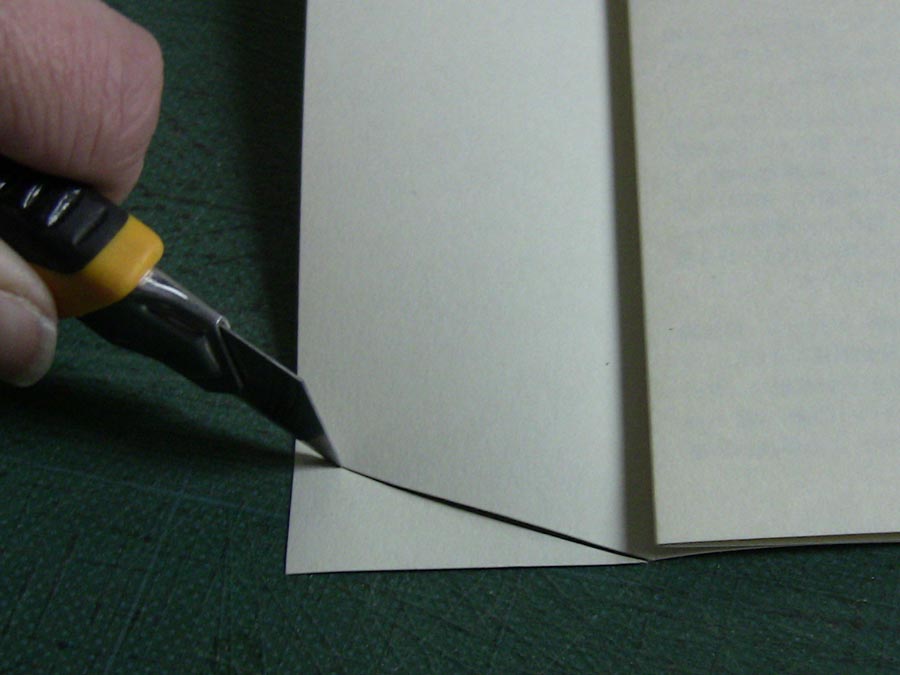
Although there are five consecutive folds, I found that four shims worked well, using the first one twice. After all the creasing is done, the paper has to be trimmed to make a pocket at one end. There's a printed guide line for this:
I'm doing the cutting by hand - it's easy to keep near the lines:
A dab of stick glue on each end ...
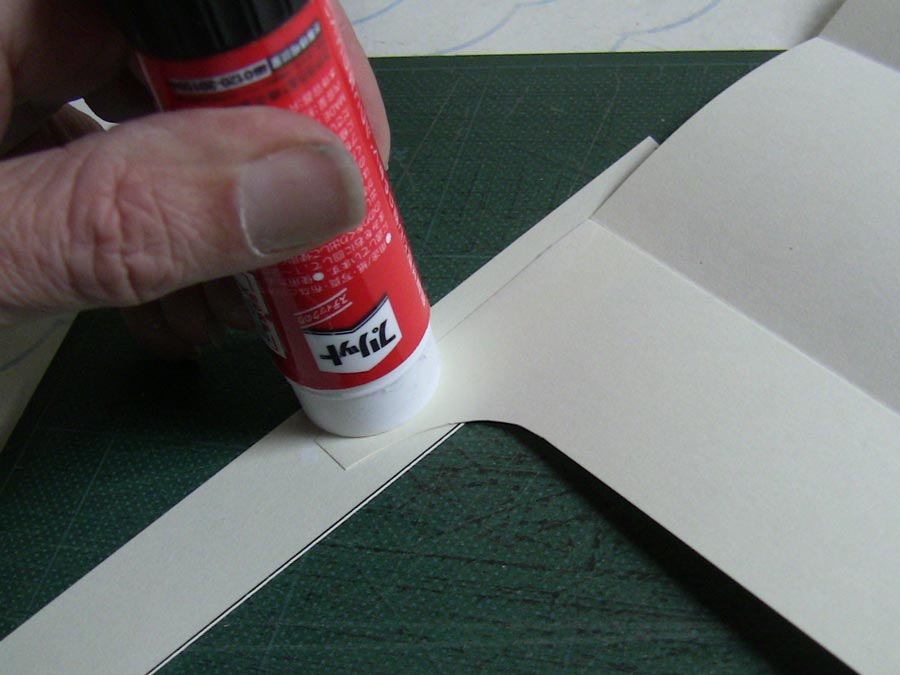
... will hold the paper firmly in place to make the pocket:
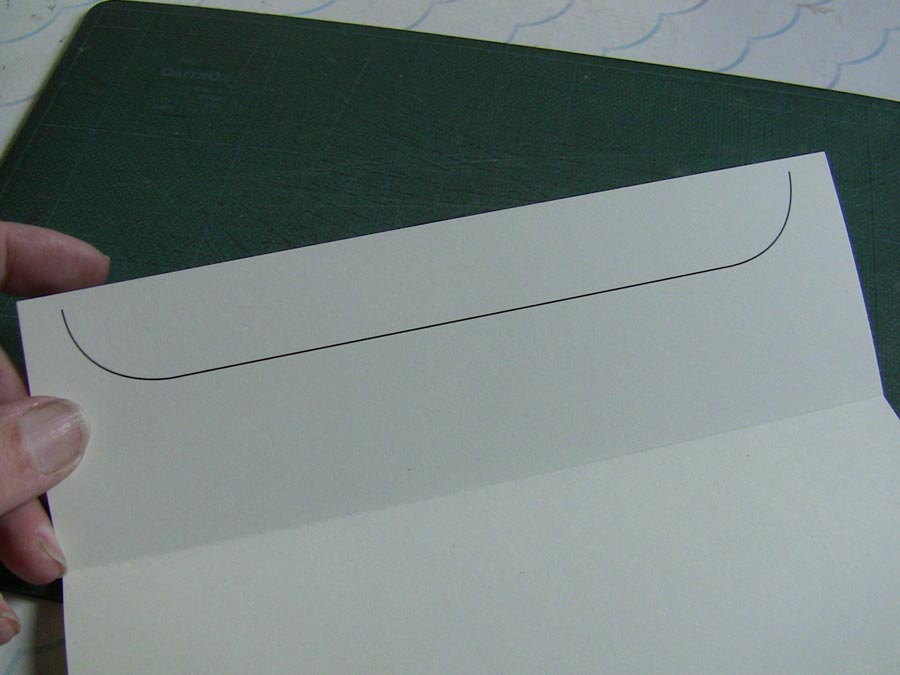
The curve of the flap at the other end can also be cut easily by hand:
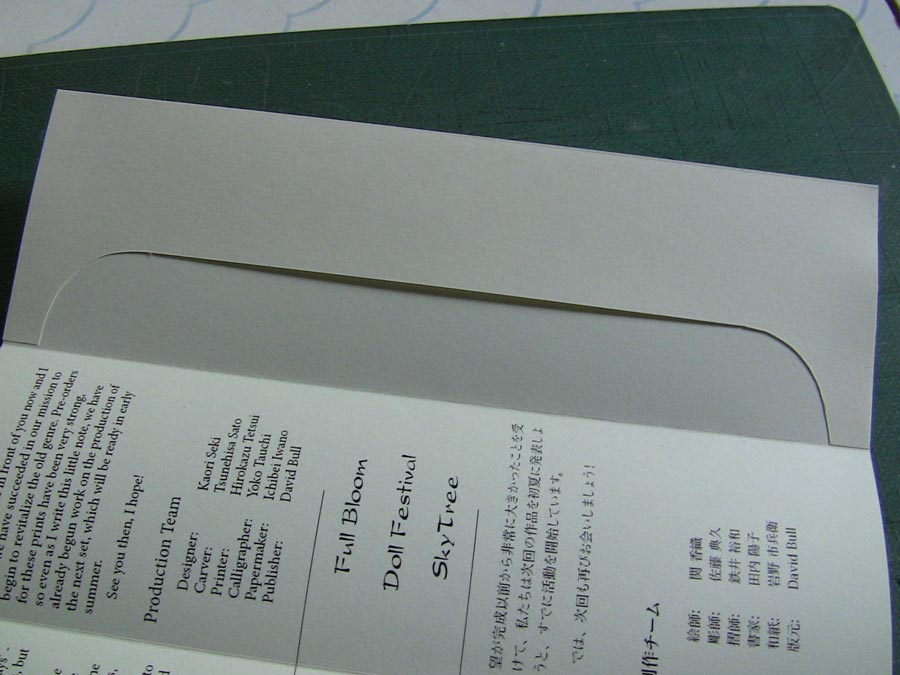
And we're done! I still only have 'dummy' prints to show you, but each pack will have three prints ...
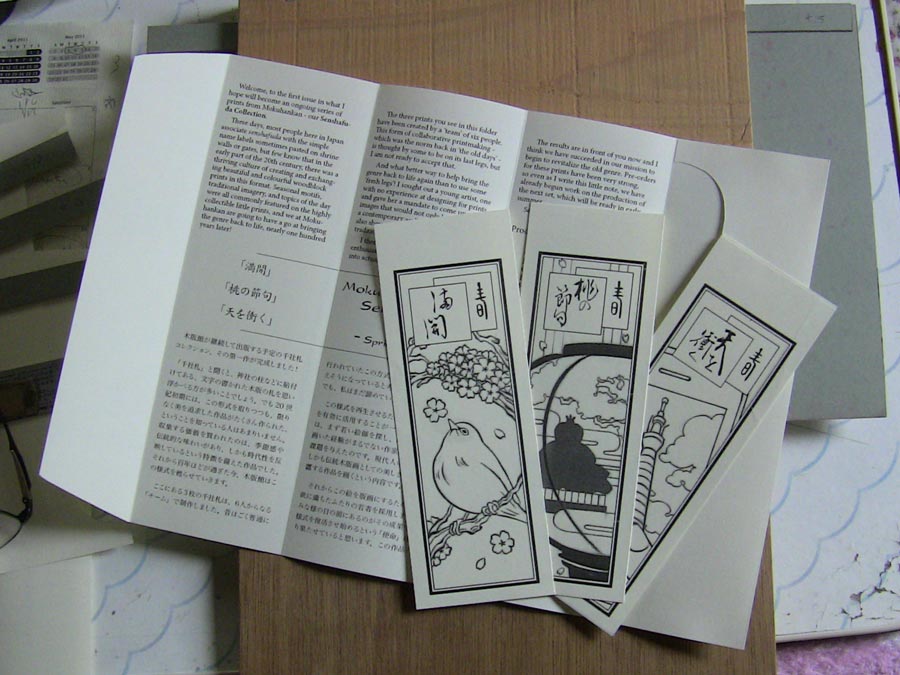
... which will simply tuck into the pocket.
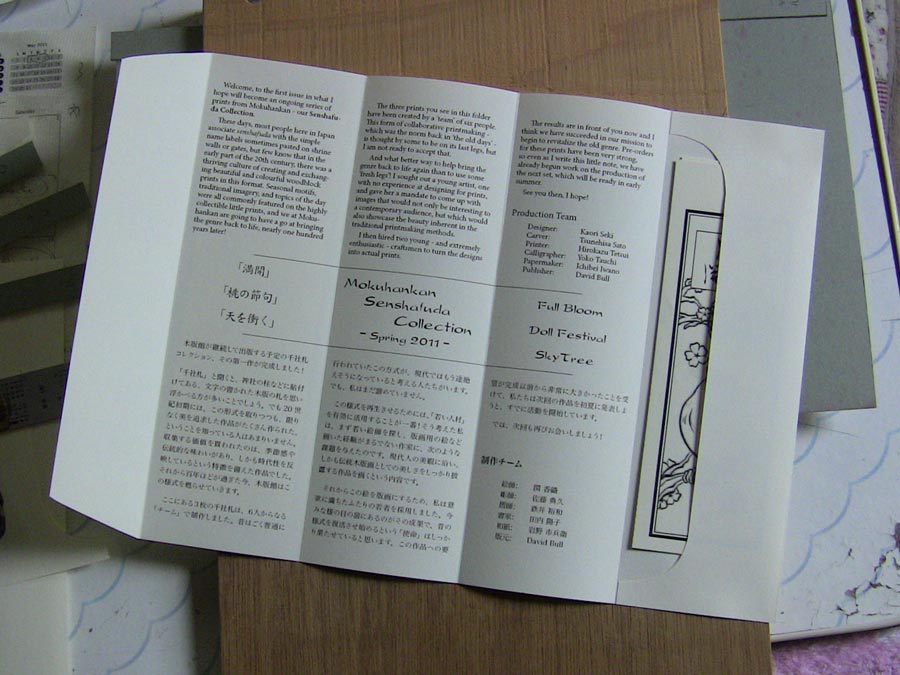
The front of each package will have a hand-printed senshafuda pasted on - of course it will be full colour, unlike this sample.
Now that all took quite a long time, what with changing the insert for each new fold. Of course when I start making a batch of them in a couple of days, it'll be 'assembly line' time, and should move along much more efficiently.

As for the print production itself, Sato-san told me yesterday that he had shipped the updated blocks over to Tetsui-san. He and I have talked about the timing of the next step, and have arranged to work on some proofing at his place tomorrow morning (Saturday). If it all goes well, I may be coming home with some good samples, ready for scanning ...

This thread continues here ...
Added by: Barbara Mason on April 23, 2011, 1:20 am
Dave,
It never ceases to amaze me how professional your presentation it, it makes me fell like a real slacker! Good job, I cannot wait to get the first ones!

Add Your Input