« First Floor Shop Progress Update | Front Page | Podcast Guesting ... »
Some new Cherry Wood!
Posted by Dave Bull on April 28, 2018 [Permalink]
We have been talking on the Twitch stream recently about some cherry wood we just found, and - finally - I have collected together some of the photos ...
These next few photos were taken at a lumber dealer over in the Kiba district of Tokyo, which has been the lumber wholesale market for generations. One of the dealers we got a bit of wood from last year has been 'on the lookout' for some cherry for us, and when he got these pieces a short time ago, he gave me a call.
The tree was cut down just a couple of weeks before this, up in Akita Prefecture. We want wood that has been cut at the end of winter, before the moisture begins to rise through the trunk. This will greatly reduce drying time ...
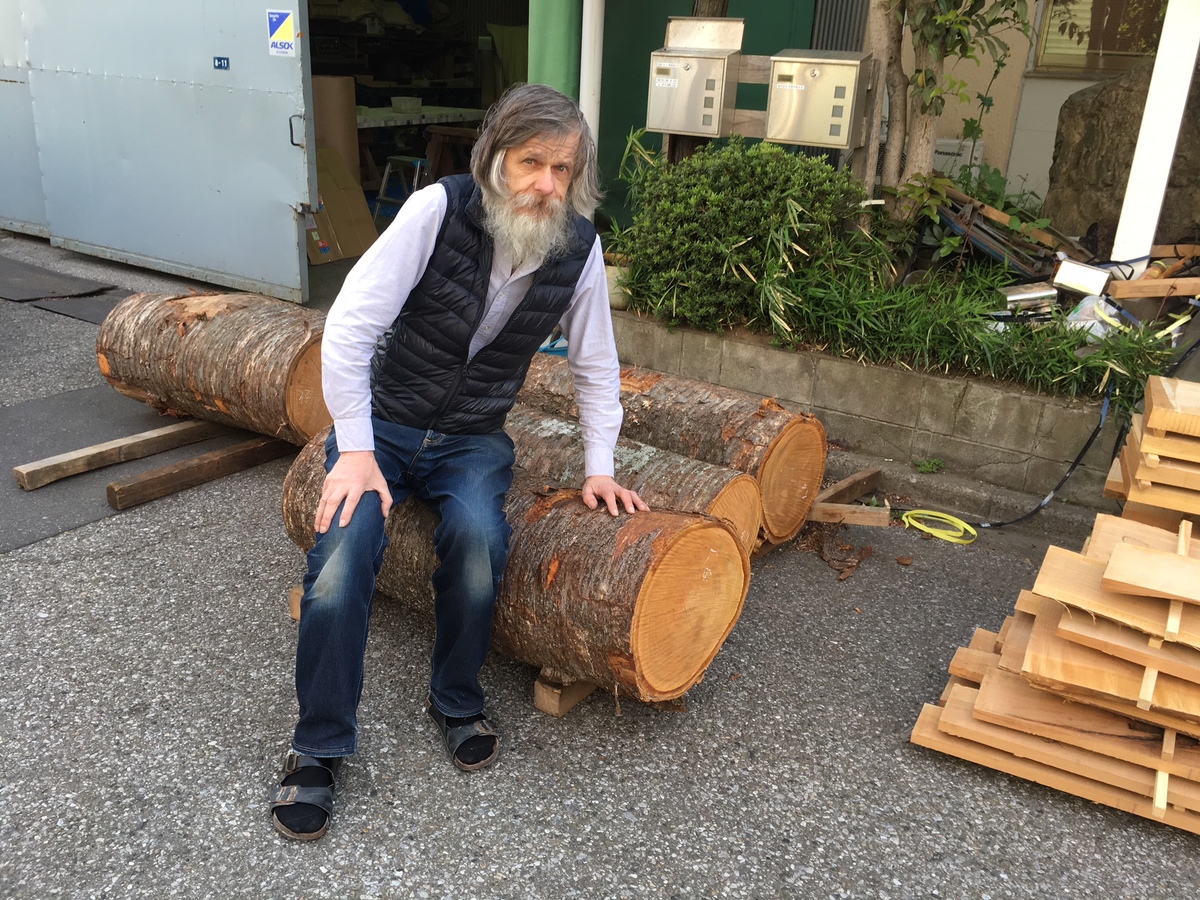
This isn't a very large trunk, and wouldn't give wood wide enough for prints of the traditional o-ban dimensions, but many of the prints we publish are smaller, and this piece looks like it might make blocks just suitable for our Ukiyo-e Heroes designs.
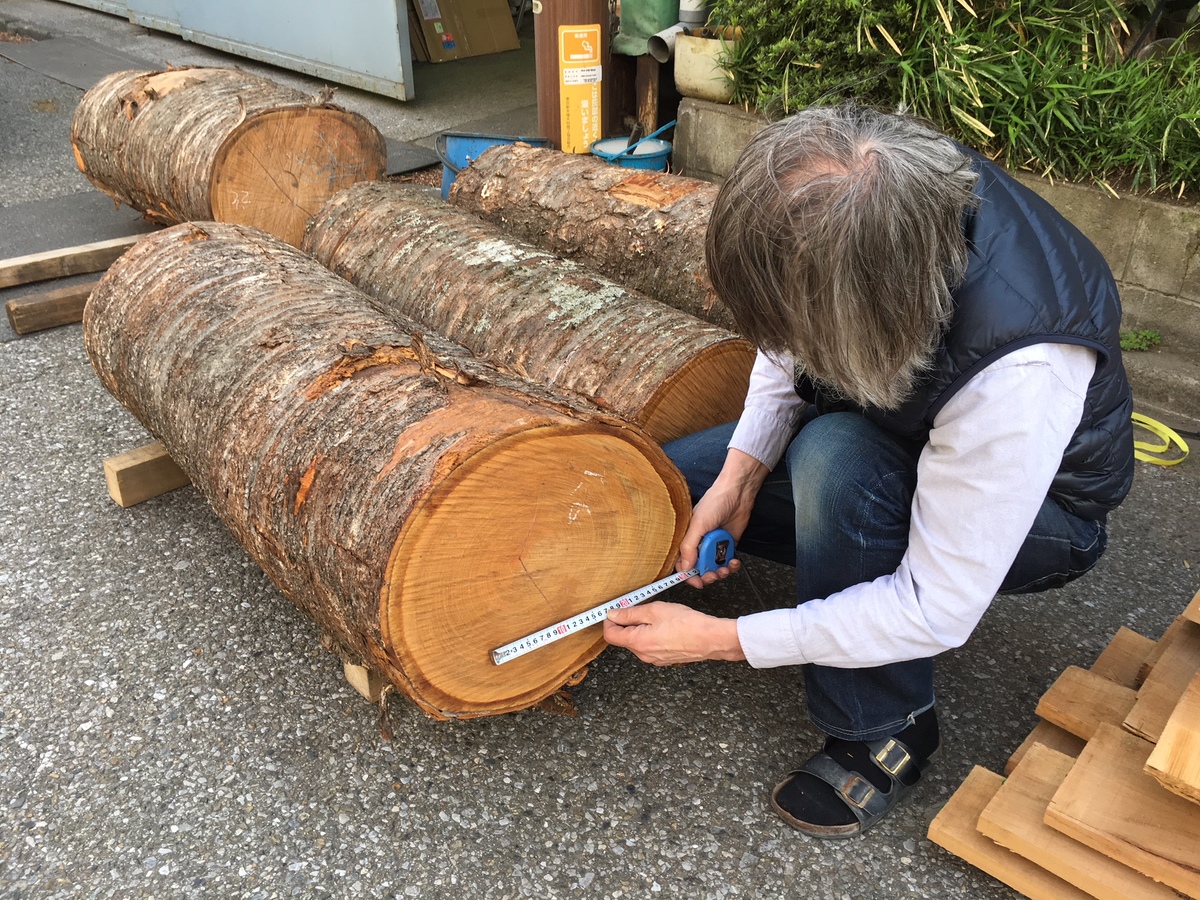
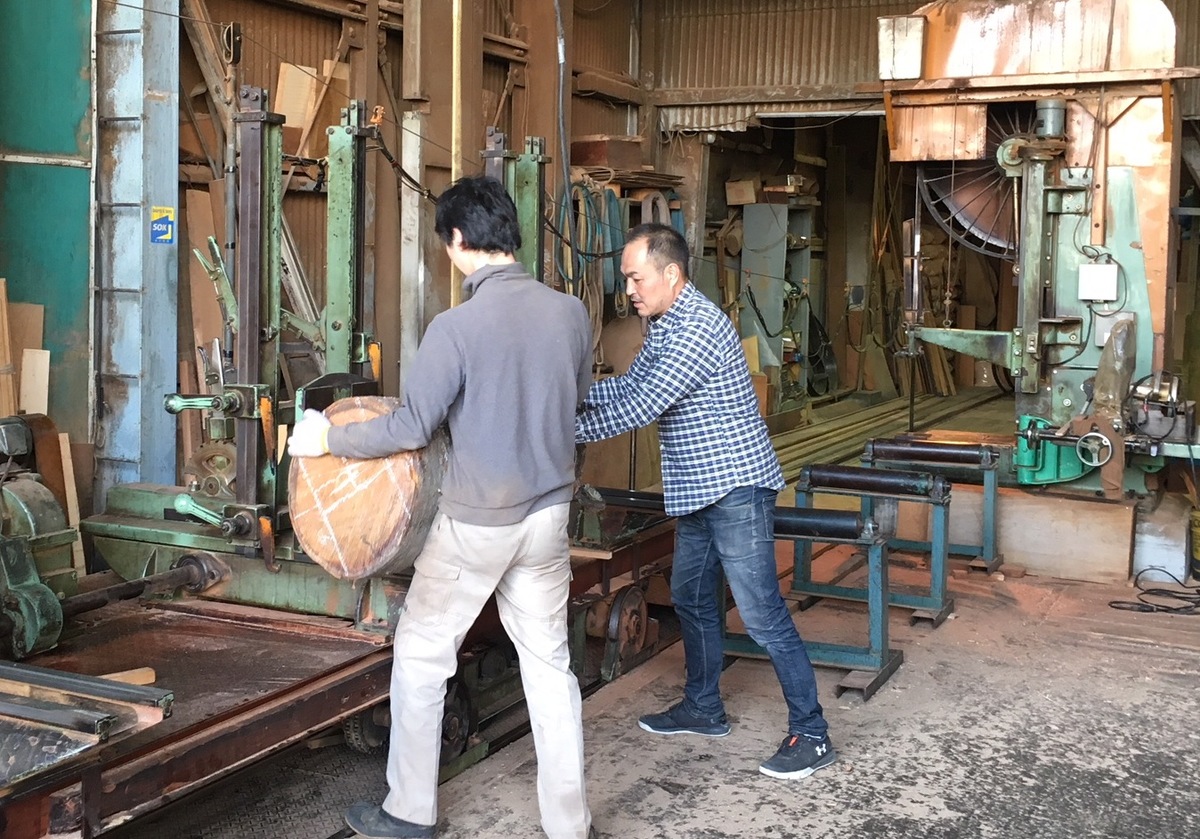
So I bought the widest of the pieces, and arranged for the dealer to slice it up to my specifications. We hauled it into a nearby re-sawing operation, and after I drew a provisional slicing pattern on the end, they clamped it to the 'train' of their massive bandsaw, and we got to work ...
Here's the initial cut, which exposed the inner surfaces, giving us a better idea of the structure of the log:
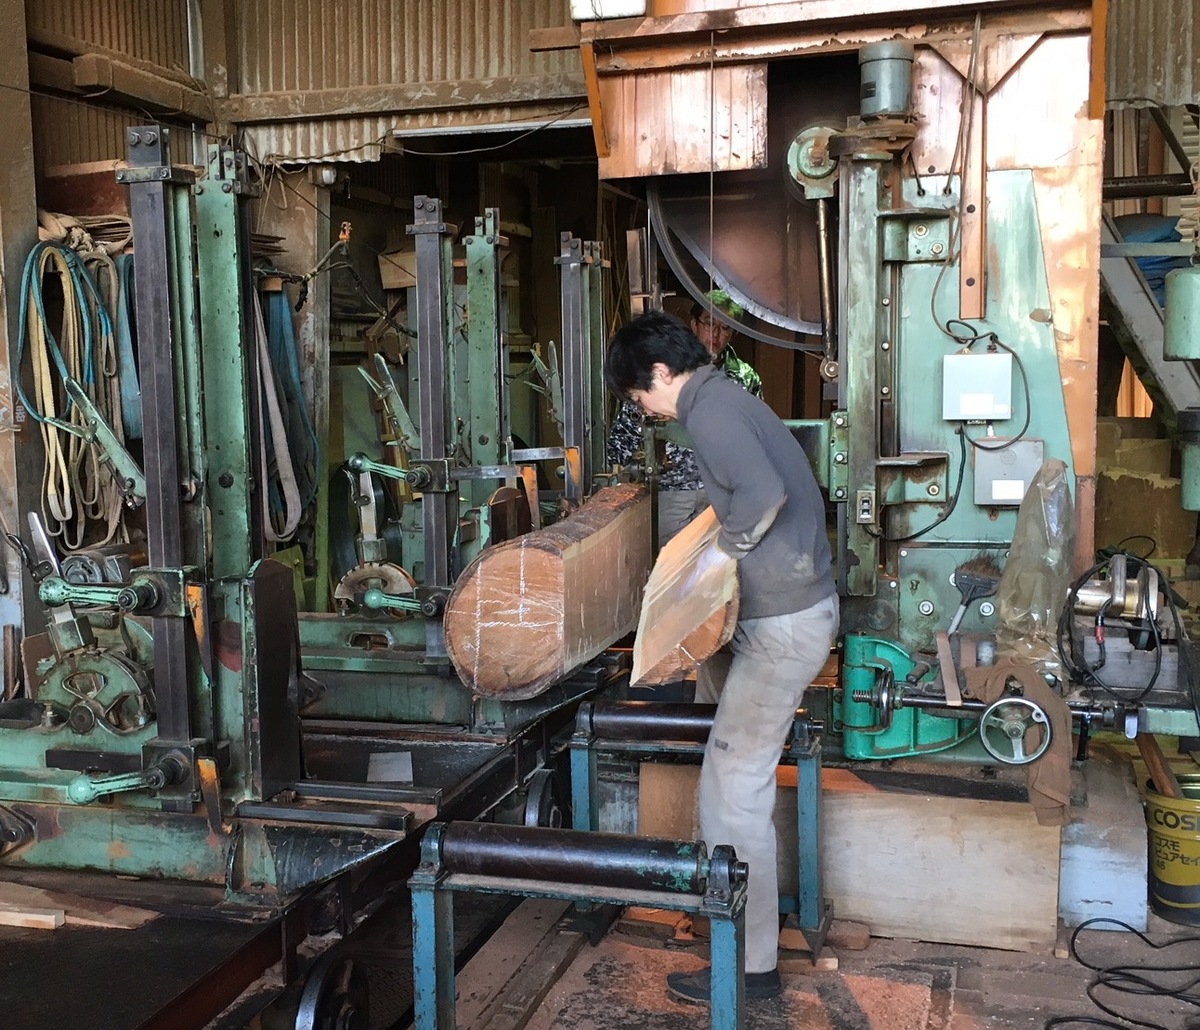
Based on what we found - there were some splits inside the wood - I adjusted my instructions to them, and we cut it up in a way that hopefully provides us with the most useable pieces.
We then loaded it into a rental truck, and brought it home.

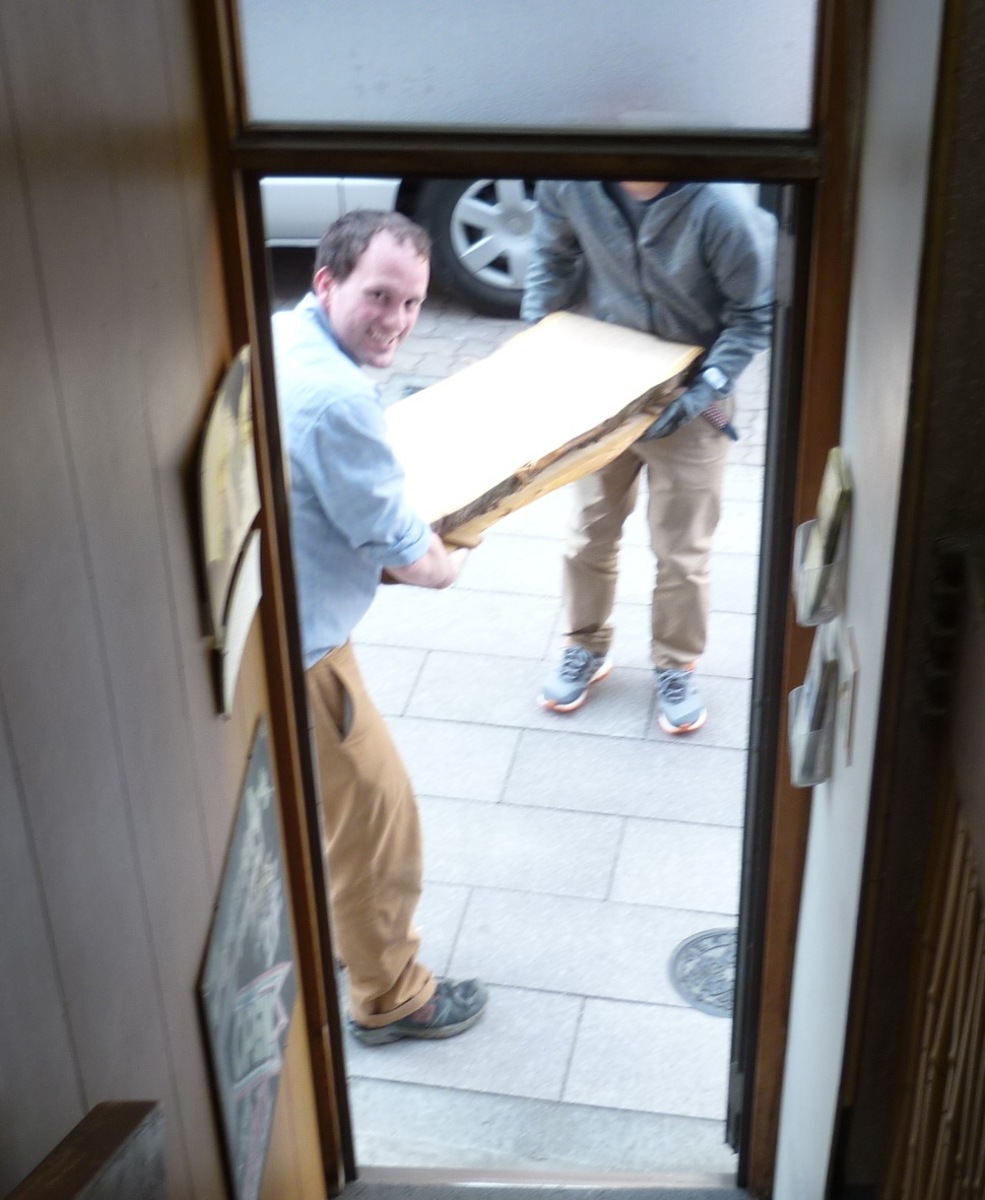
Hauling it up to the third floor of our Mokuhankan workshop is not my part of the job!
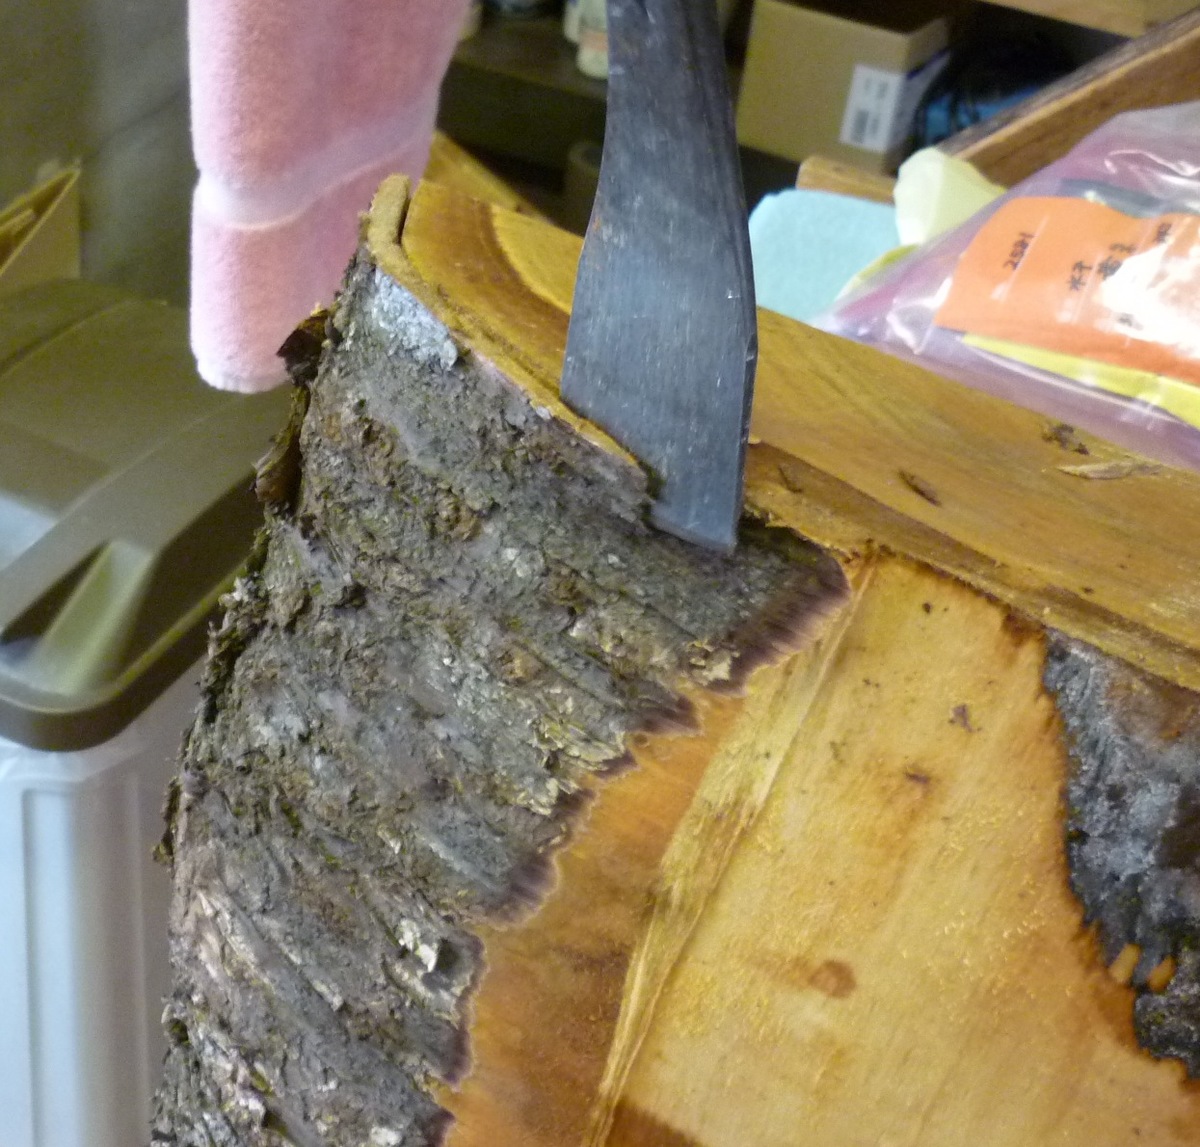
It'll be years before we can actually use this wood, as it first has to be thoroughly dried. But drying isn't just a matter of tossing it into a corner and letting it sit. There is some important preparation to do, and the first step is to get rid of the bark. This is for two reasons: one is the the moisture is more free to escape the wood if the bark is removed, and the second is that it is quite common for larvae to be present under or in the bark, and the last thing we want is to come back in a couple of years to find that our wood is full of holes.
The next concern is that if the outer surface of the lumber dries too quickly, it will split and check. So we coat the ends and centre of each piece with a light glue mixture ...

... and cover it with newsprint. We leave the corners and edges open, and this will perhaps help the wood to dry out a bit more evenly.

Sometime later in the month, when we next rent a truck (perhaps after finishing the major construction downstairs), we'll take this wood over to our Ome workshop, where it will be stacked carefully and tagged with the date we prepared it.
Come back in a few years to see the next stage! :-)
Added by: Bob Hauser on April 28, 2018, 11:46 am
Did not look like you coated the end grain. Did I miss something? I have always coated the end grain first when drying wood for my furniture or boat project to reduce checking. (BC Canada)

Added by: Dave on April 28, 2018, 5:13 pm
The end grain was already coated with a thick transparent waxy substance while it was still in log form. I think they must have done that right at the point when the log was separated.
It seems to have been pushed right down into all the incipient cracks and checks, so I think we're OK at the ends ...
Add Your Input