« Doi collaboration video - Part 5 | Front Page | Doi collaboration video - Part 6 »
Our first blocks!
Posted by Dave Bull on June 18, 2016 [Permalink]
I posted a couple of weeks ago about hunting for cherry wood for making blocks, and that project has moved forward well recently. In fact, as I write this our young carver Kawasaki Noriko is using new 'Mokuhankan' woodblocks for the print she is working on this week - the September issue of this years Portraits subscription series.
Let's have an overview of how the colour separation process works for these prints ...
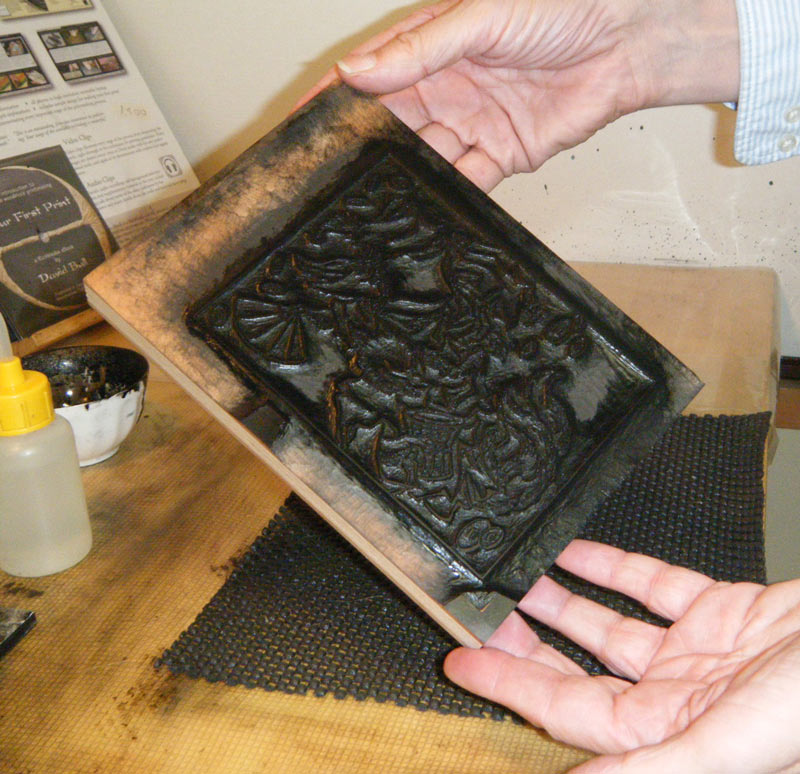
Kawasaki-san finished up the key block a few days ago, and I pulled a few test impressions; it's pretty black, so doesn't show well in a photo, sorry ...
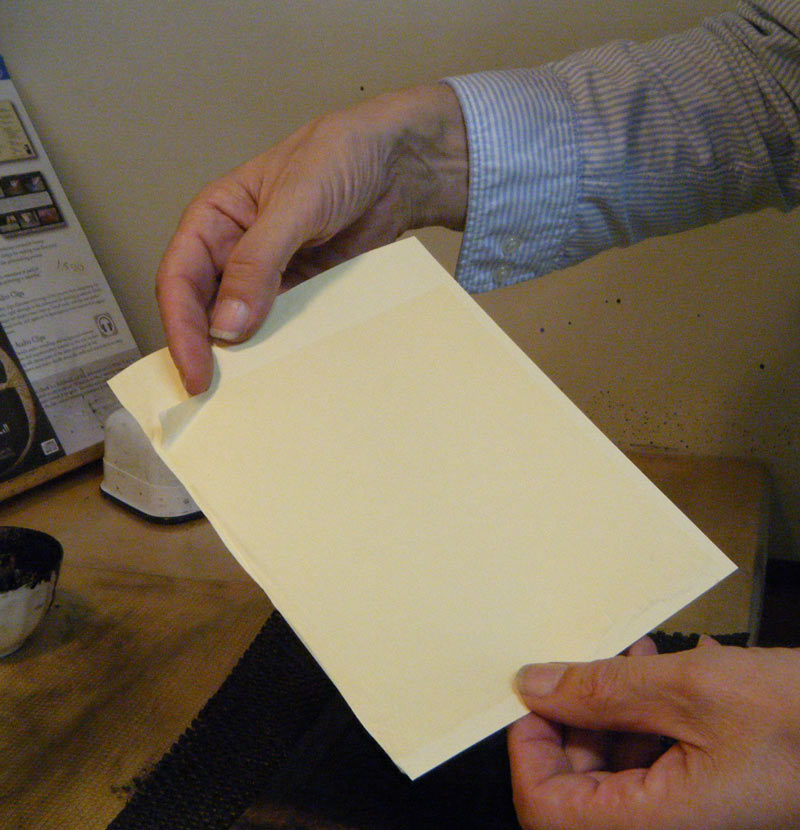
And here's the special 'double layer' paper I use to make the colour transfer sheets - they are made from a layer of very thin gampi paper tacked to a backing sheet of stiffer paper:
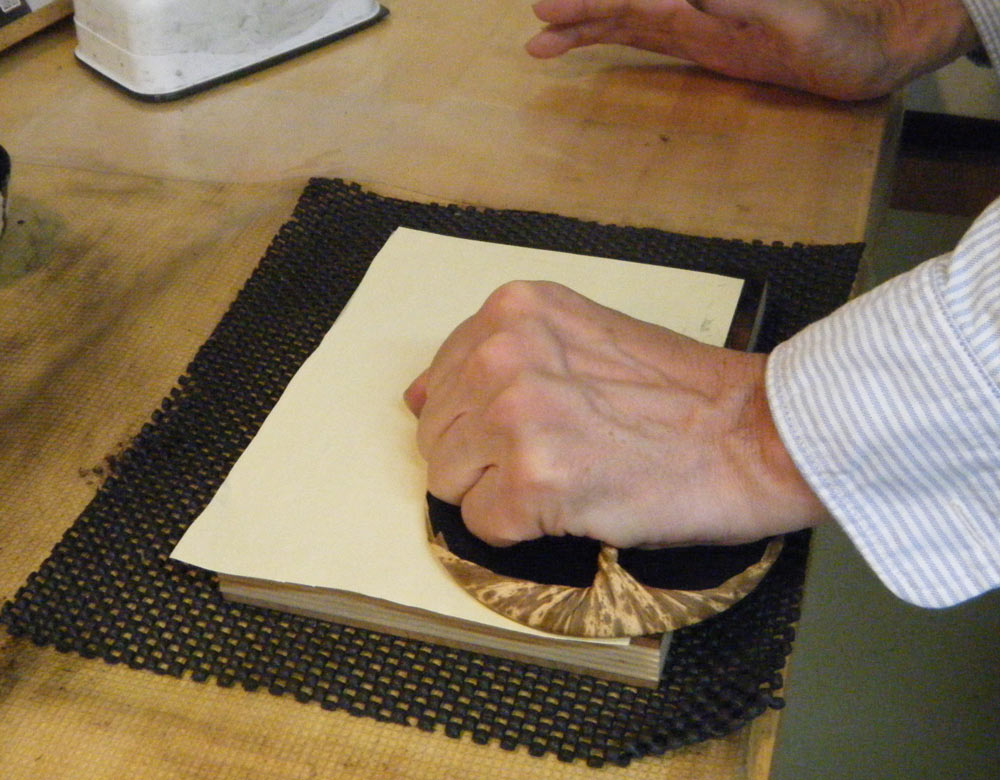
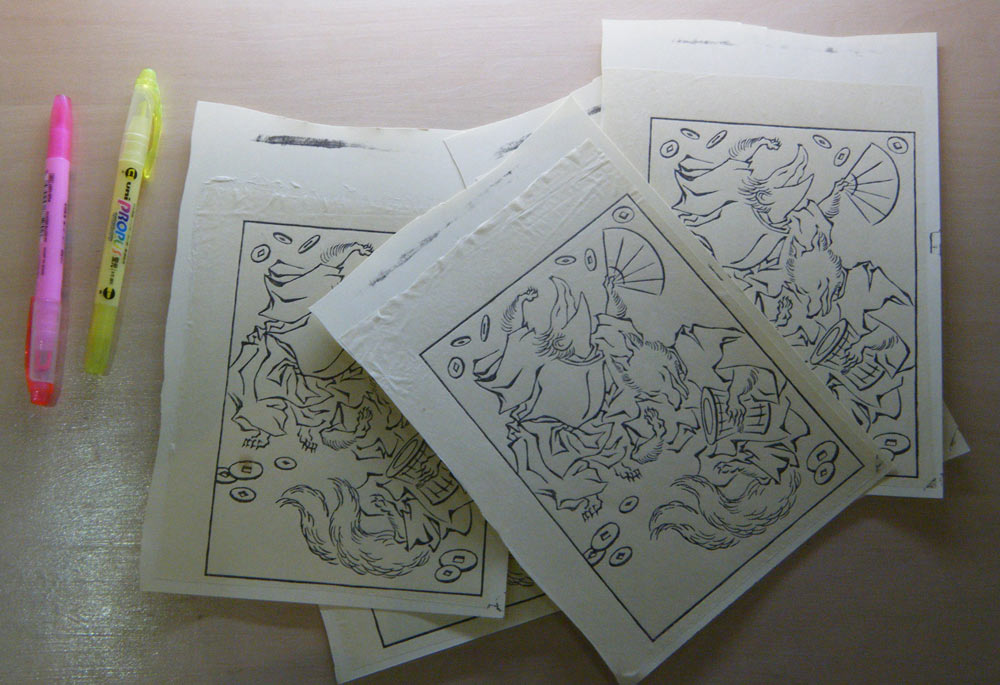
The transfer sheets ('kyogo-zuri') are printed the same way as normal print impressions, with the paper carefully placed in the registration marks, and the impression pulled as normal:
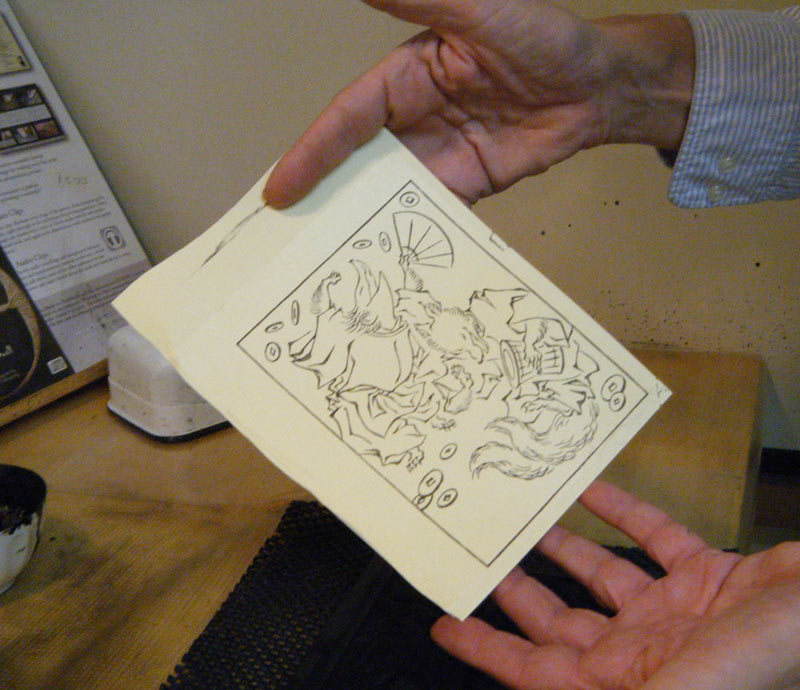
I take as many of them as I think will be required for colour blocks. (Can you tell what game characters are appearing in this print?)
I use a yellow highlight marker to mark off the areas I want to be retained on each blocks (the reddish one is for corrections ...):
Working from Jed's Photoshop master image, I carefully colour in one sheet for each colour block:
href="https://mokuhankan.com/conversations/images/2016_06/colour_seps_05.jpg">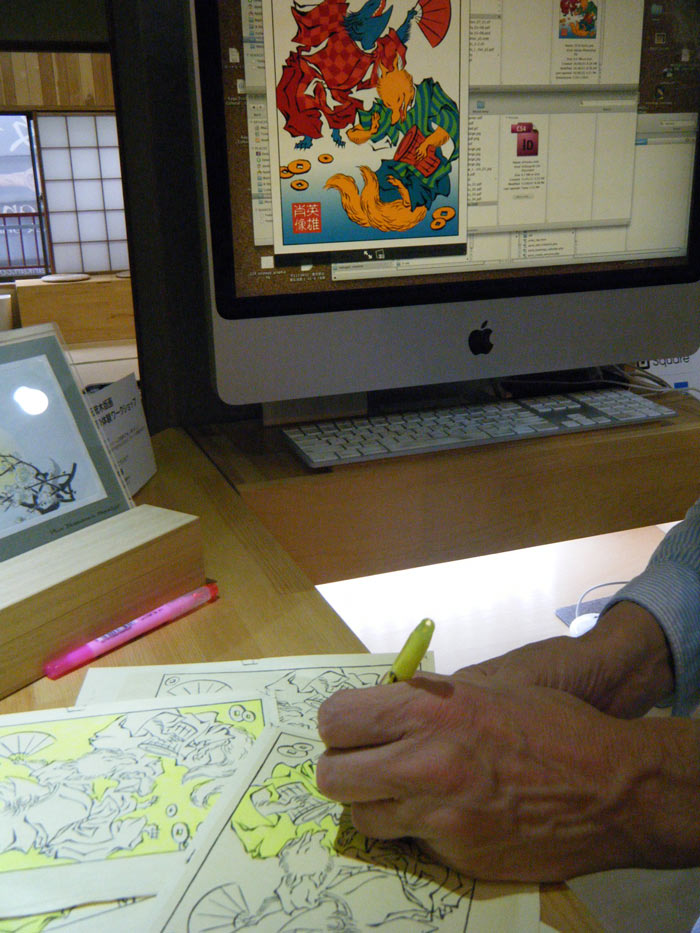
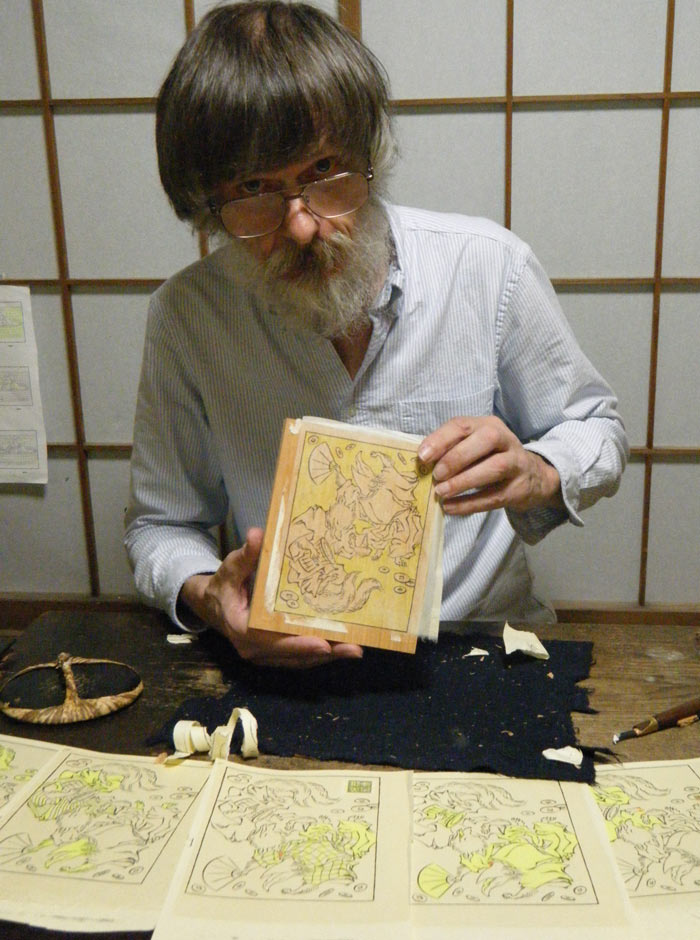
And here are the first three blank blocks fresh from my new 'press', and scraped smooth, ready for carving:

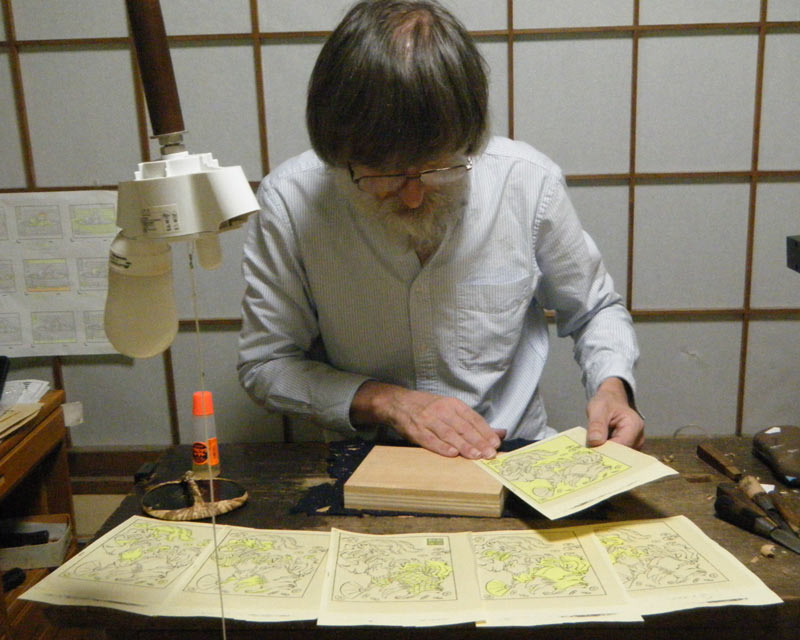
The blocks are of course not 'perfect', and have small knots or imperfections here and there. So it's important to try and match them up with the colour transfer sheets, arranging things so that imperfections will fall in areas that will be cut away. It's a bit of a puzzle to find the 'best' orientation ...
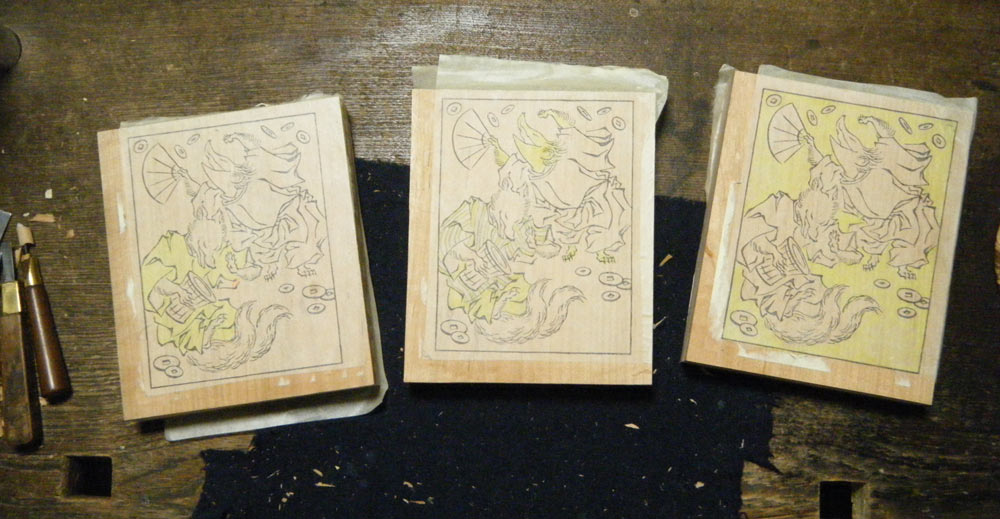
The sheets get pasted down into freshly-carved registration marks ...

... and the back paper gets peeled off ...
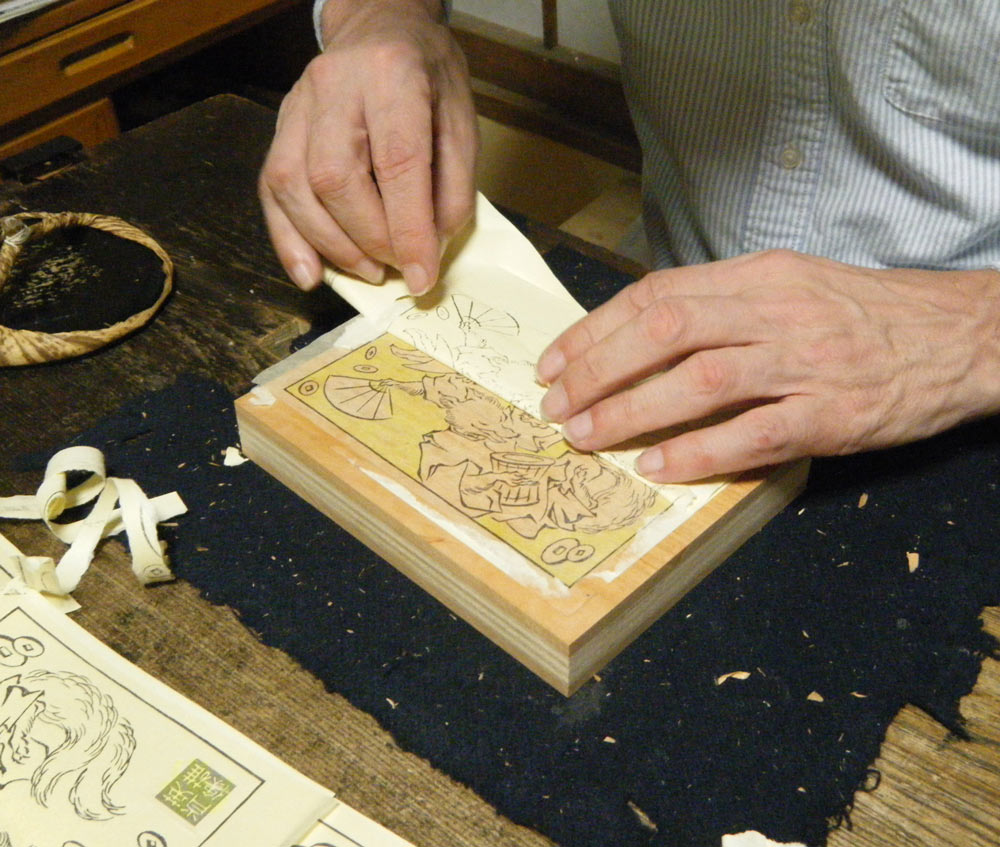
... to expose the design ready for carving:
Here are three faces ...
... and flipped over to show the other sides:
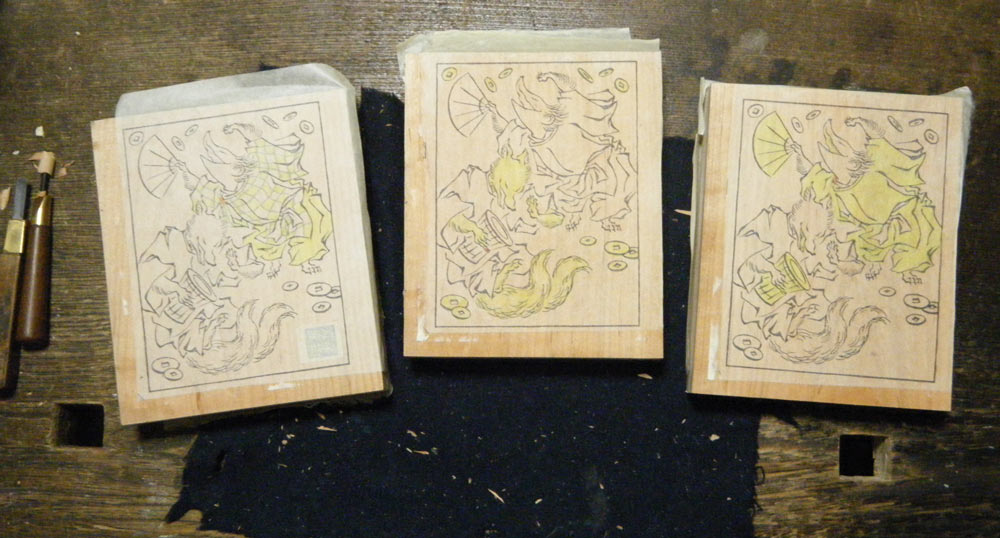
At this point, the carver will get busy, but she of course knows nothing at all about what colours will be applied to these blocks once they are finished. And indeed, we may change our mind once printing starts. She is simply carving 'shapes' ...
Just to finish off this post, here's a quick shot of some paper hanging to dry after being sized ...
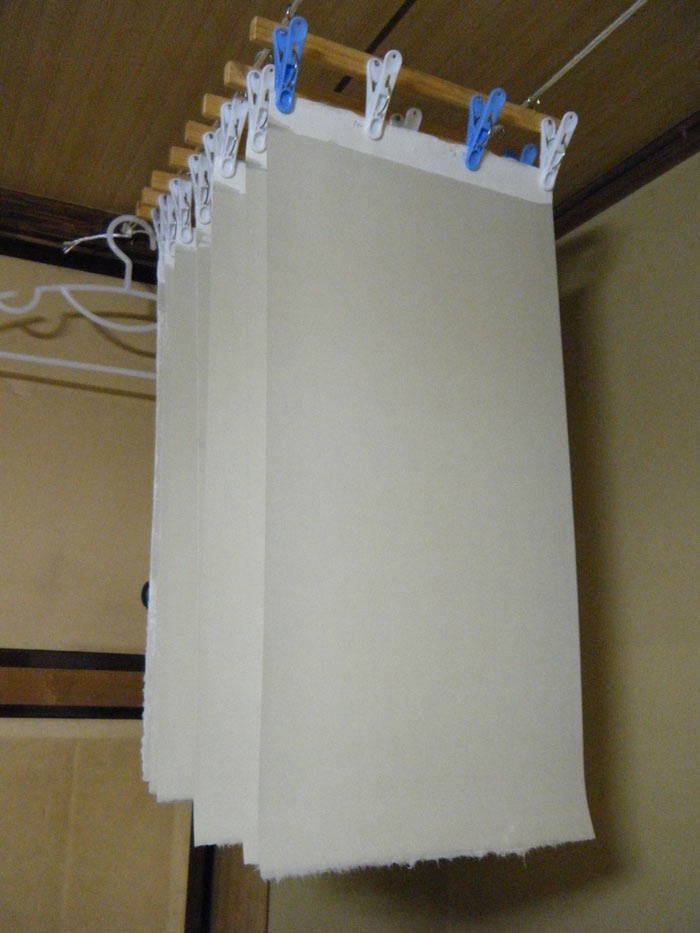
... in our new sizing 'machine'! (More about this later ...)
Added by: silvia on June 20, 2016, 8:03 am
Muchas gracias.
Como no tengo de ese papel doble para la transferencia, veré de qué modo puedo suplirlo, acá en México.
Estoy apenas iniciando en esta bella técnica.

Added by: Franz Rogar on June 20, 2016, 6:36 pm
(English translation at the end)
Silvia,
El "papel doble" no es ni más ni menos que un "papel muy fino" (~ 12 g/m2, llamado gampi) pegado a un folio normal con un "adhesivo reposicionable" (es un bote en spray que permite pegar/despegar durante unas horas antes de secar, hay muchas marcas).
Puedes utilizar (como hago yo) papel de arroz (busca papel sumi-e) u otro papel que sea de bajo gramaje.
[ENGLISH]
The "double paper" is no more than a "very thin paper" (~ 12 gsm, called gampi) sticked to a normal sheet with a "spray mount" (is an spray bottle that let you stick/unstick for a few hours before drying, there are many brands).
You can use (as I do) rice paper (search for sumi-e paper) or another low weight paper.
Added by: silvia on June 21, 2016, 12:33 am
Muchas gracias!!! Todo eso sà lo consigo.
Recibe un gran abrazo desde México.
Added by: Jeroen on June 21, 2016, 10:44 pm
Hello Dave,
it is very encouraging to see you make so much progress in solving the problems related to the woodblocks and the paper. Are you also working on solving the issues related to manpower, as you mentioned that the number of printers in your shop will decline?
Add Your Input