« The ad ... | Front Page | Knife set - first test production run of handles (part 2) »
Knife set - first test production run of handles (part 1)
Posted by Dave Bull on February 23, 2012 [Permalink]
Early this afternoon I 'finished up' the set of jigs for making the chisel handles, so this evening I thought it would be a good idea to test everything out. Let's have a photo set (it might be long!) showing the process from raw wood to finished handle:
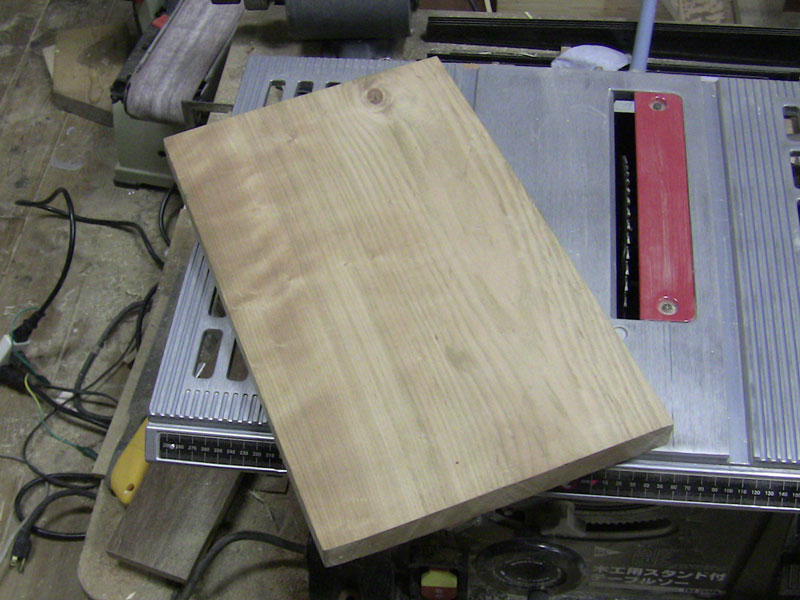
I'm going to use one of the cherry pieces I picked up at Shin-Kiba the other day; this one has too many defects to be suitable for a block for a print, but it's going to enjoy a hopefully very long life in smaller pieces.
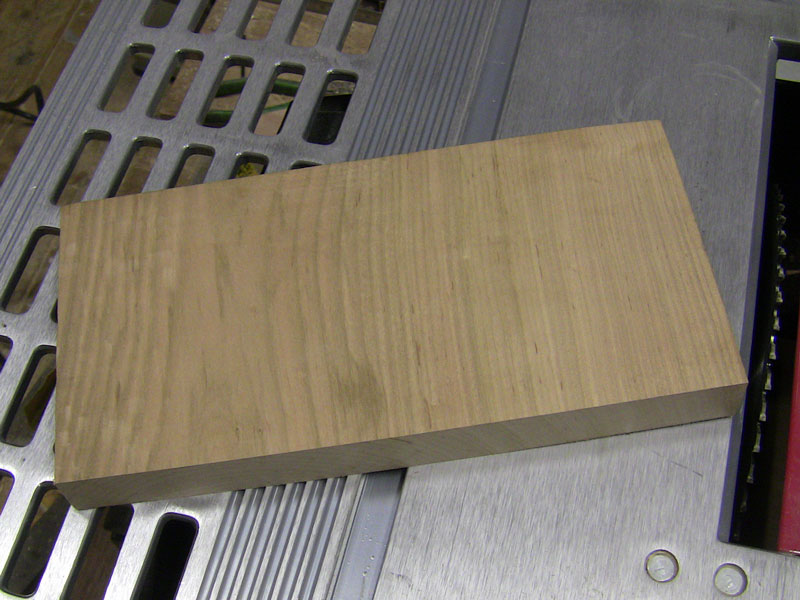
We start by slicing it into sections of 130 cm length. This needs no special jig, just a setting of the table saw fence.
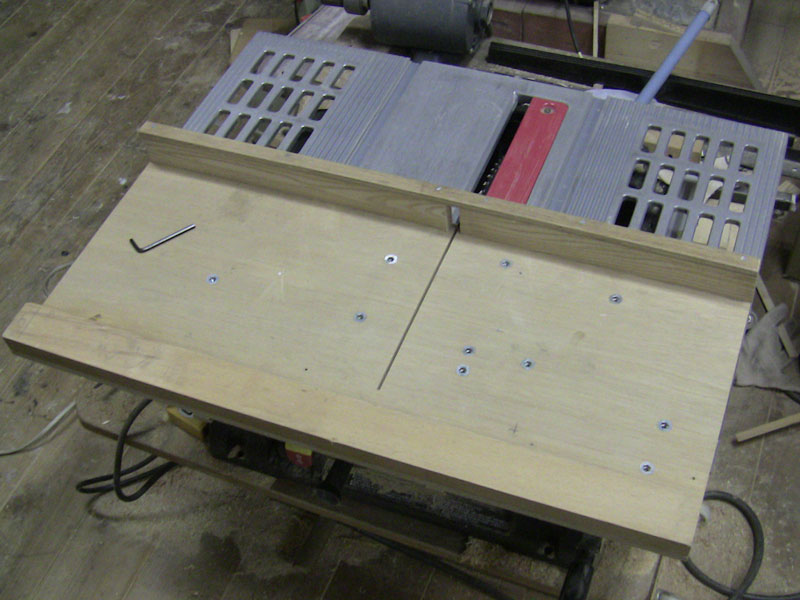
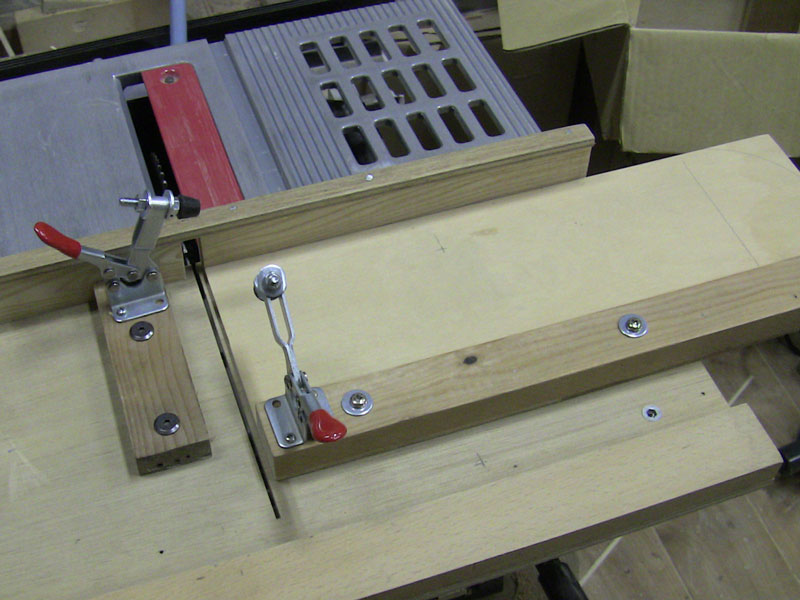
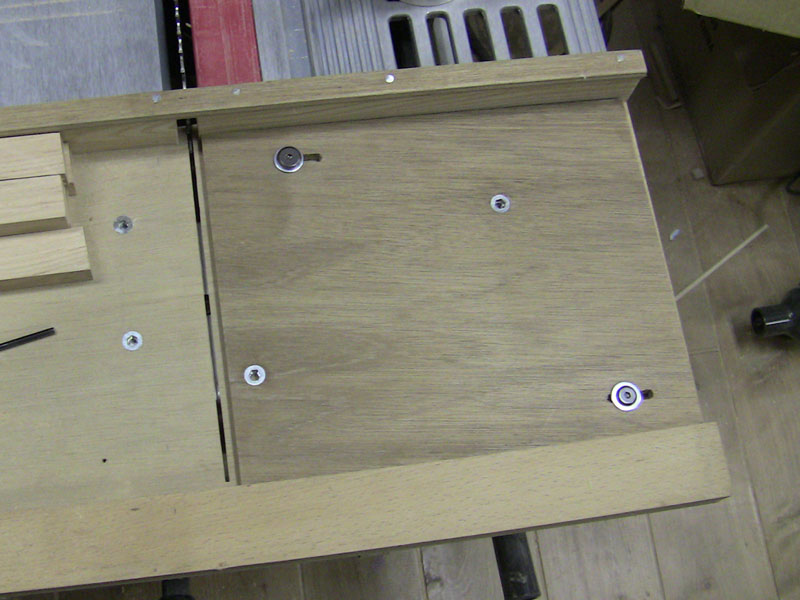
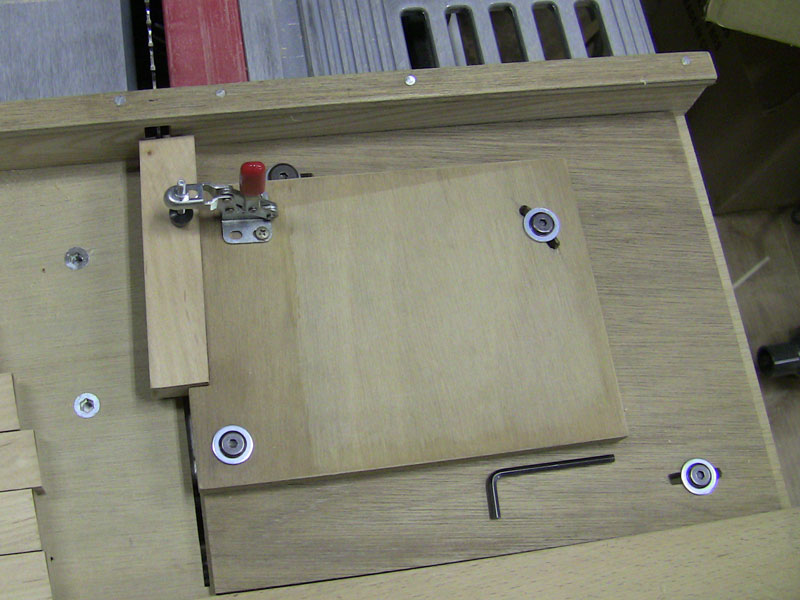
And here we see the base unit that will carry most of the jigs for shaping the handles. It looks like it has been shot at, but the metal parts are nuts inset into the wood; those are where the jigs will be attached.
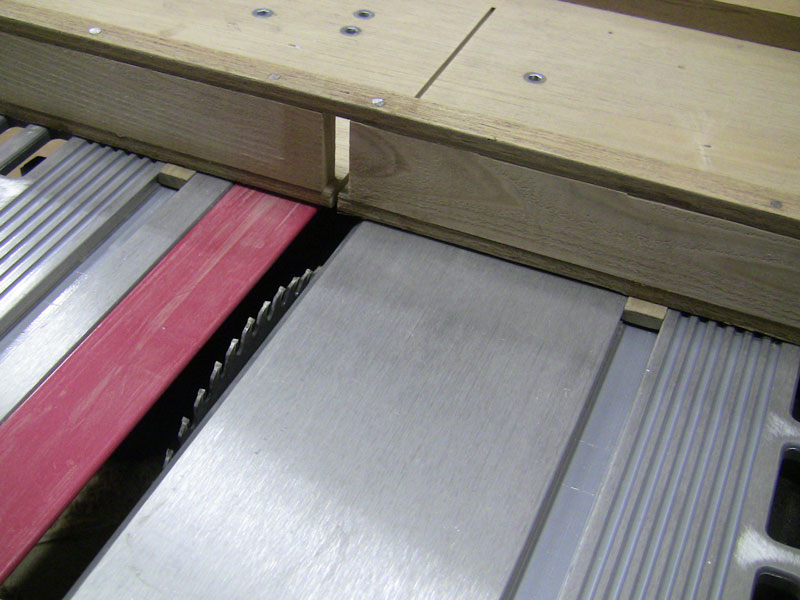
Looking at the back side we can see where it rides (very snugly) on two inverted 'T' rails in the table saw slots:
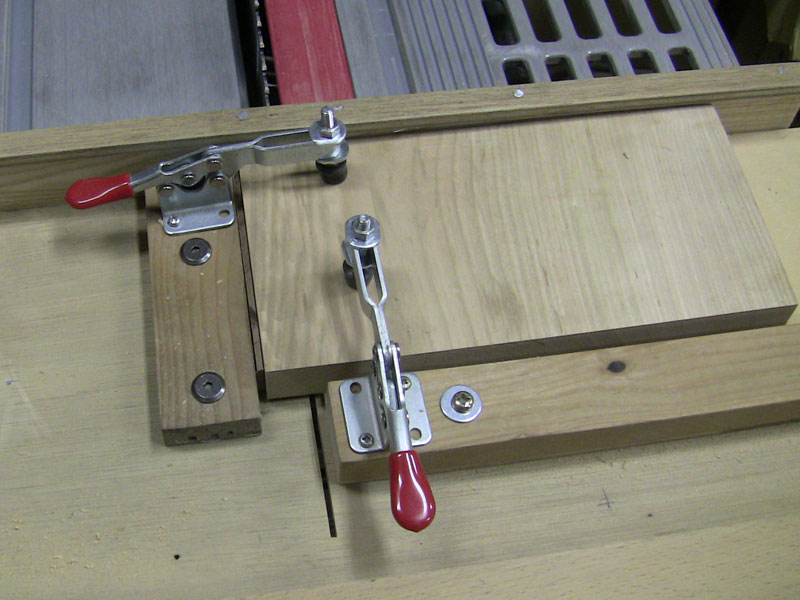
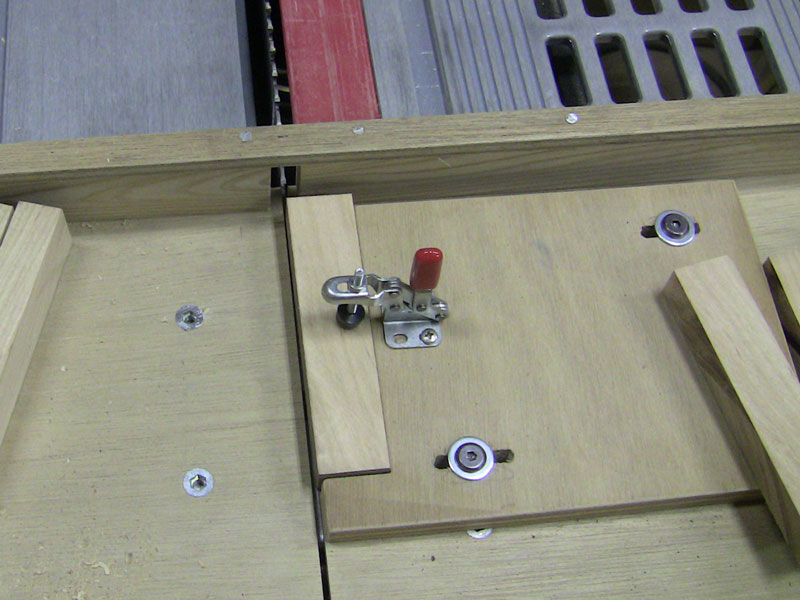
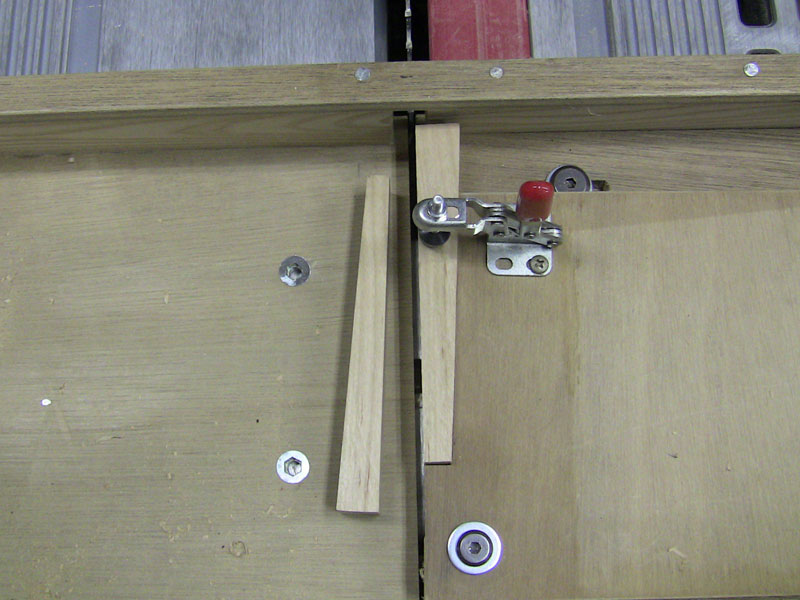
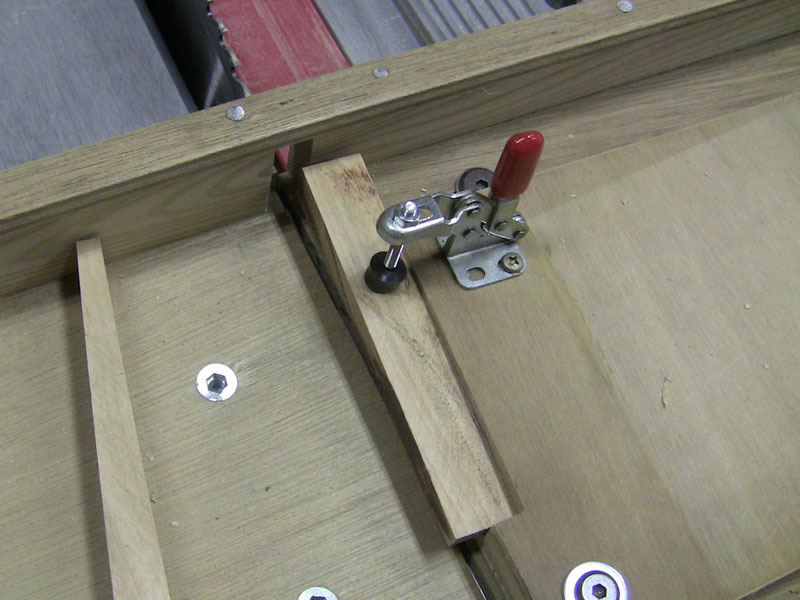
Here's the first of the attachments. This is a combination 'holddown' and a stopper to set the width of the pieces to be cut:
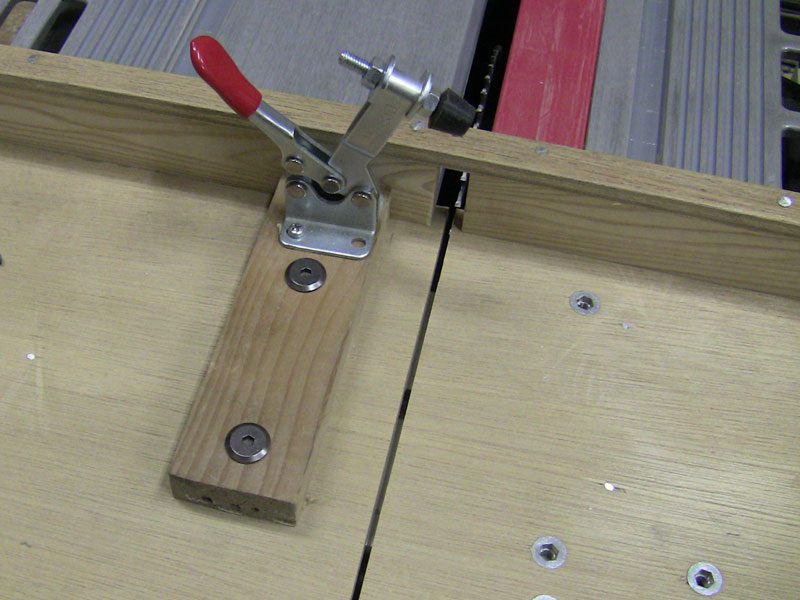
It works in combination with this piece. I want the wood lifted up off the base of the main jig, so that the cut piece can fall away freely:
Different tool sets will need different thicknesses of wood, and that will be controlled by the shim you see inserted between the wood and the jig. This is removed after the two hold-downs are closed, leaving room for the cut piece to fall away from the saw.
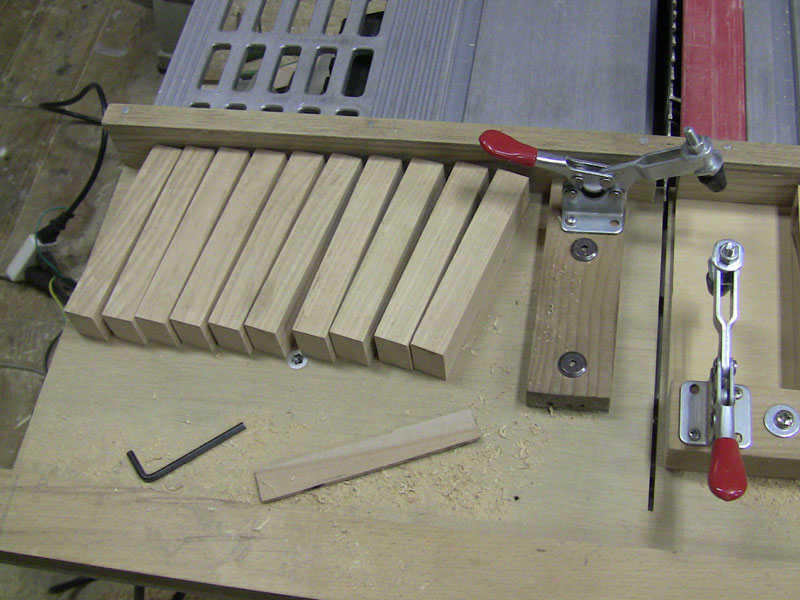
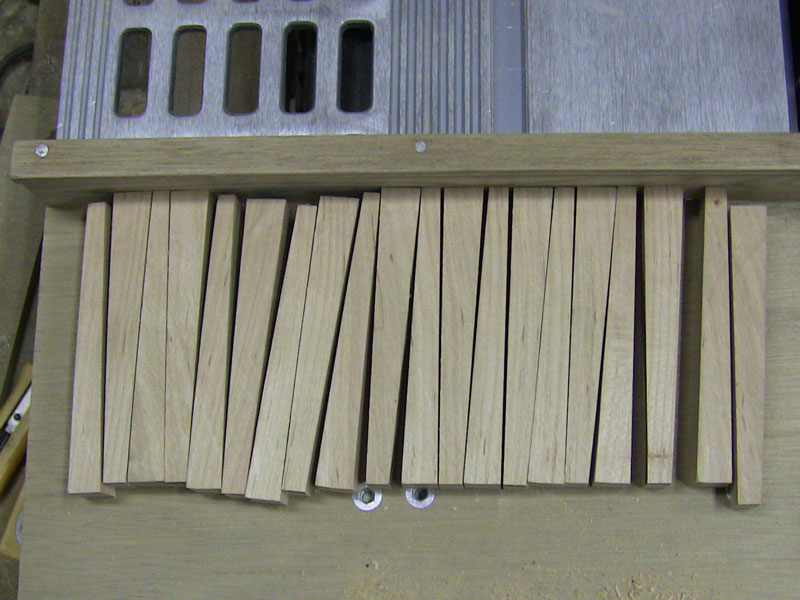
Here's the result a few minutes later - all nicely sliced to size. Ten pieces from each 'row', and three rows from the original block, means that we should be able to get 60 tool handles from that piece.
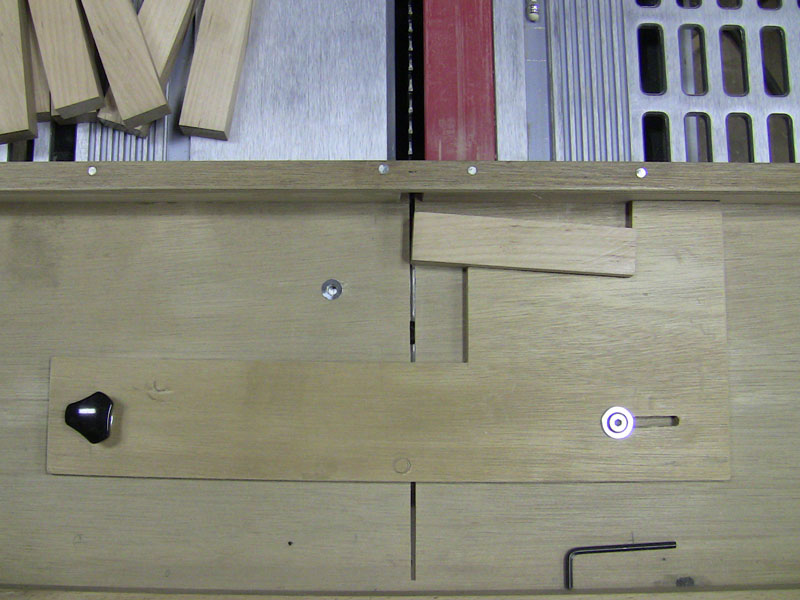
The next jig is a simple one, to allow the pieces to be dressed to the same height, in case the original plank was not perfectly flat (as indeed, this plank was not):
The next one is also simple - putting a bevel on each end of each piece (the wood is flipped end for end for the second cut). The jig is adjustable for slightly different angles, as needed for different tools:
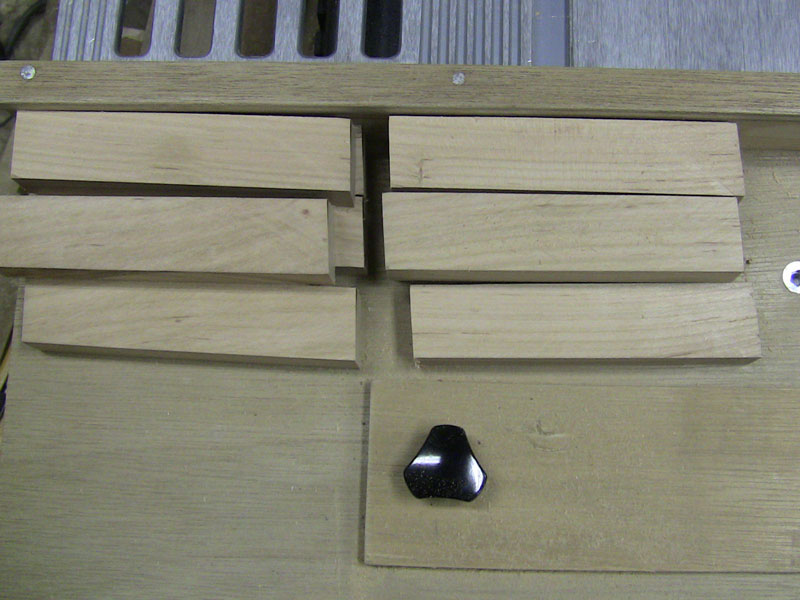
And here are the results so far:
The next jig is one of the more complicated ones. It has its own base plate ...
... on which this jig rides:
The combination of the two allows complete setting of the angle of cut and a right-left adjustment to control the 'balance' between the two pieces that will be formed:
These pairs will travel together through the rest of the process - making a pair of handles: for a 3mm chisel and a slightly wider 6mm one. Each pair of chisels in the final set will have been sliced side by side from the original plank of wood ...
The same jig is now reset - different angle and depth - and used to form the sides of each chisel handle:
Giving us this interesting batch of shapes ...

The next step is easy, but needs to be done carefully, not to splinter the edges of the holes:

This jig was fun to make. It's for putting the rounded shape to the back end of each handle. The jig rides on a horizontal rail in the sander plate:
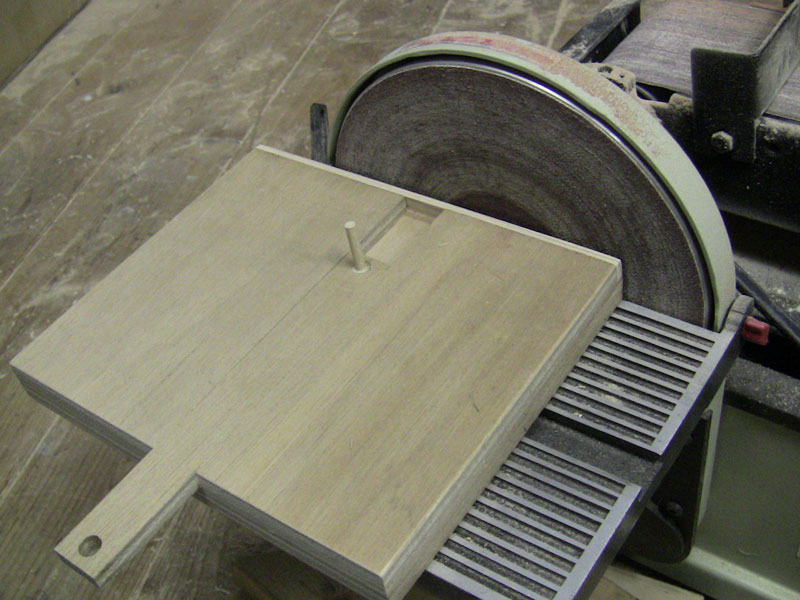
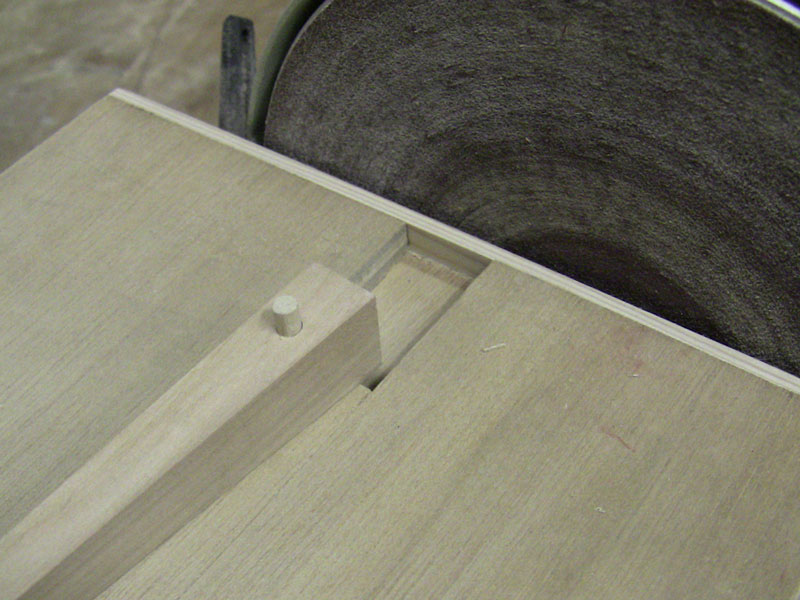
Each drilled piece drops onto the post, which is formed slightly smaller than the permanent wooden pin which will eventually form the 'hinge' of the two parts of the handle.
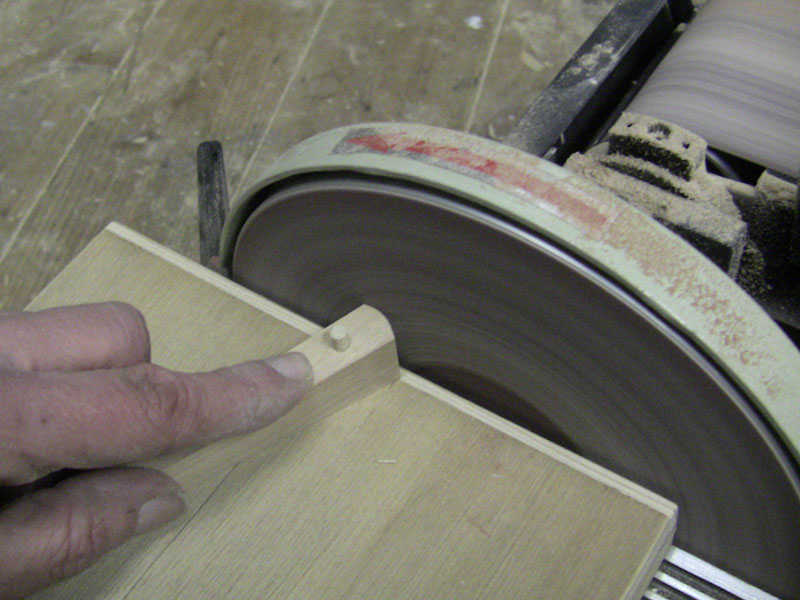
The sanding is easy, and the side-to-side movement of the jig means that the sandpaper doesn't wear out in one spot ...
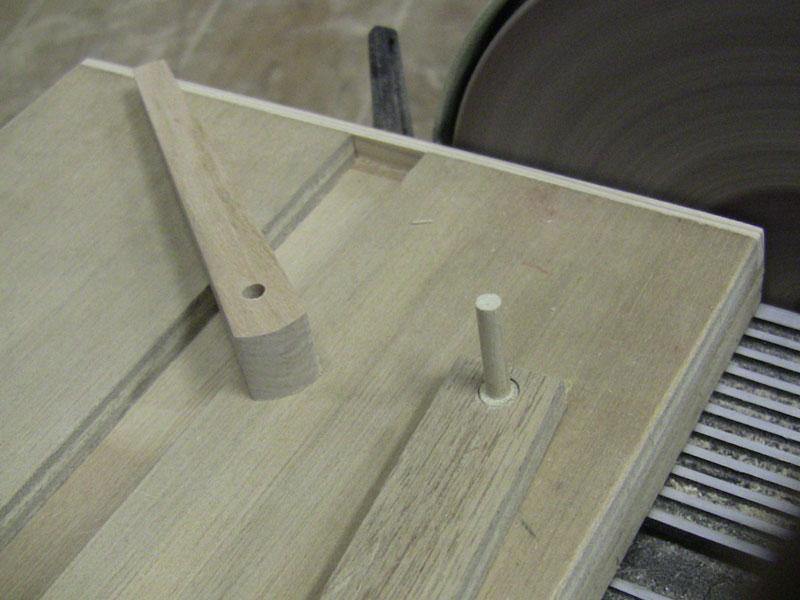
The piece comes out perfectly formed ...
And that's all I have time for this evening ... we'll pick it up tomorrow in Part 2!
Added by: Tom Kristensen on February 23, 2012, 11:28 pm
I can only marvel at your get-things-donedness.
Just make sure you keep all your fingers.

Added by: Dave on February 23, 2012, 11:34 pm
Yeah ... fingers. A lot of these jigs are a bit 'overdone', but we're really trying to keep things on the safe side. Even the simplest cut on the table saw can be dangerous if you have already done it a hundred times in the past hour, and are starting to let your mind wander. So the idea is to have all the cutting happen well away from any fingers - by clamping all the pieces with the little red clamps, and then pushing the 'sled' (thanks Marc!) from a safe distance.
Add Your Input