« Knife set - first test production run of handles (part 1) | Front Page | Knife set - first test production run of handles (part 3) »
Knife set - first test production run of handles (part 2)
Posted by Dave Bull on February 24, 2012 [Permalink]
Picking up where we left off yesterday ...
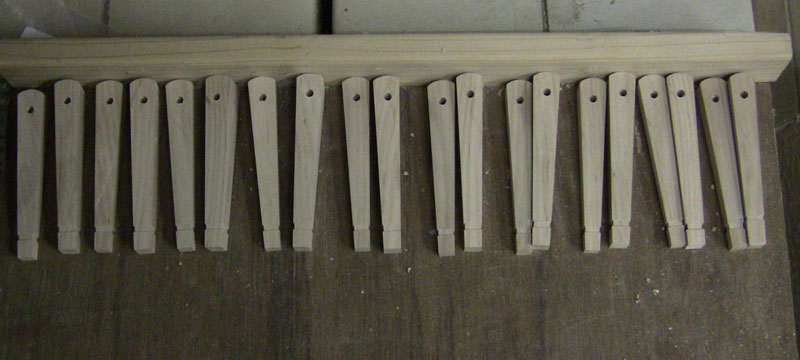
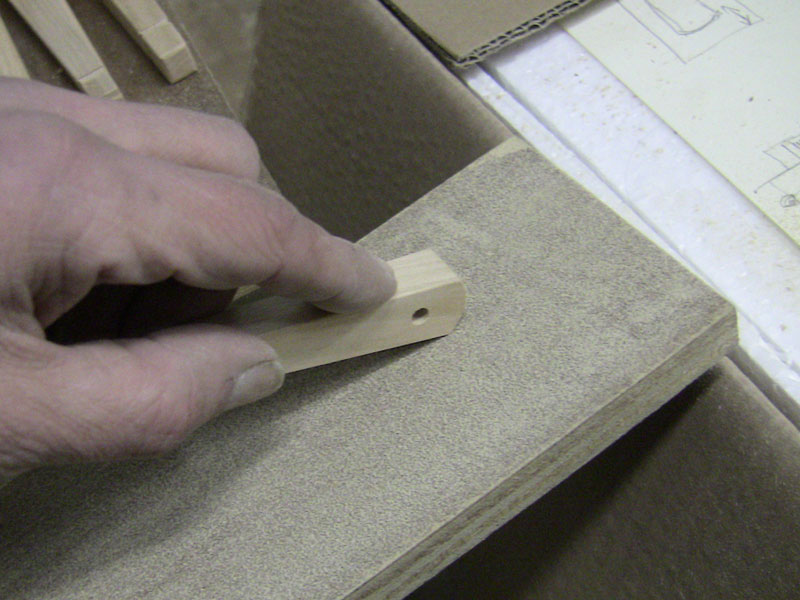
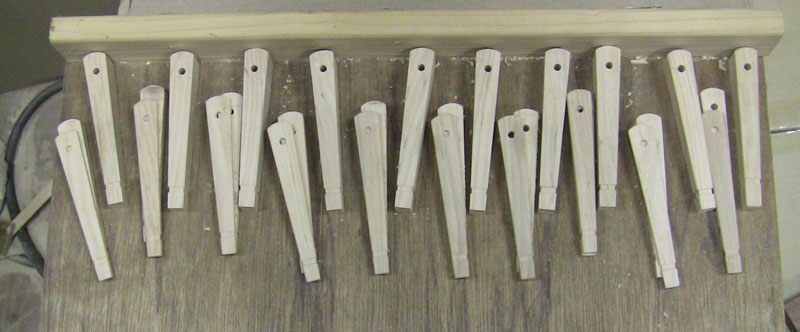
Here's the batch - still in pairs - with their holes drilled, and the backs properly rounded:
The next jig (plenty more to come!) is for cutting them to length. Because of the way that we offset them - to be able to get two 'stacked up' - we have a bit of extra length to play with at this point. Most such tools on the market these days are 10.5 cm long. Ours will be a tad longer than this at 11.0 cm, but we will be able to stretch this a bit on request. (Although not for all types of chisel: those that require more depth - deep V cutters, etc. - wouldn't fit the longer length ...)
Each one is wedged in place, and then clamped from above to stop it lifting up when the saw hits.

And our set again ... moving along!
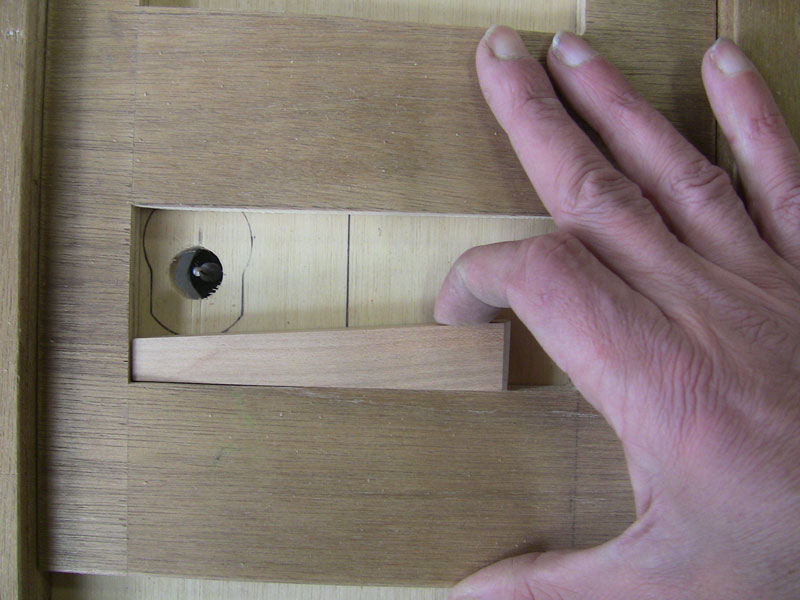
For the next step - cutting the grooves where the tying thread will live - I screwed a plastic router base to a piece of plywood.
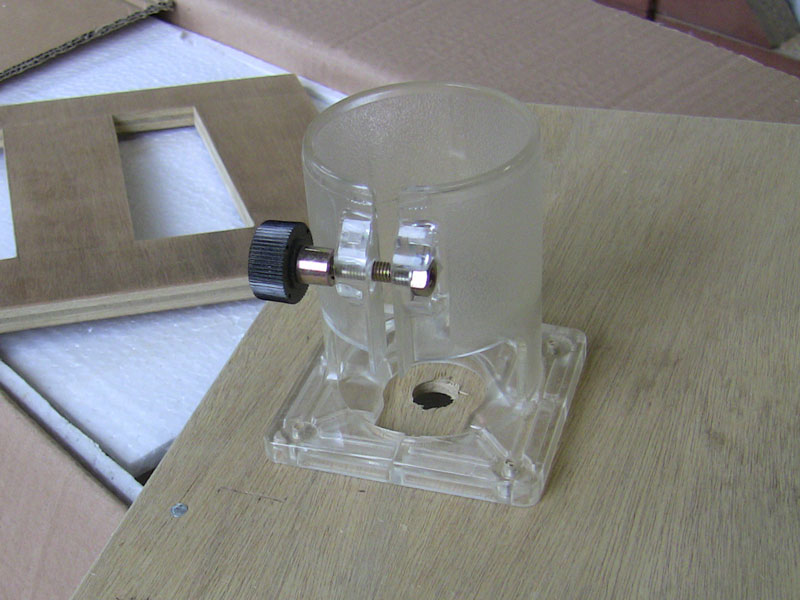
A small 'handy' router goes in:
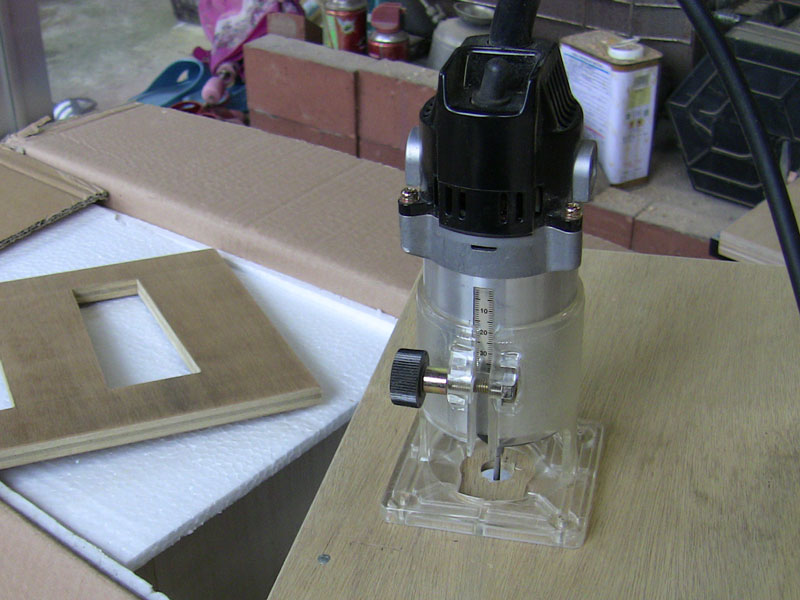
... and the board gets flipped over and placed where the router can hang down beneath.
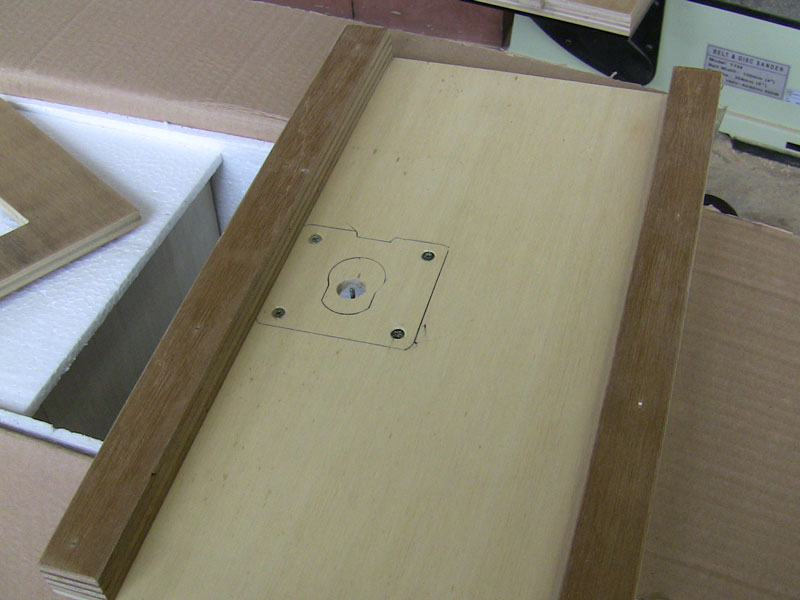
On top goes a sliding carrier that will guide the handles over the protruding cutter.
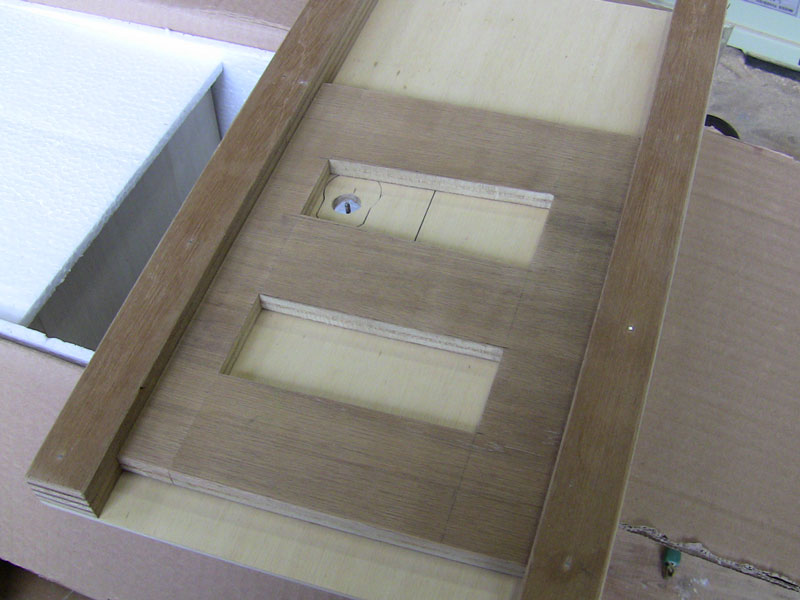
The carrier has openings cut at the correct angles to account for different shape of the four 'sides' of each tool:
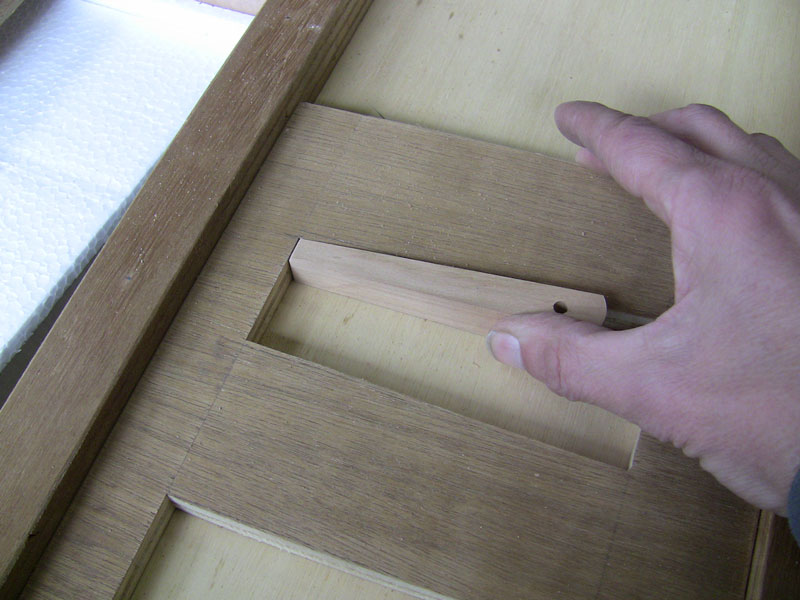
Another angle ...
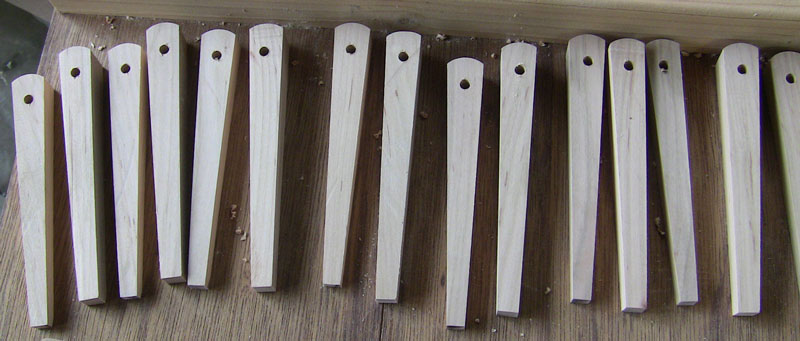
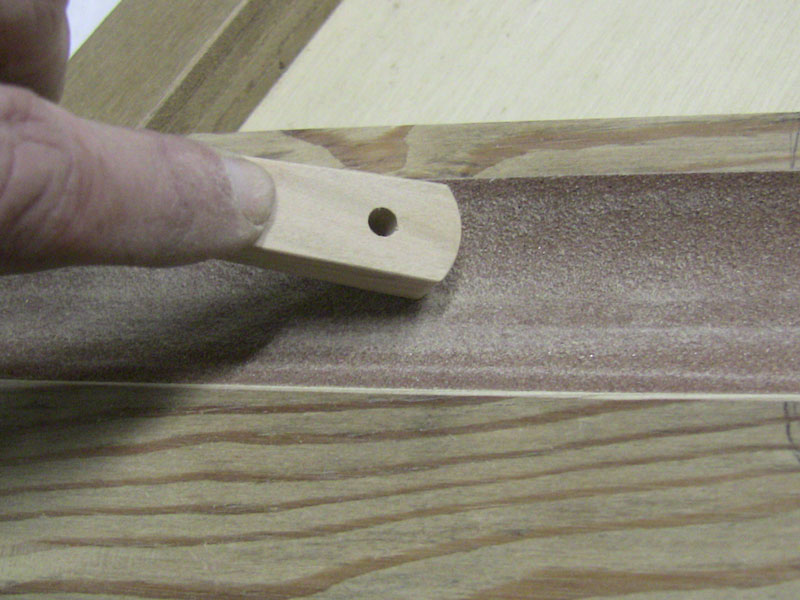
After the grooves are cut, the handles need a quick touch-up on sandpaper to remove the burr.
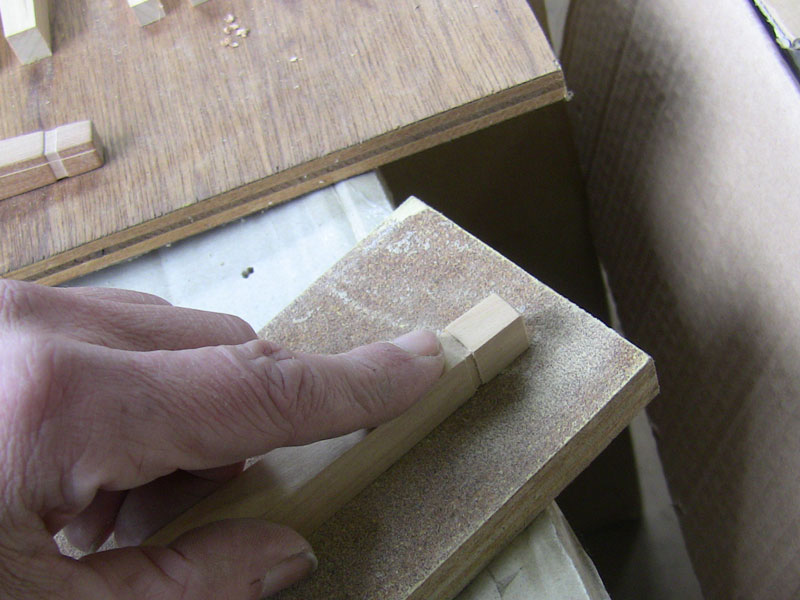
And our set ...
I'm still not quite sure which way to go on the 'shape' sanding (removing arrises, etc.). That could be done at this point I think, but it might also be best to wait until the handles have been split in two (because the pin will need strong sanding too ...)
For this run, I think I'll do it at this stage; I can always switch the order around next time ...
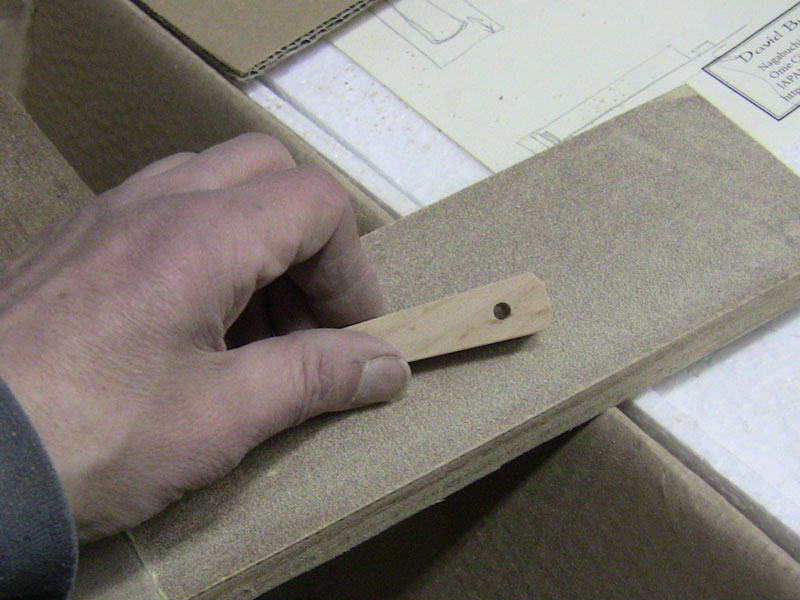
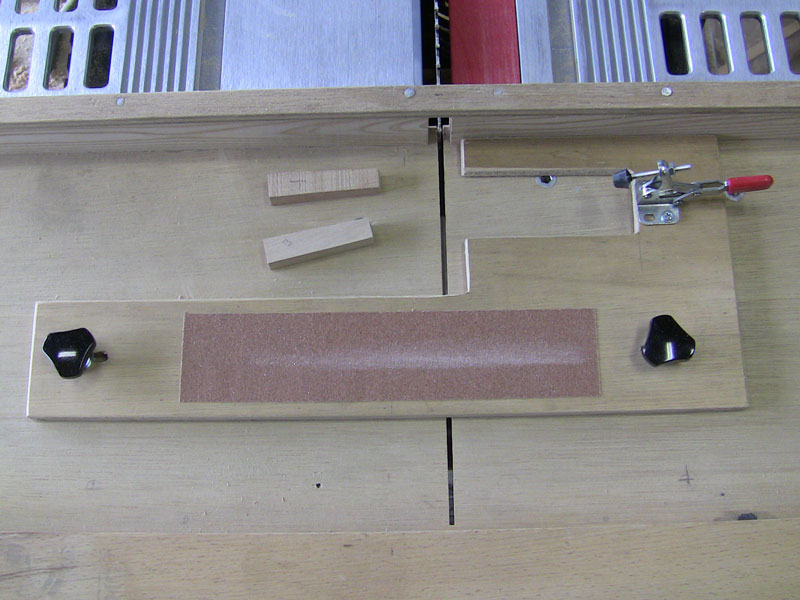
There is no simple way to jig this up, and as a result, this sanding stage is probably going to be one of the most expensive (in time) parts of the manufacturing process. And because it's freehand, it's very easy to spoil things at this stage. There is no better way to spoil the appearance of a nice piece of woodwork than with careless sanding. I don't mean by leaving scratches, etc., I mean by spoiling the character of the edges and outlines by rounding them too much. I myself am making these test pieces, but once we get going for real, this will be done by somebody else, and it's going to be difficult to get them to understand what I want at this stage, and then to ensure that it gets done that way on all the pieces ...
It's a bit difficult to see in the photo, but the sandpaper is glued into a rounded groove in the wood, one that matches the shape of our handles...
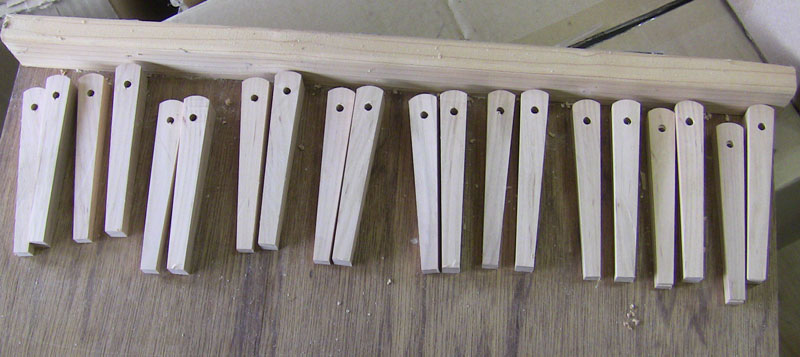
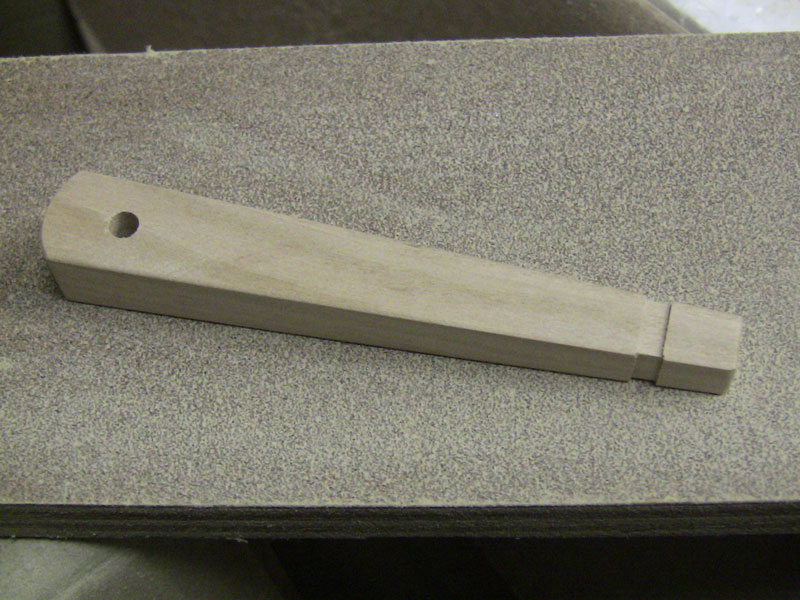
So there's the 'shape' sanding done ... Still quite a long way to go ...
Time to cut it apart! This is a job for the bandsaw; if I used the table saw, we would lose way too much thickness to the cut. I bought the finest blade I could find for the bandsaw, hoping both to minimize wood loss, and to get as clean as possible a surface, to minimize sanding.
First step is to prepare a fence:
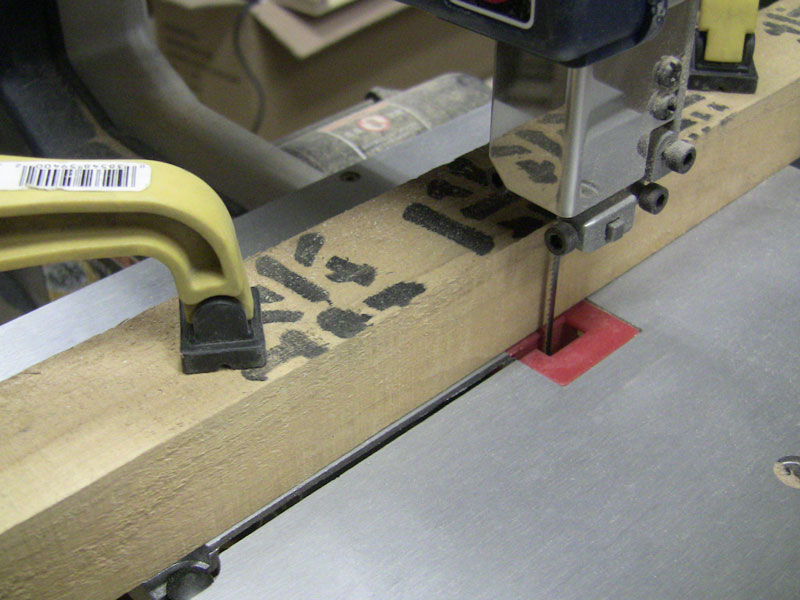
Against that, I will place this little jig. I want the wood to go through the blade in as straight a path as possible, so I built this little 'splitter' unit. The piece of metal sticking up will be positioned directly behind the blade, and should serve to keep everything held against the fence and lined up properly.
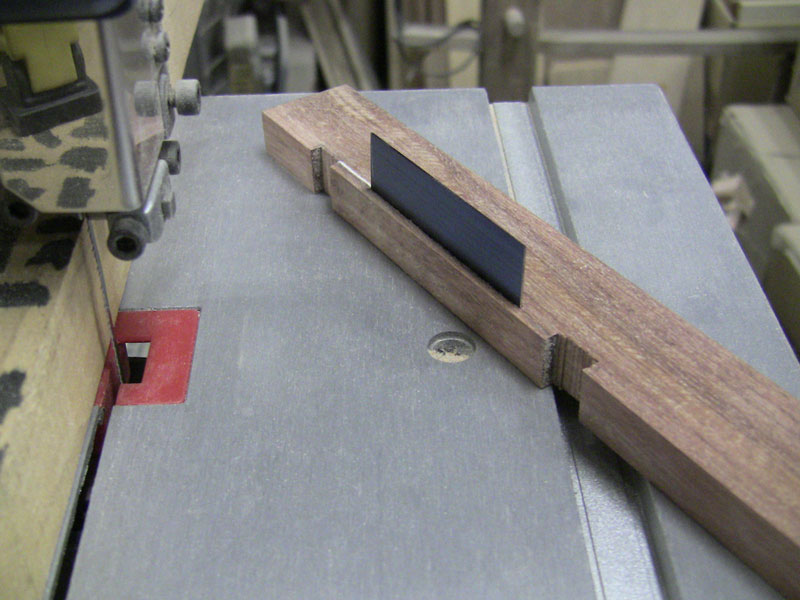
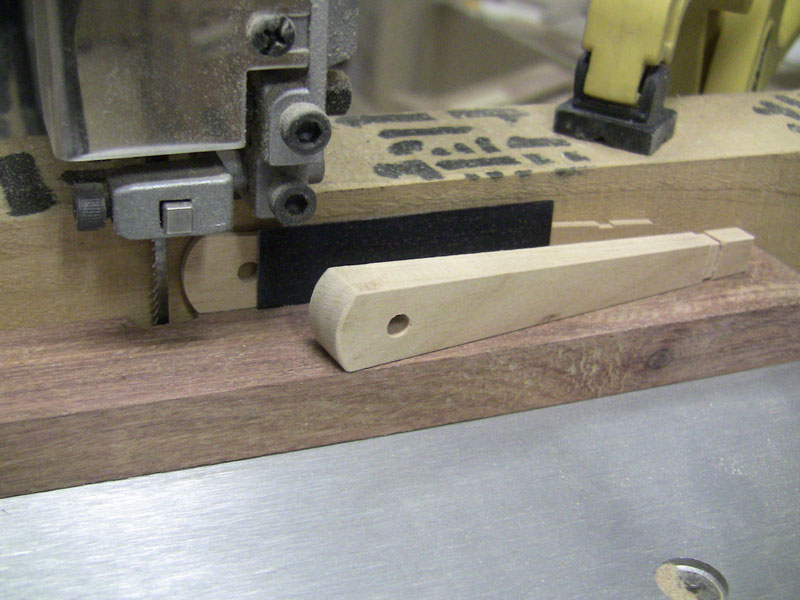
Here's how it all comes together - ready for the cut:
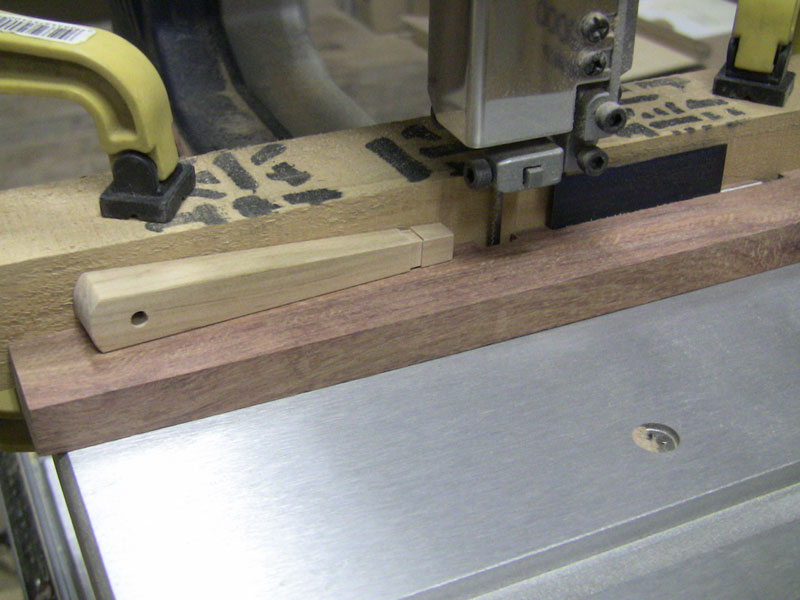
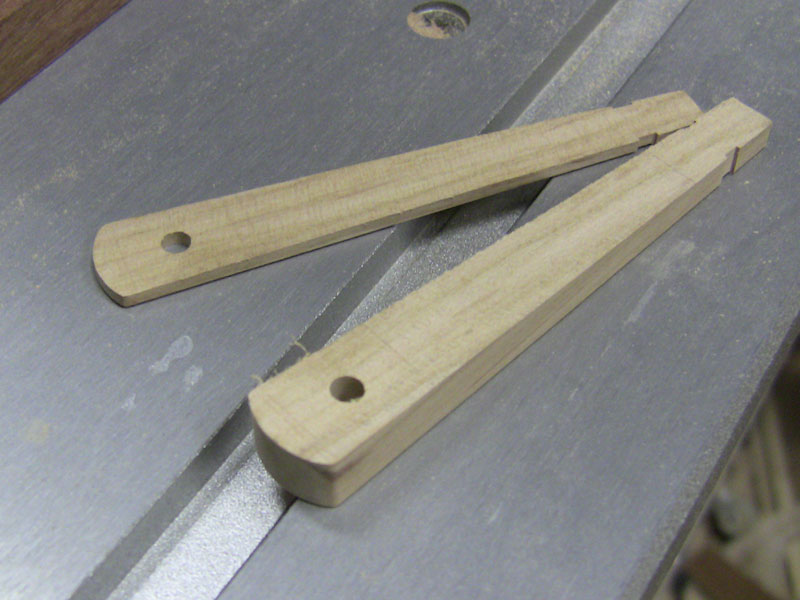
And done ...
They come out very straight, although not as smooth as I would like. There is a fair amount of offset on the sawblade teeth, and these will definitely need sanding.
Here's our batch ... I should mention that from here on to the end of this photo set, I'll be working on just the smaller handle of each pair. I had to send the blades back to Sato-san yesterday, so that he could get them over to the craftsman to sort out the sharpening issues, and without having them here for reference, I can't cut these larger handles (for fitting the blades).
I mentioned that these would need sanding, and if I put one up to the light, you can see why ...
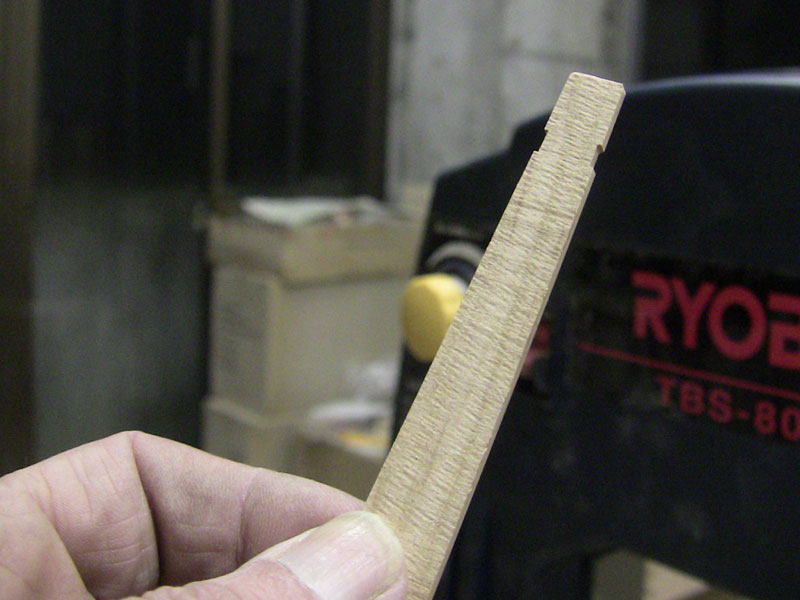
But that'll have to wait until tomorrow!
Added by: Marc Kahn on February 23, 2012, 11:47 pm
At this point in the process, with the single piece having been cut into two pieces, is it necessary to maintain the matching pairs, or is the millwork accurate enough that they are interchangeable? Is keeping the grain matched important to you?

Added by: Dave on February 23, 2012, 11:53 pm
They are staying together, for sure. The cutting of the parts has been pretty accurate, but once I included the hand sanding step, that's it for interchangeability. One side gets a tiny bit more beveled than the other ... and nothing would fit smoothly.
And there's no penalty for keeping them together. I haven't thought too much about it just yet, but I'll be rigging up some kind of work tray system to keep everything in order, and safe from spilling. (A more sophisticated version of the simple board I have been using today.)
Added by: Kalle Pihlajasaari on February 24, 2012, 7:08 pm
You could very carefully with some spacers bring a fine sharpening stone to the side (both of them to keep the blade cutting true) of your band saw blade and slide it side to side to remove some of the tooth offset. You need to prevent the blade heating up so do it slowly in stages with light pressure.
I have done this successfully with hacksaw blades but don't have a band saw so this is something to experiment on an old blade first.
Obviously you will loose some fo the benefits of dust clearing if you remove all the offset.
Add Your Input